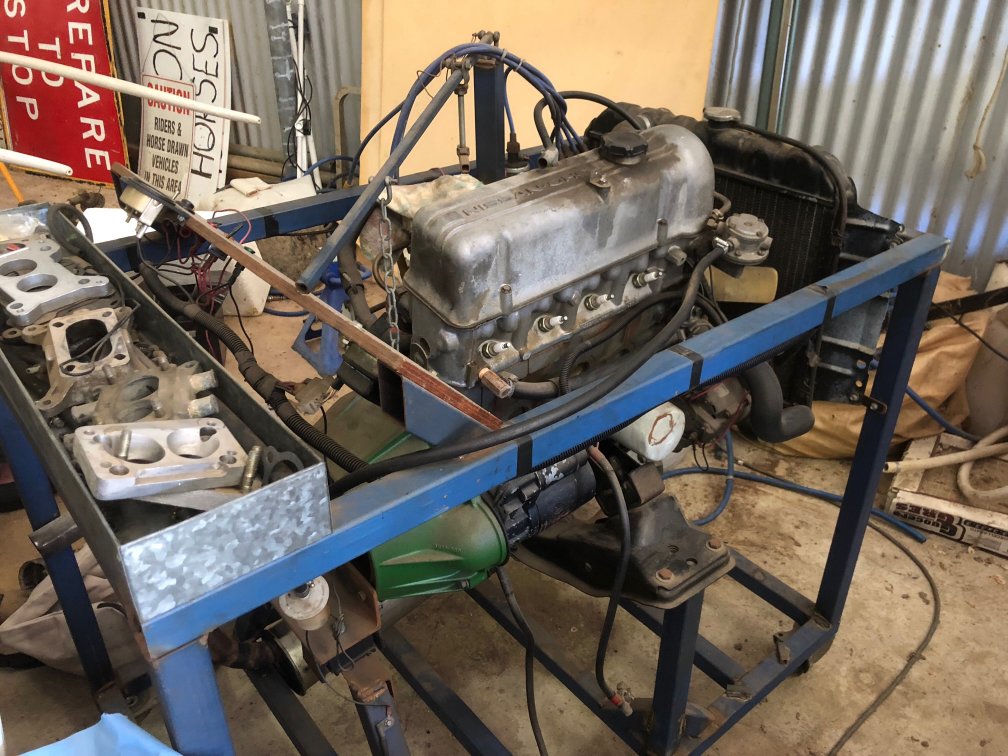
After doing some reading and research online, I decide to remove the dashpots from the carbs, clean them and replace the oil.
The recommended oil for the dashpots is 10W-30. As I didn’t have any of that spec on hand, a quick trip to the servo and I purchased a one litre bottle of 10W-30 engine oil.
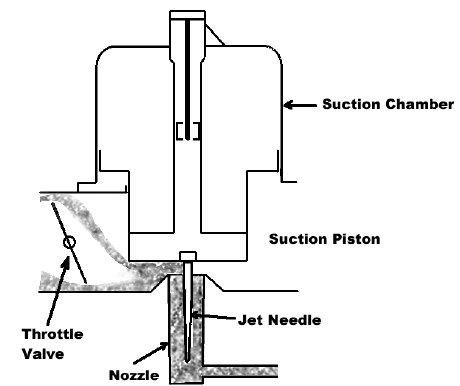
It was quite a simple process, the steps being:
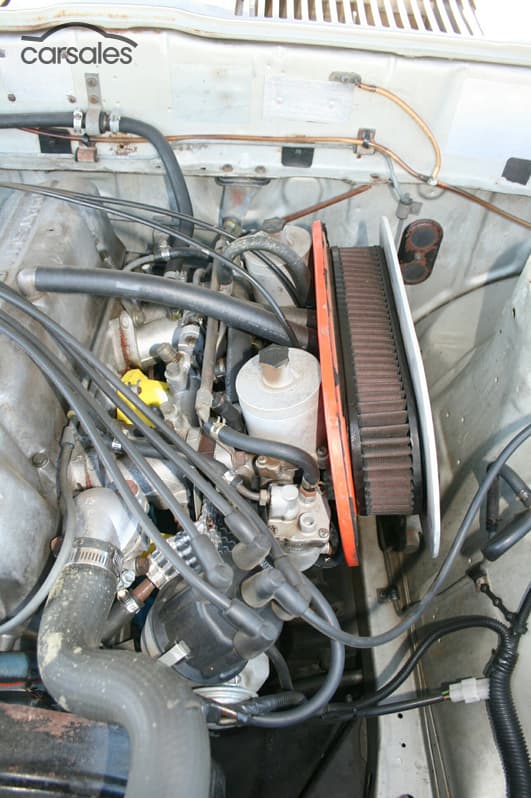
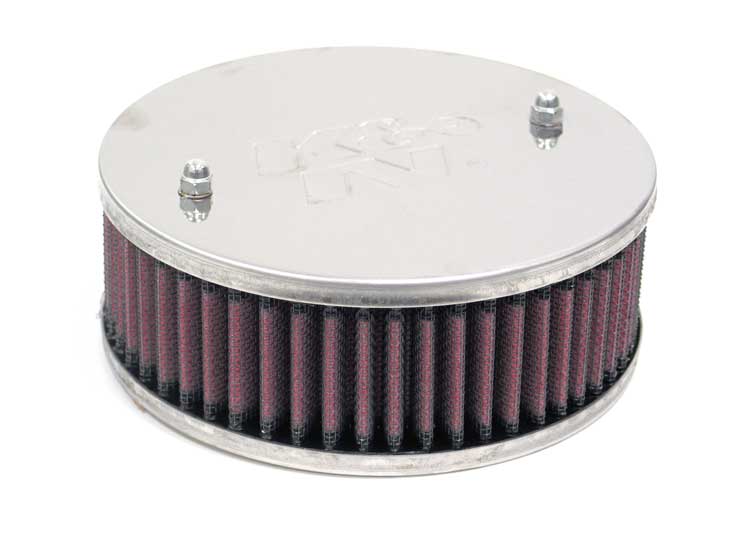
- Remove the air-cleaner(s)
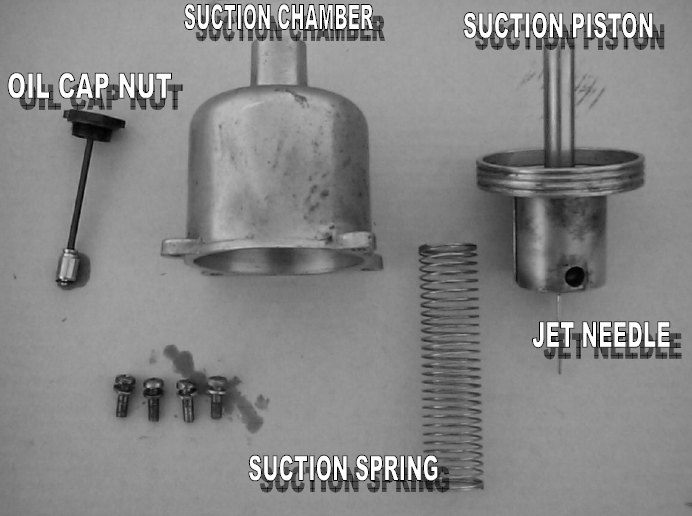
- Unscrew and remove the plunger (oil cap nut) from the dashpot. It should be coated in oil over the end of the plunger
- Unscrew the 4 screws holding the dashpot cover (suction chamber) down and lift off
- Remove the suction spring from the dashpot
- Remove the dashpot assembly (sliding suction piston and jet needle), being extra careful not to damage or bend the jet needle at the bottom. Note the reservoir in the centre of the piston should be full of oil.

I tipped the piston upside down into a jar and let it drain for a few minutes to get all the old oil out. The oil level seemed to be low and what oil there was seemed quite thick. I gave everything a clean and then it was time to reassemble.
Note the dashpot piston has a ridge on the side that lines up with a notch on the side of the carb. This ensures it can only be installed one way. Be careful to place the jet needle in the hole at the top of the carb.
What I did at this point was fill the dashpot reservoir with oil. Then place the spring over the top of the reservoir.
Now place the dashpot cover back in place, ensuring the spring goes over the centre receptacle inside the cover, screw back in place.
Before placing the plunger back in, we can check the dashpot piston is moving up and down freely inside the cover. The piston moves up and down in response to vacuum.
We do this by putting a finger inside the carb intake and gently lifting the dashpot. It should move smoothly and freely, but there should be some resistance, increasing as the piston rises. Remove your finger and it should slowly fall back down. Both carbs should feel about the same with an equal amount of resistance.
Place the plungers back in and test again. You should note that there is more resistance now that the plunger is in place, but it still should operate smoothly.

Whilst I was doing this I was looking at and touching the linkages. I touched the choke linkage on carb 1 and it jumped back into place – it had been locked open again! Sprayed it with WD40 and gave it a clean to hopefully stop it sticking in future.
I gave the spark plugs a clean and fired her up.
The wagon has always taken a good amount of time before it will idle without choke and it takes a long time to get up to operating temperature.
Now, after a very short time it was idling nicely. I took her for a 20km drive and it was beautiful, driving better than it had done previously since I’ve owned the car. I was ecstatic to say the least.
I pulled the plugs and they were all looking perfect.
I took her for another lengthy drive the next day and she was still running perfectly. Interestingly, now the engine was getting up to operating temperature much more quickly, but it was also idling a little high when warm. So it looks like it might need some fine tuning, but it’s perfectly driveable now.