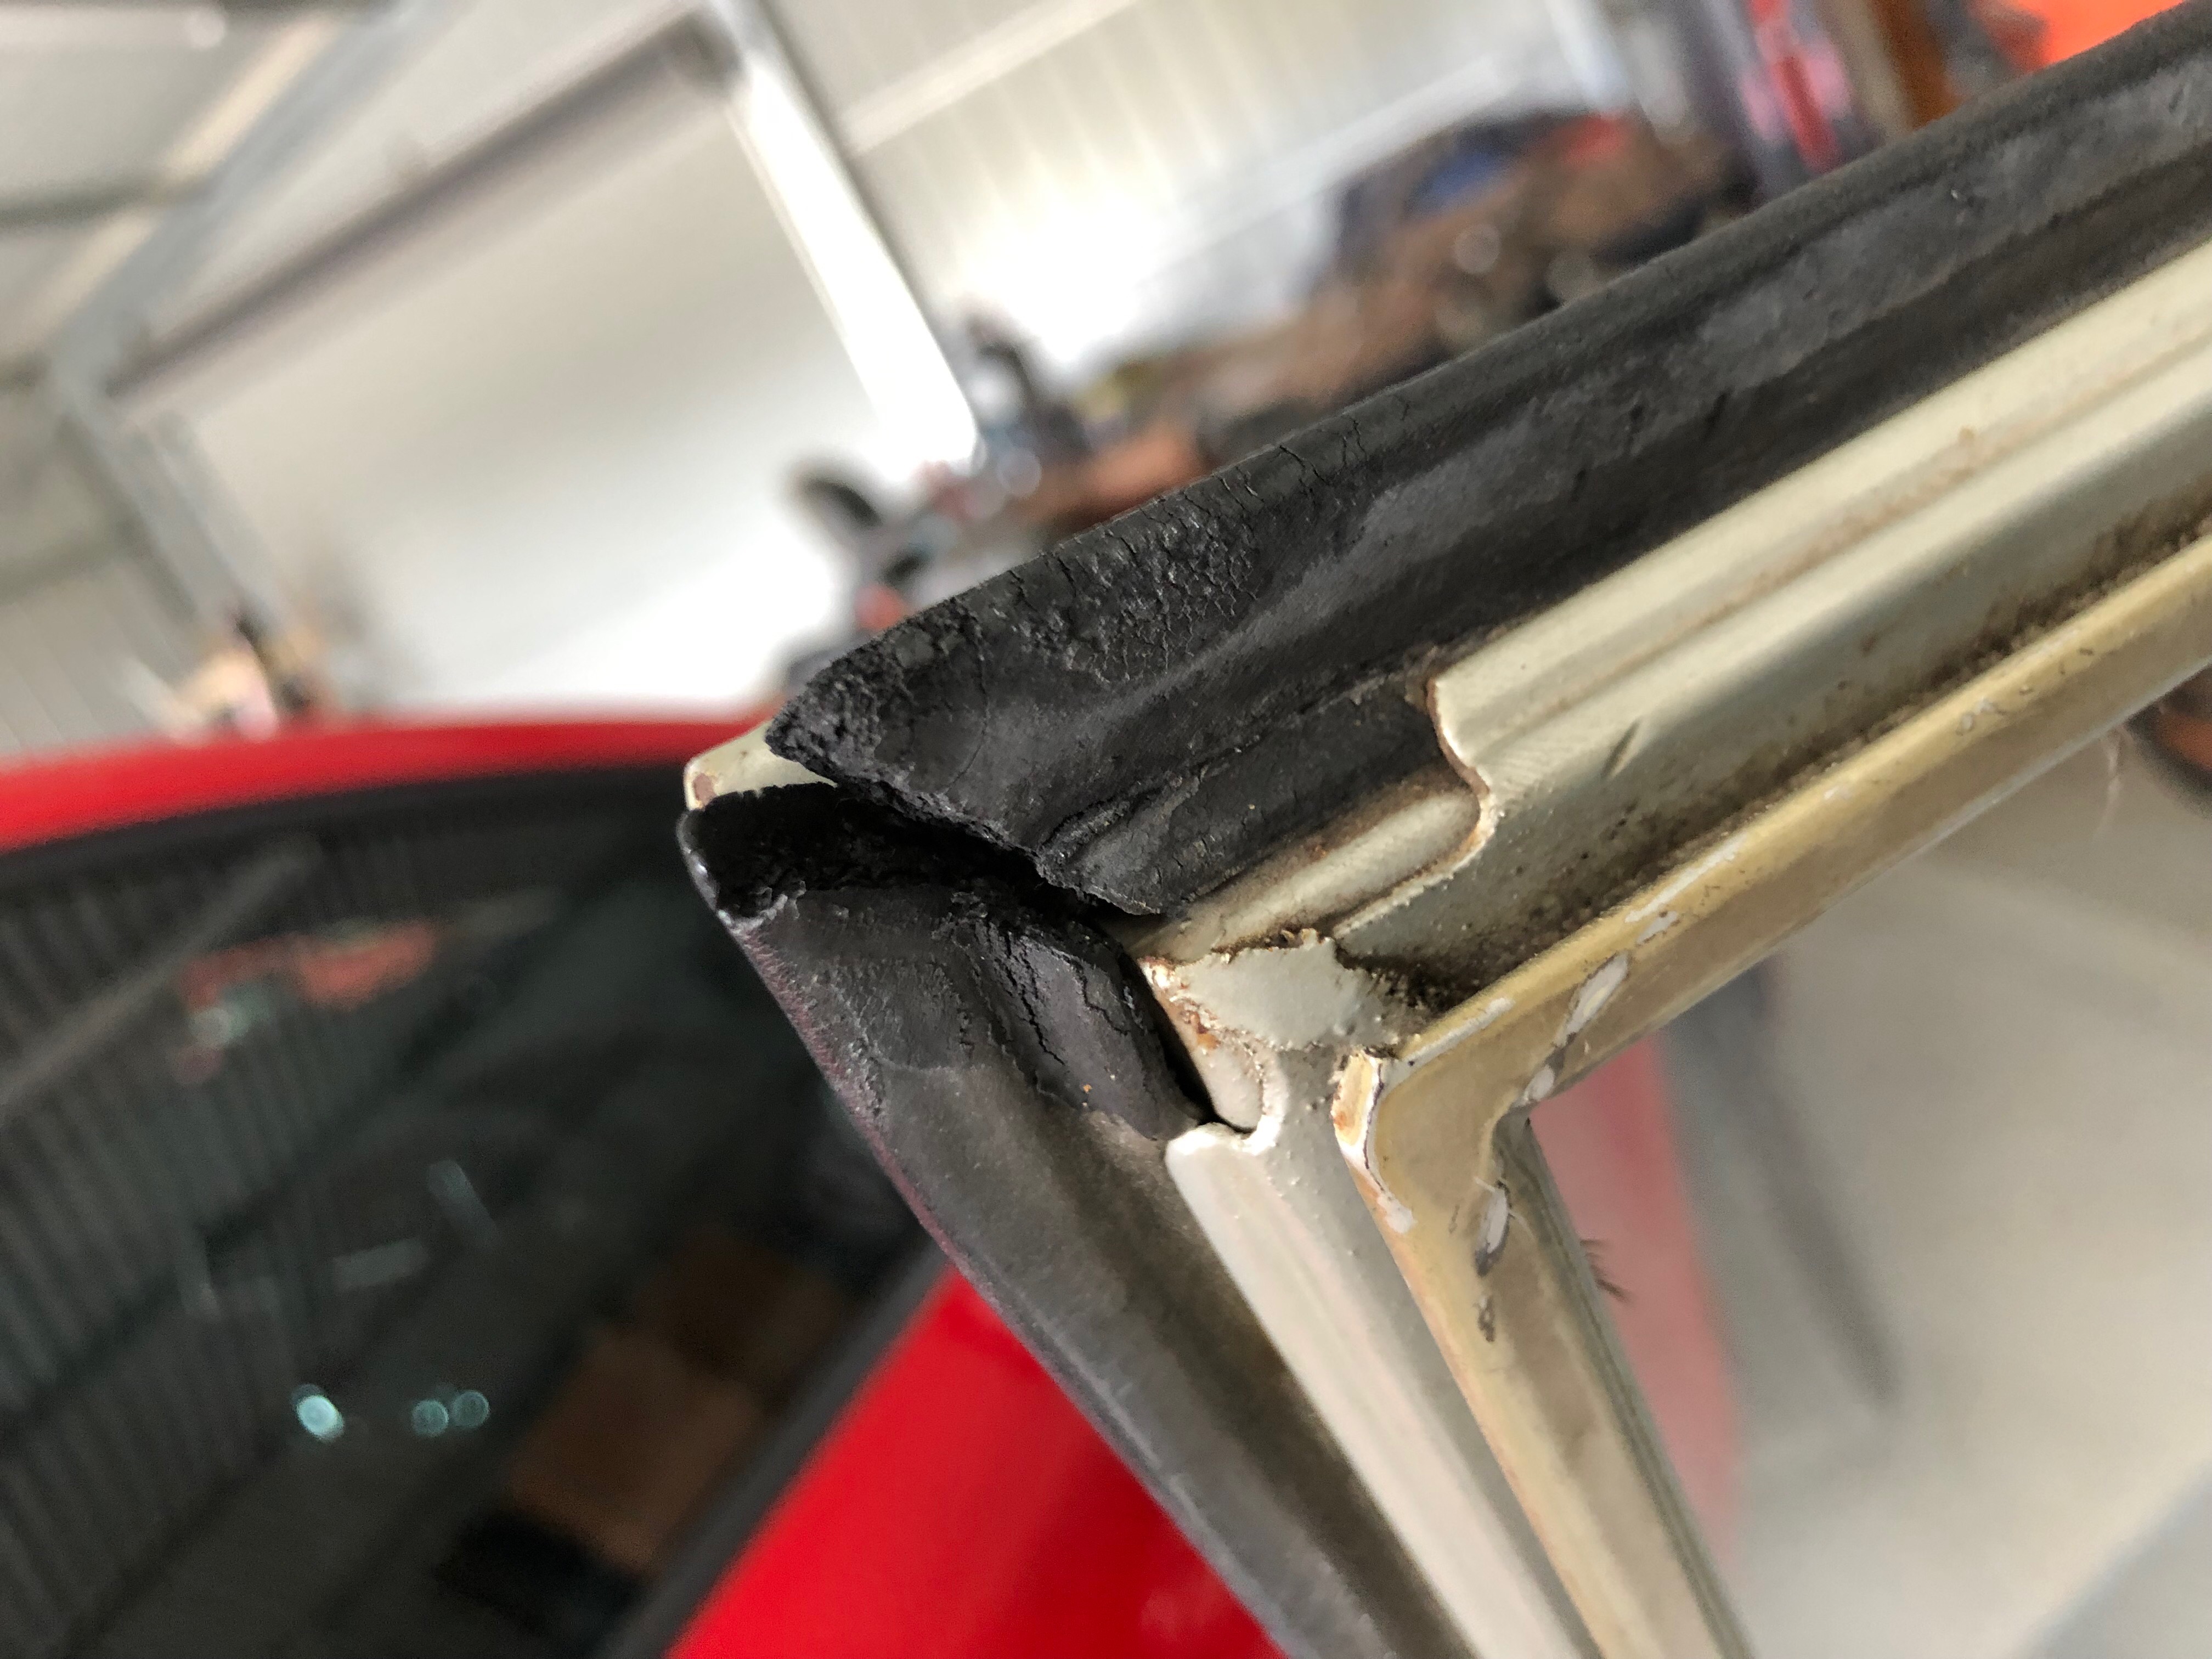
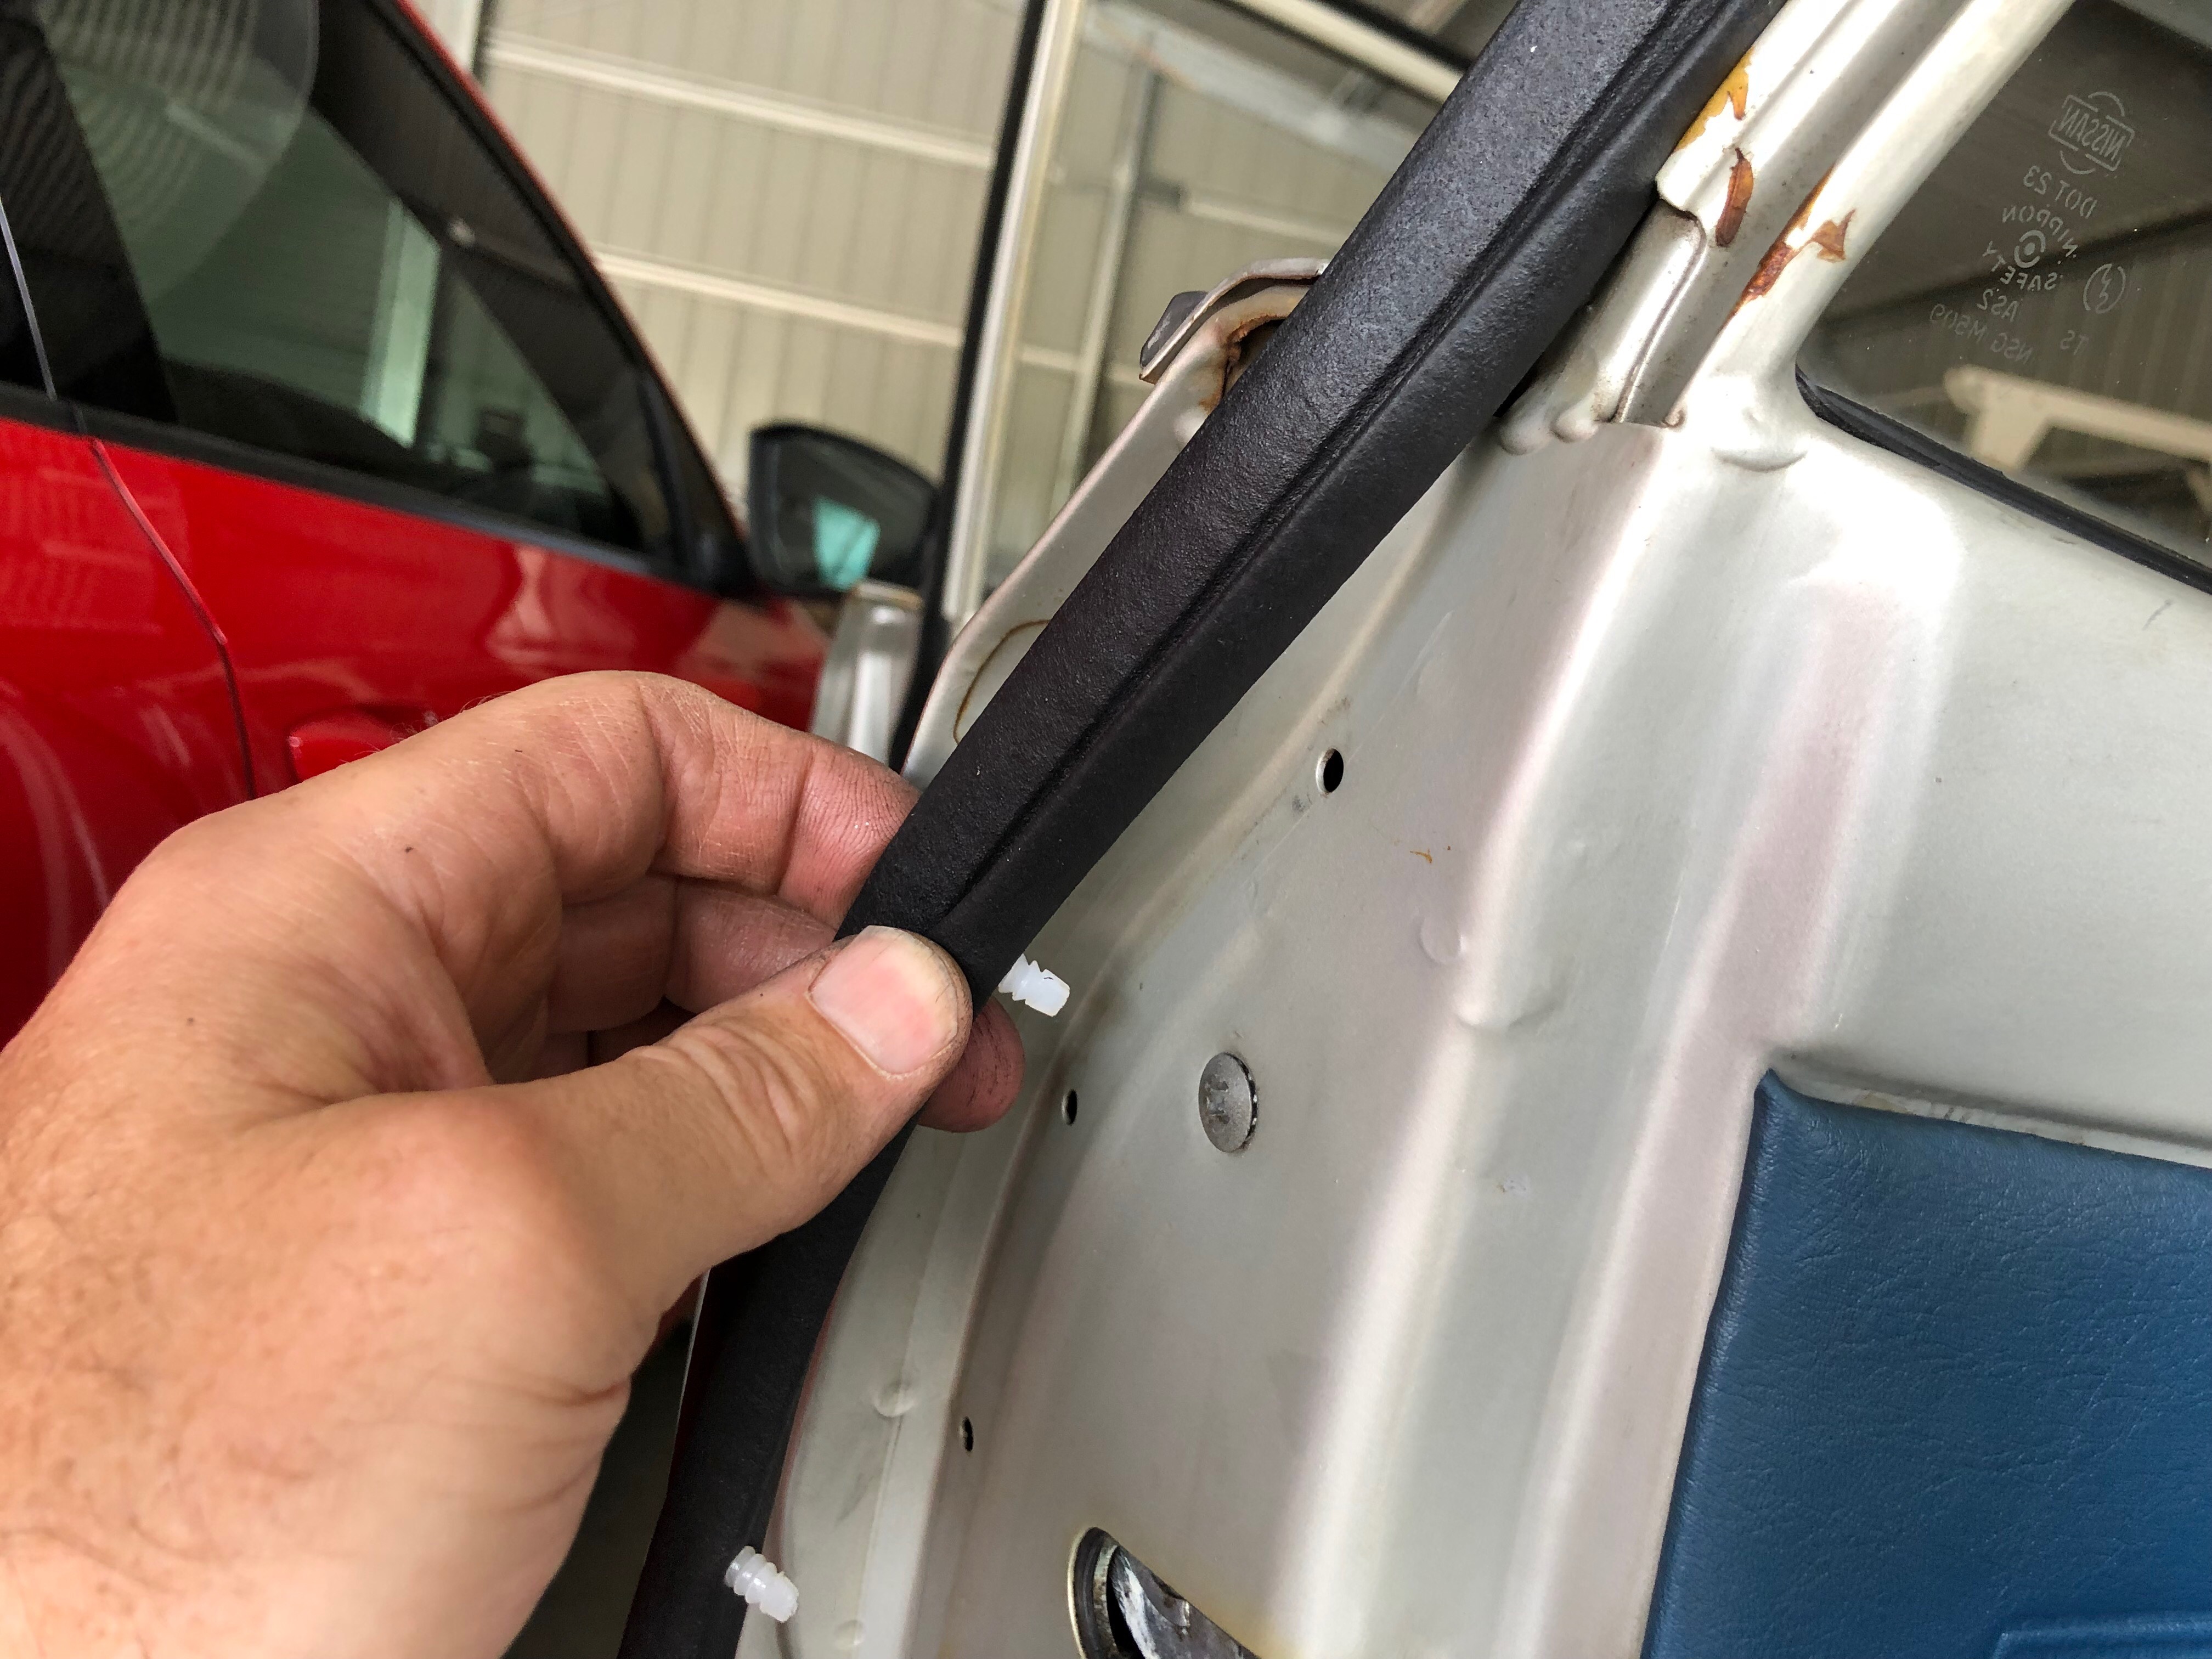
I recently bought new bailey channel rubbers, these are the rubbers that go inside the door window channel. The original ones were in quite poor condition and threads were hanging off from the rubbers everywhere. They didn’t look very good.
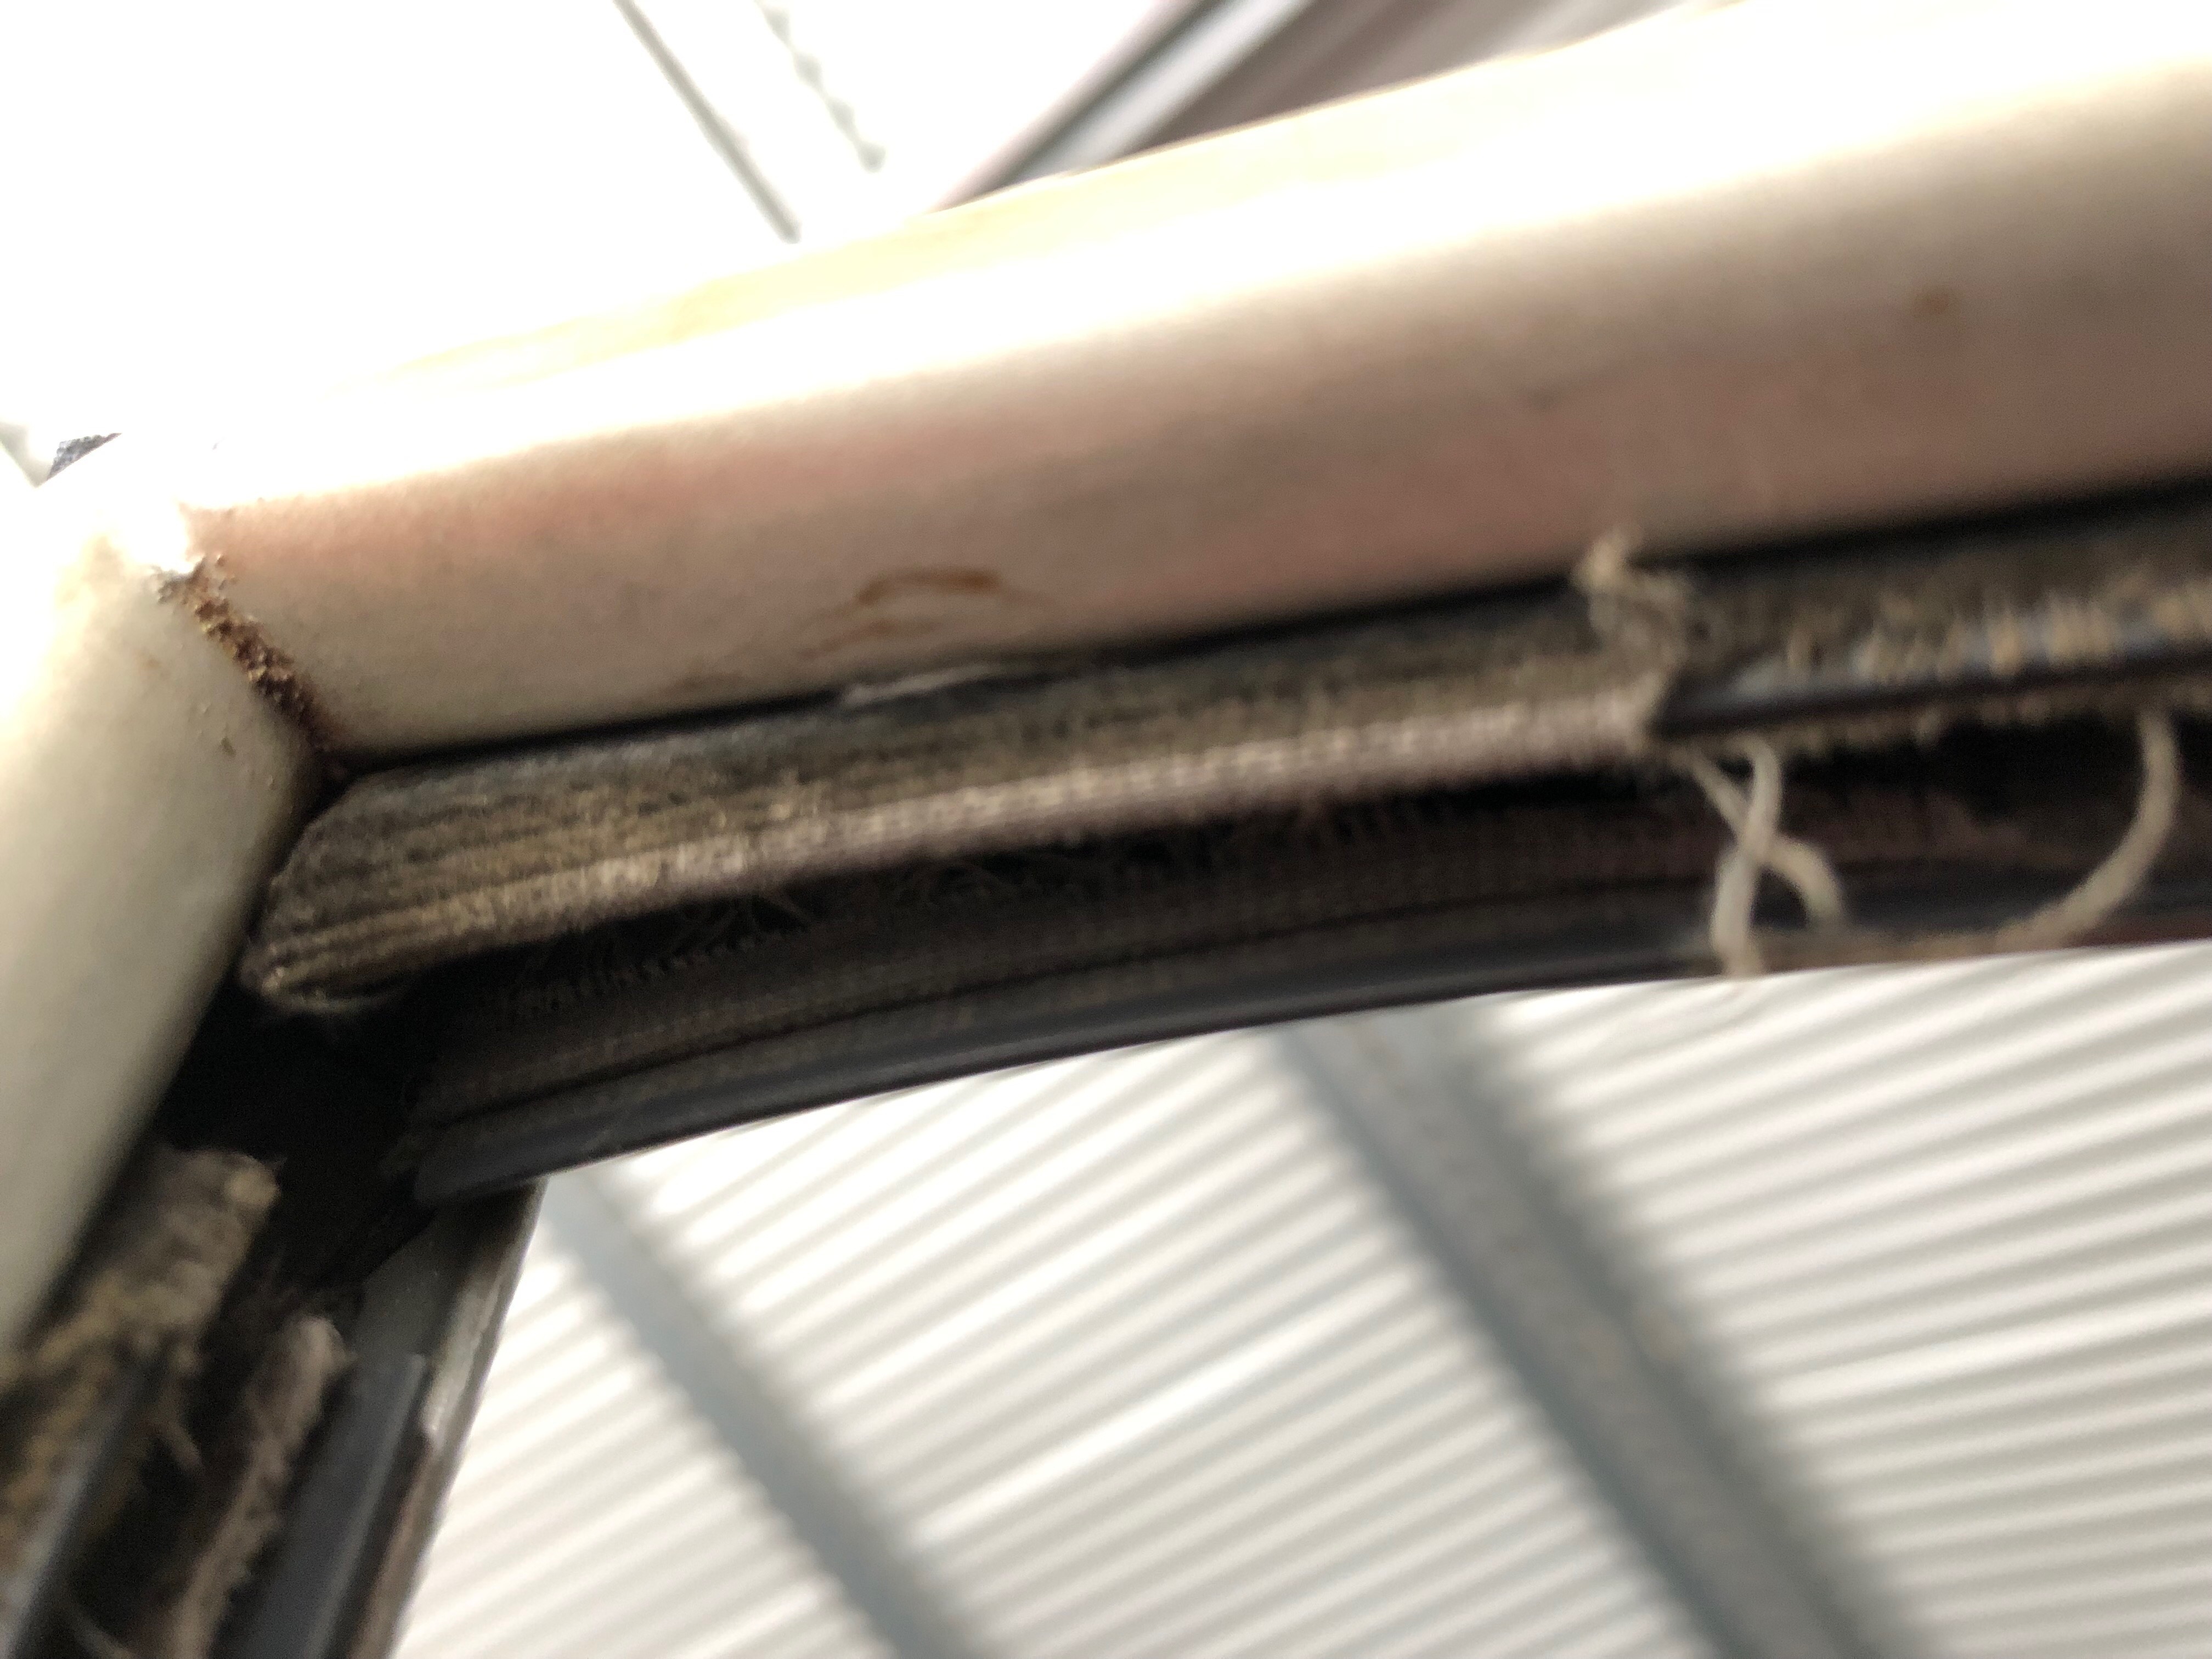
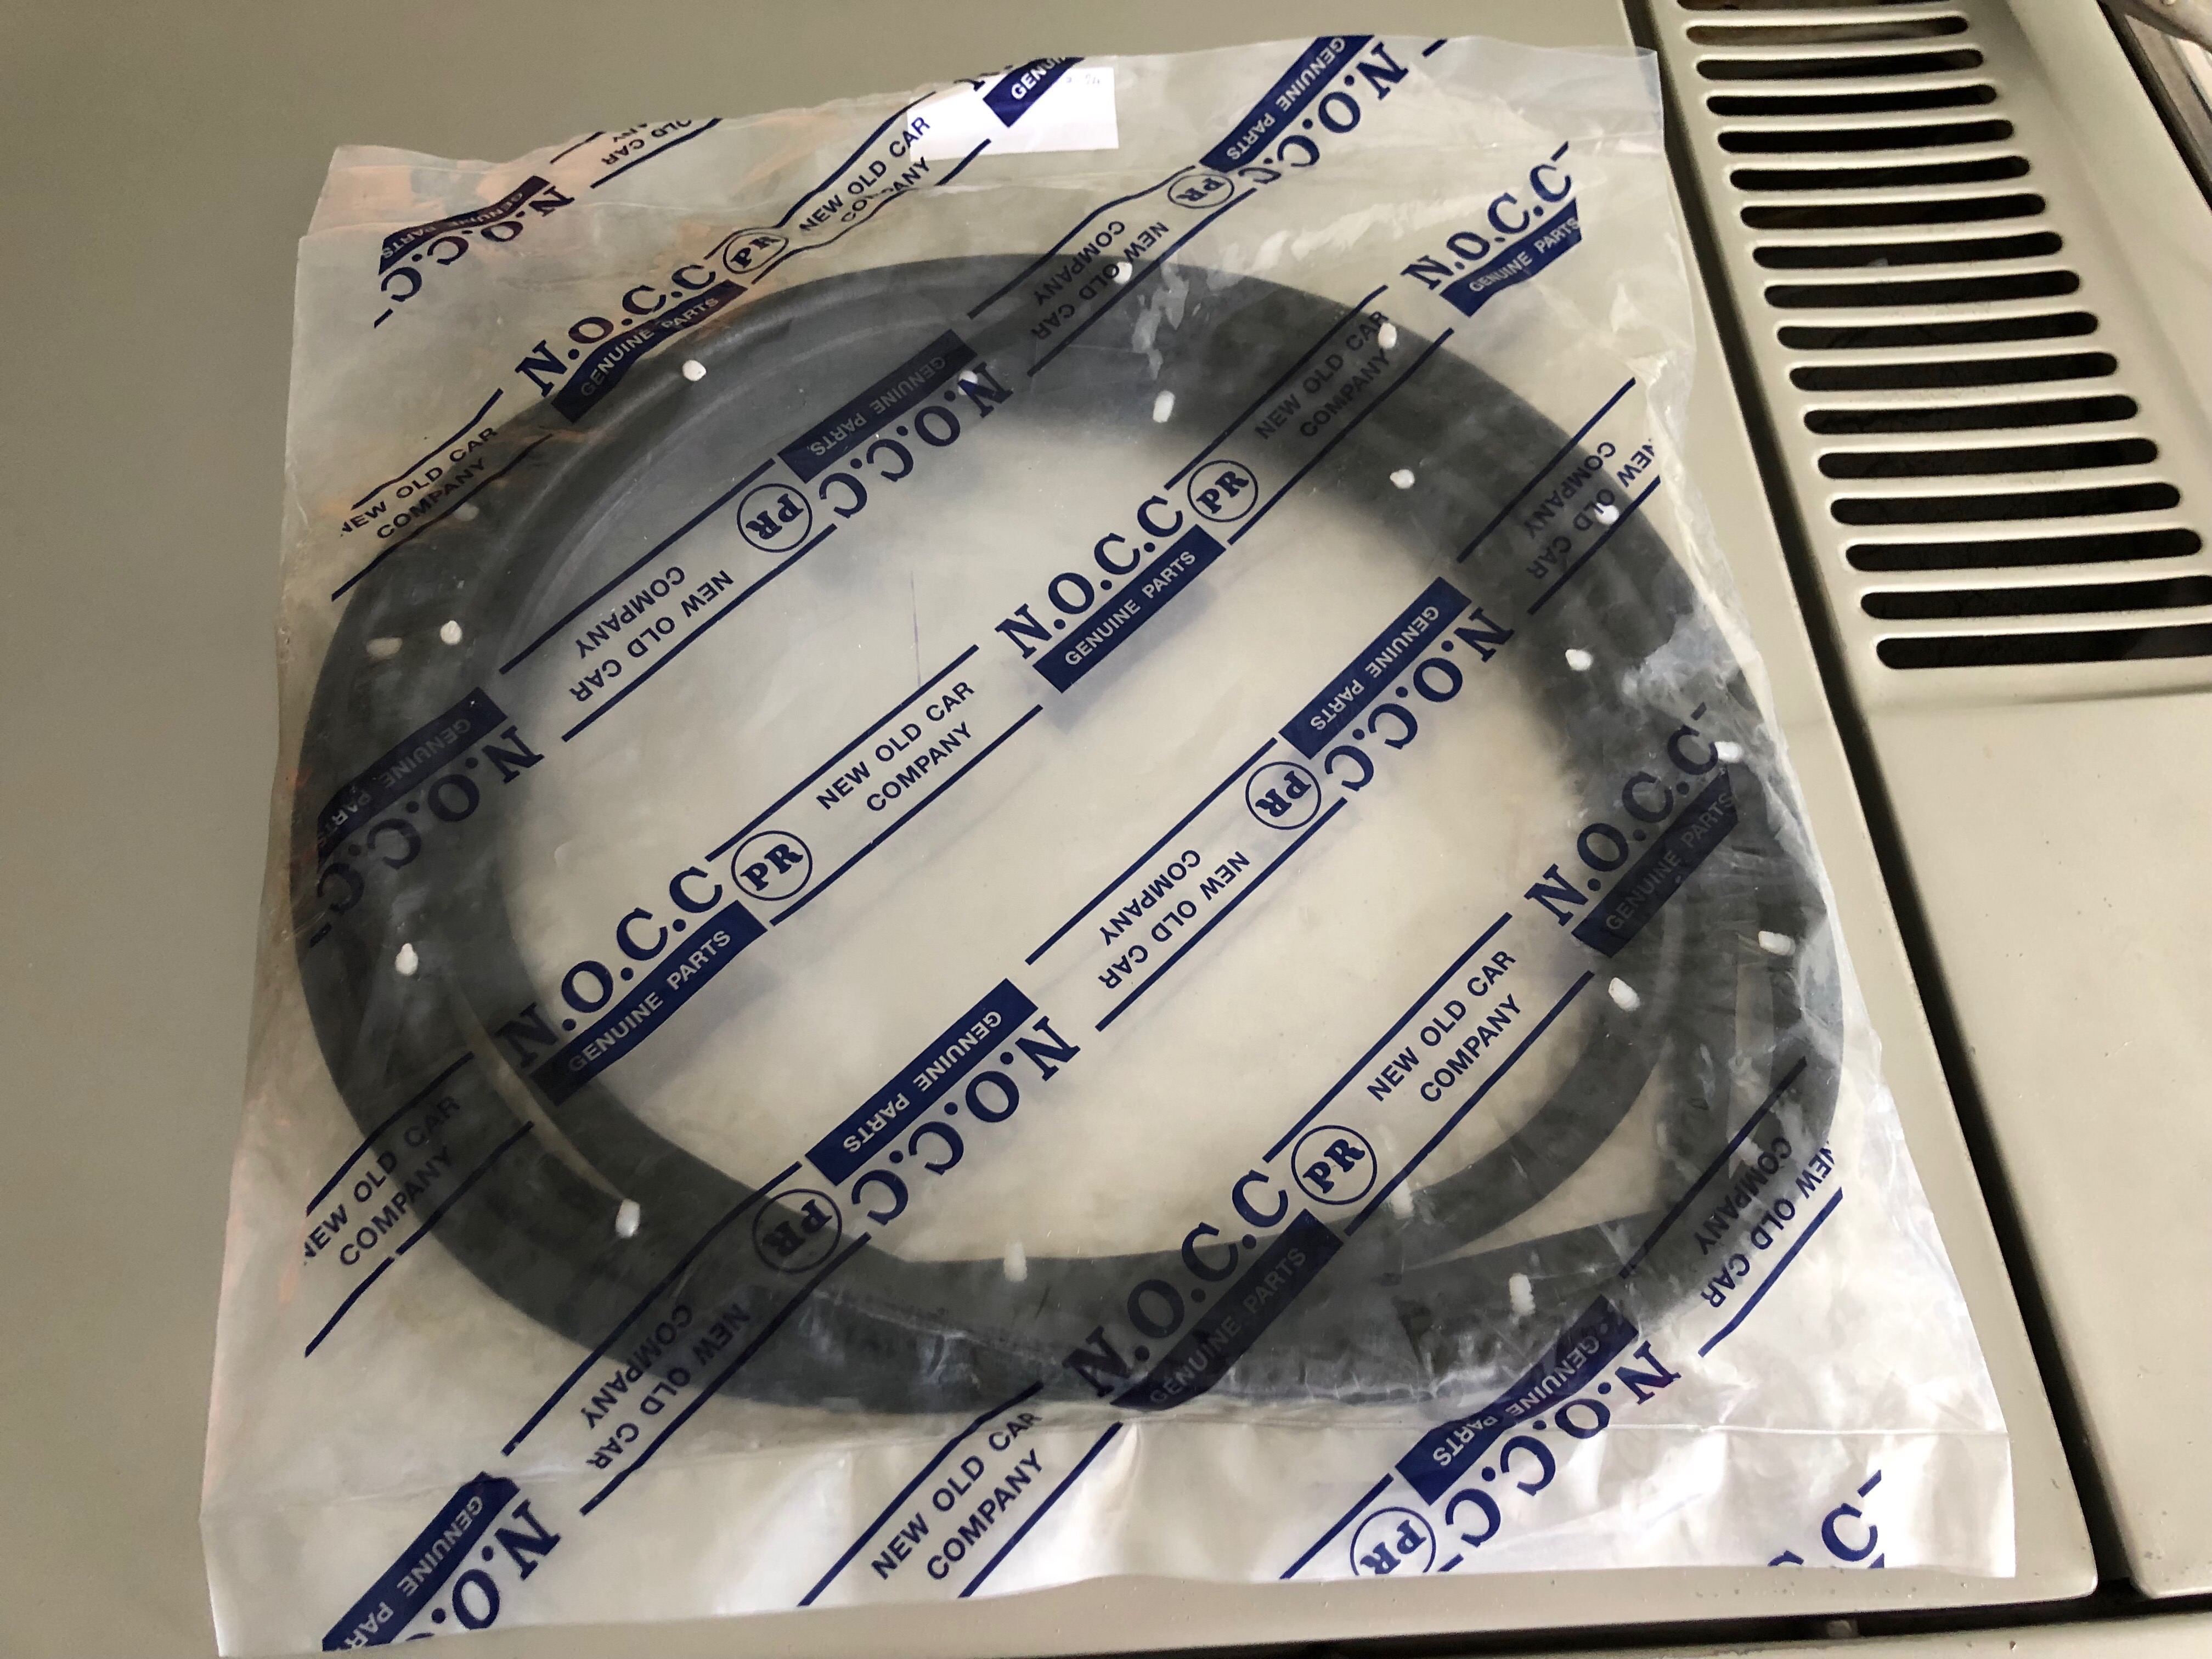
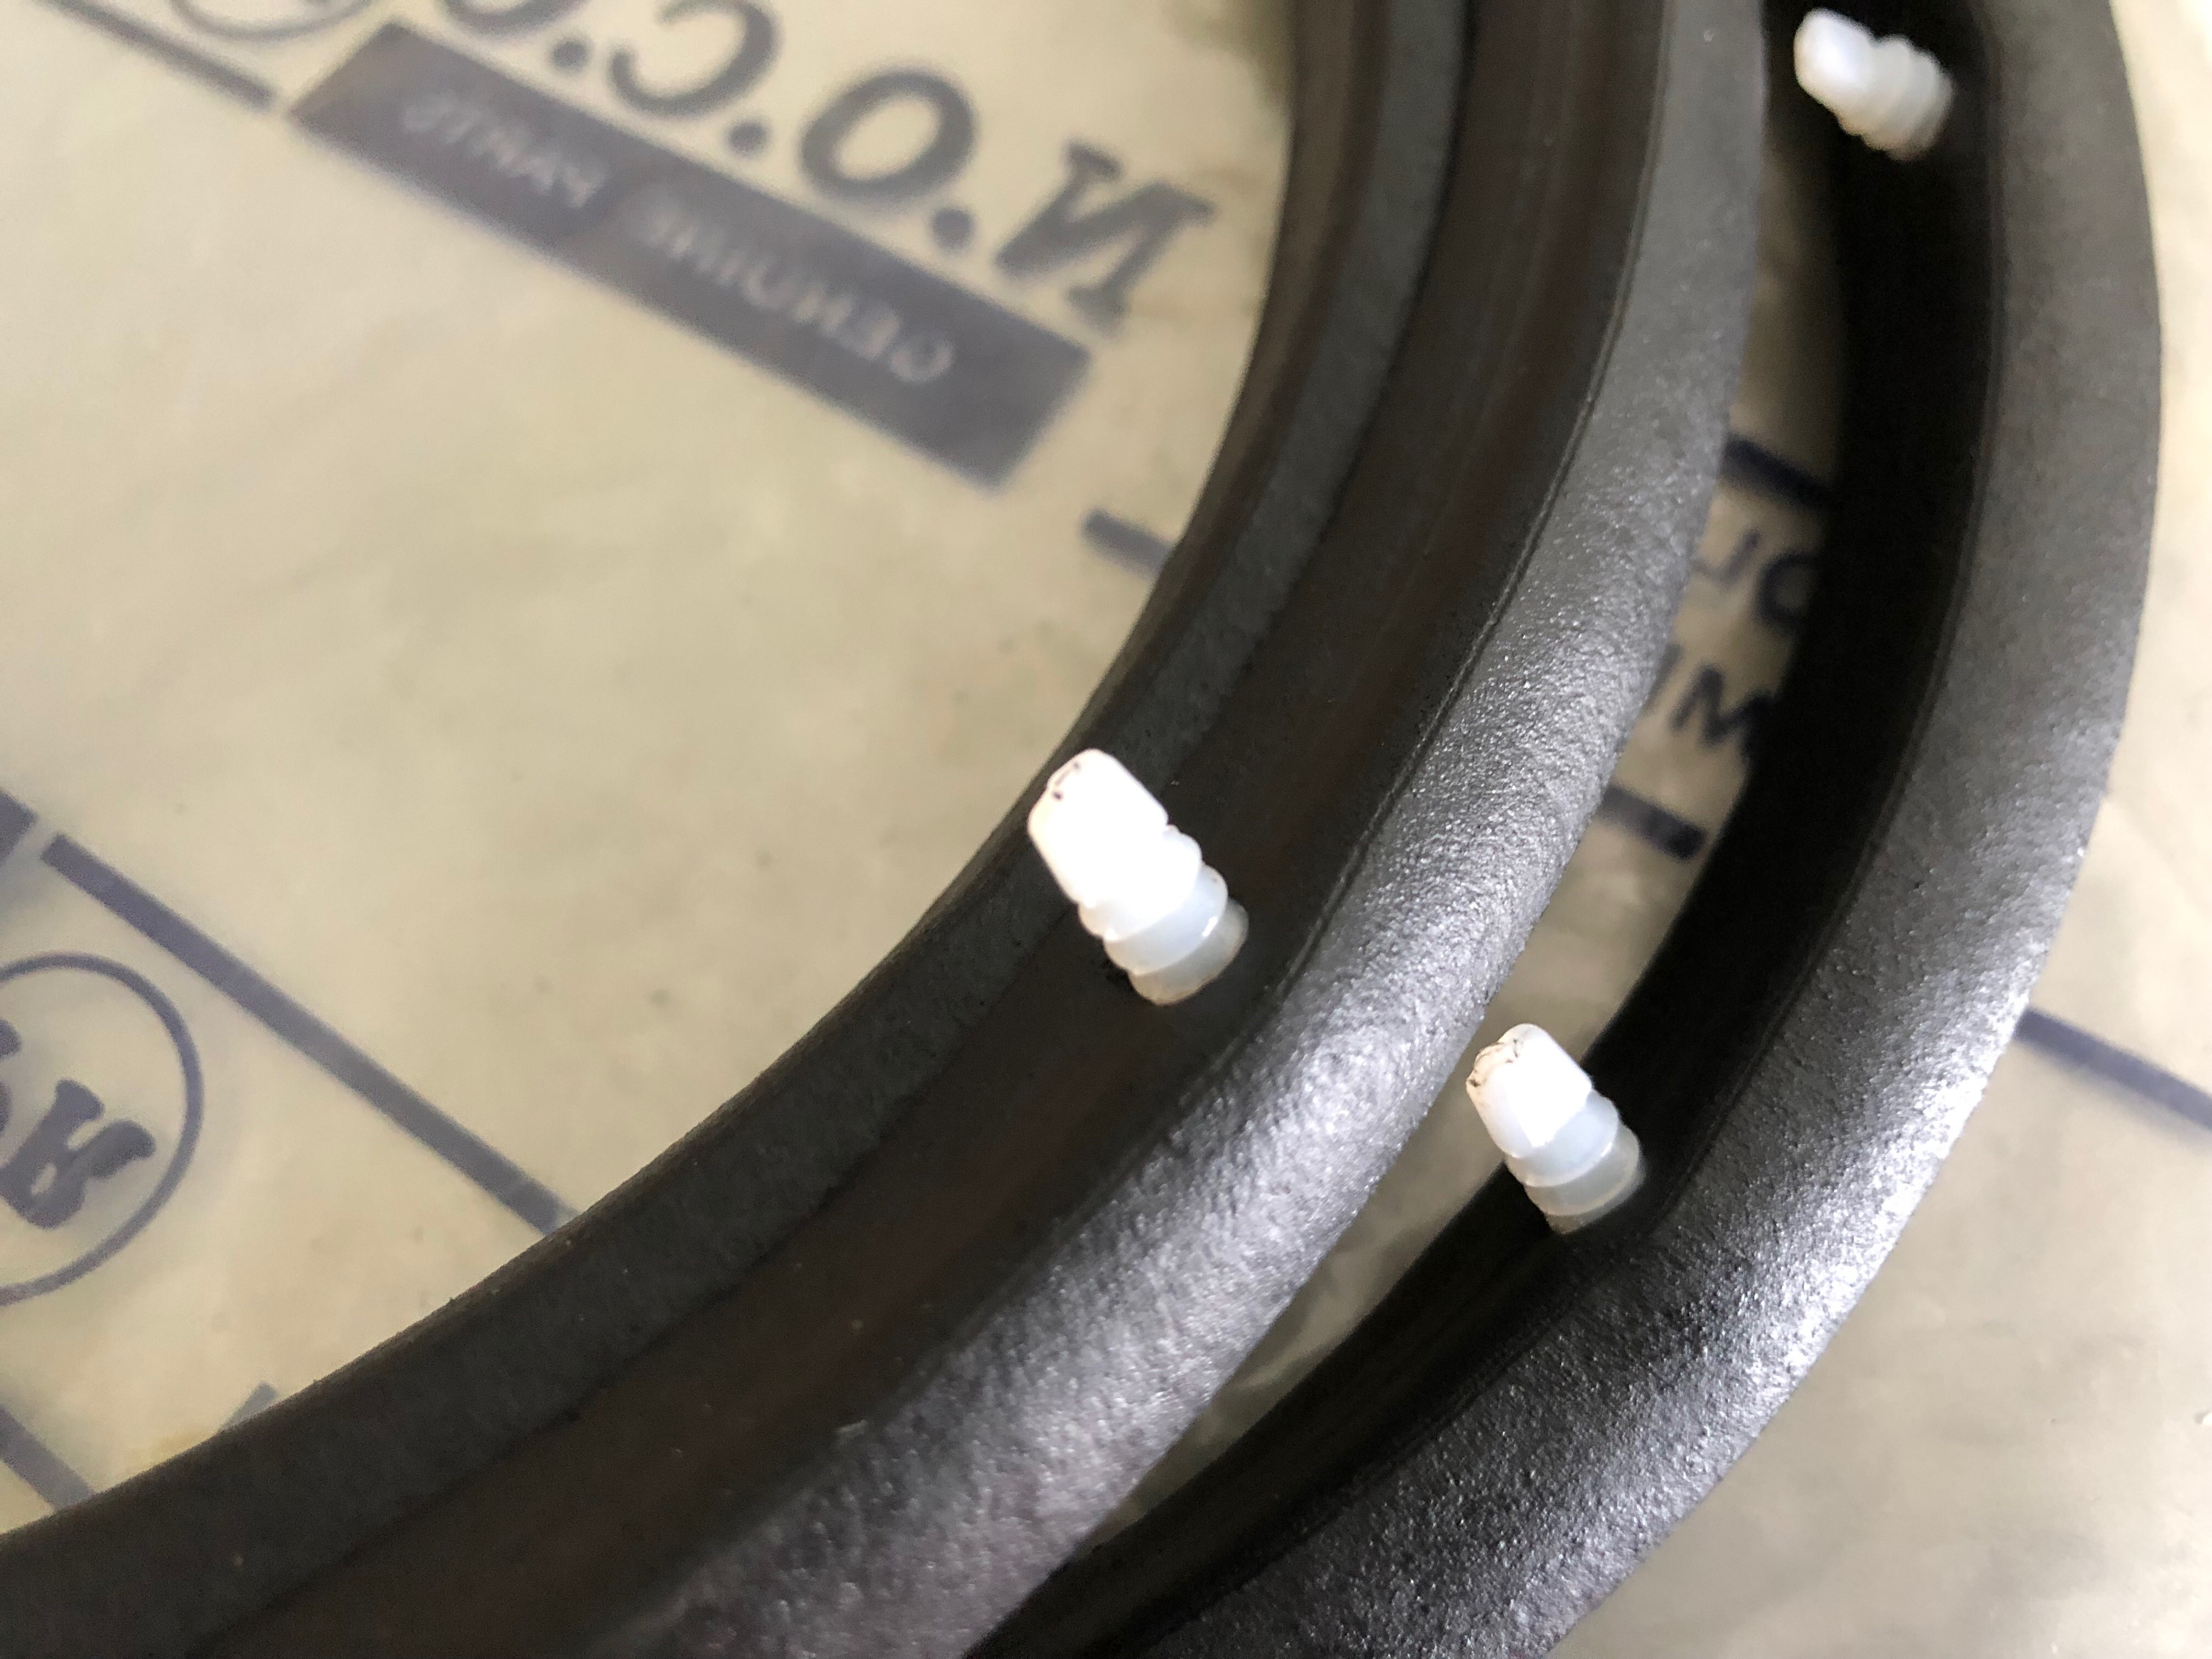
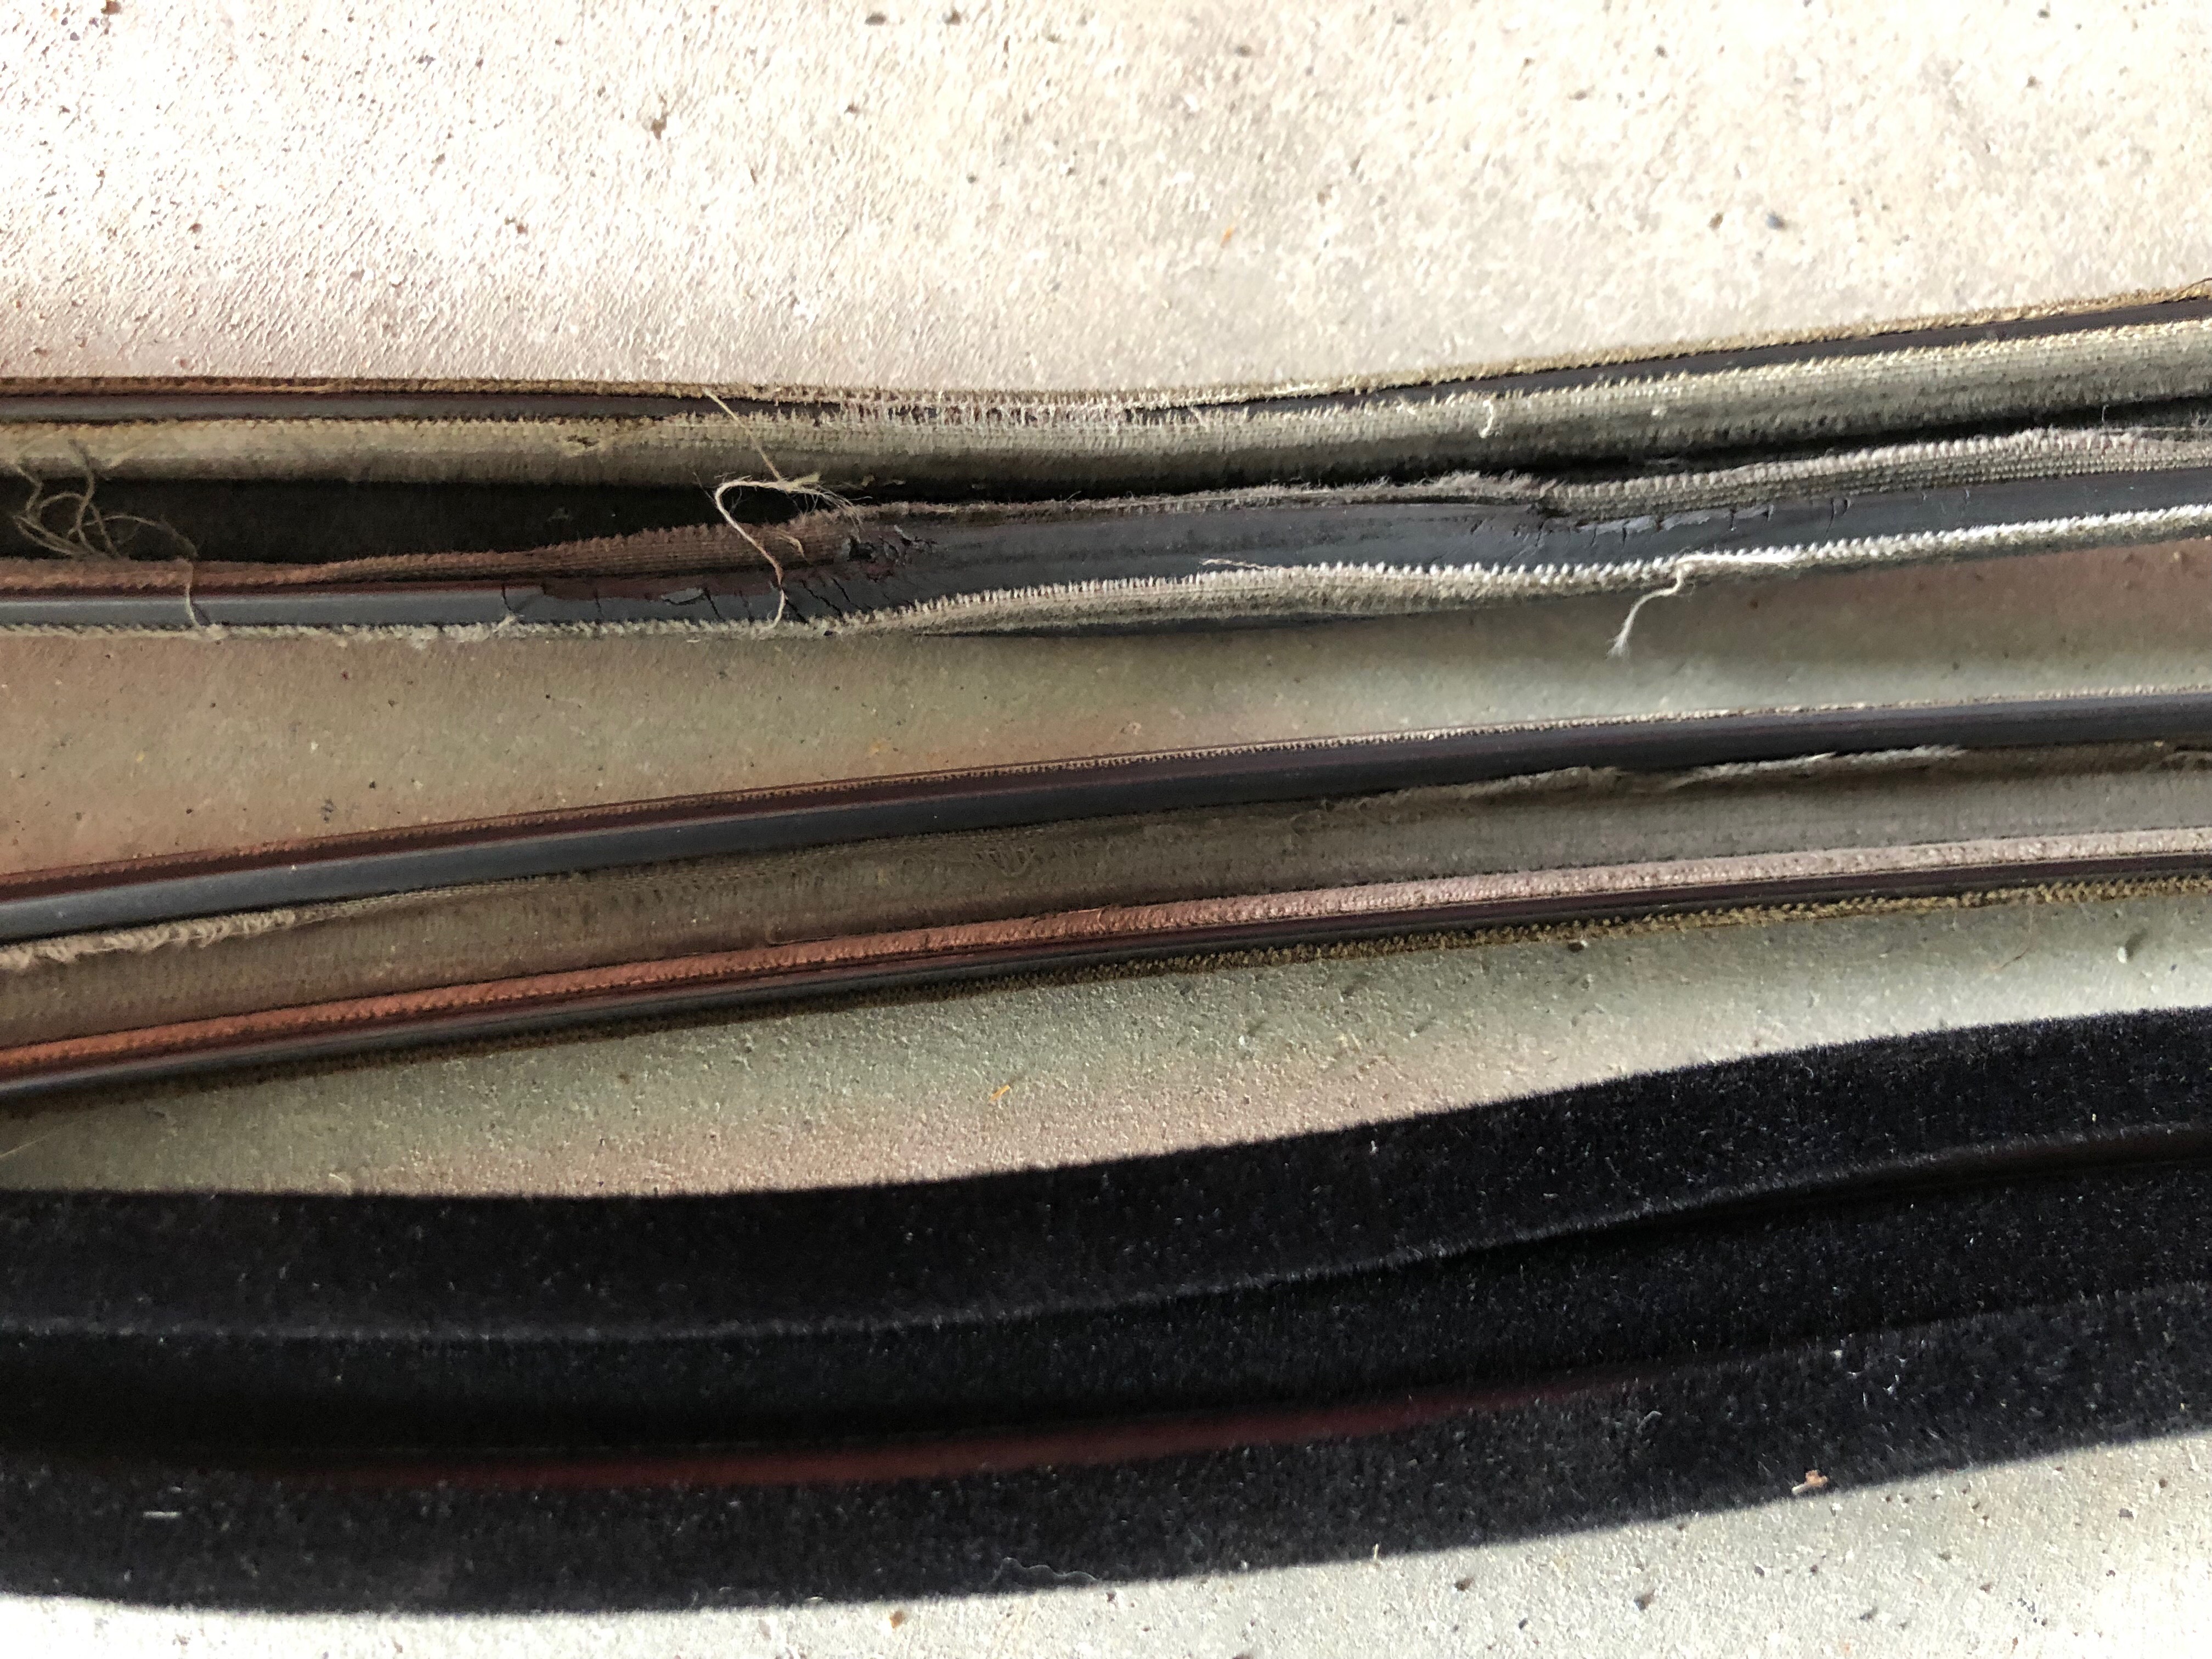
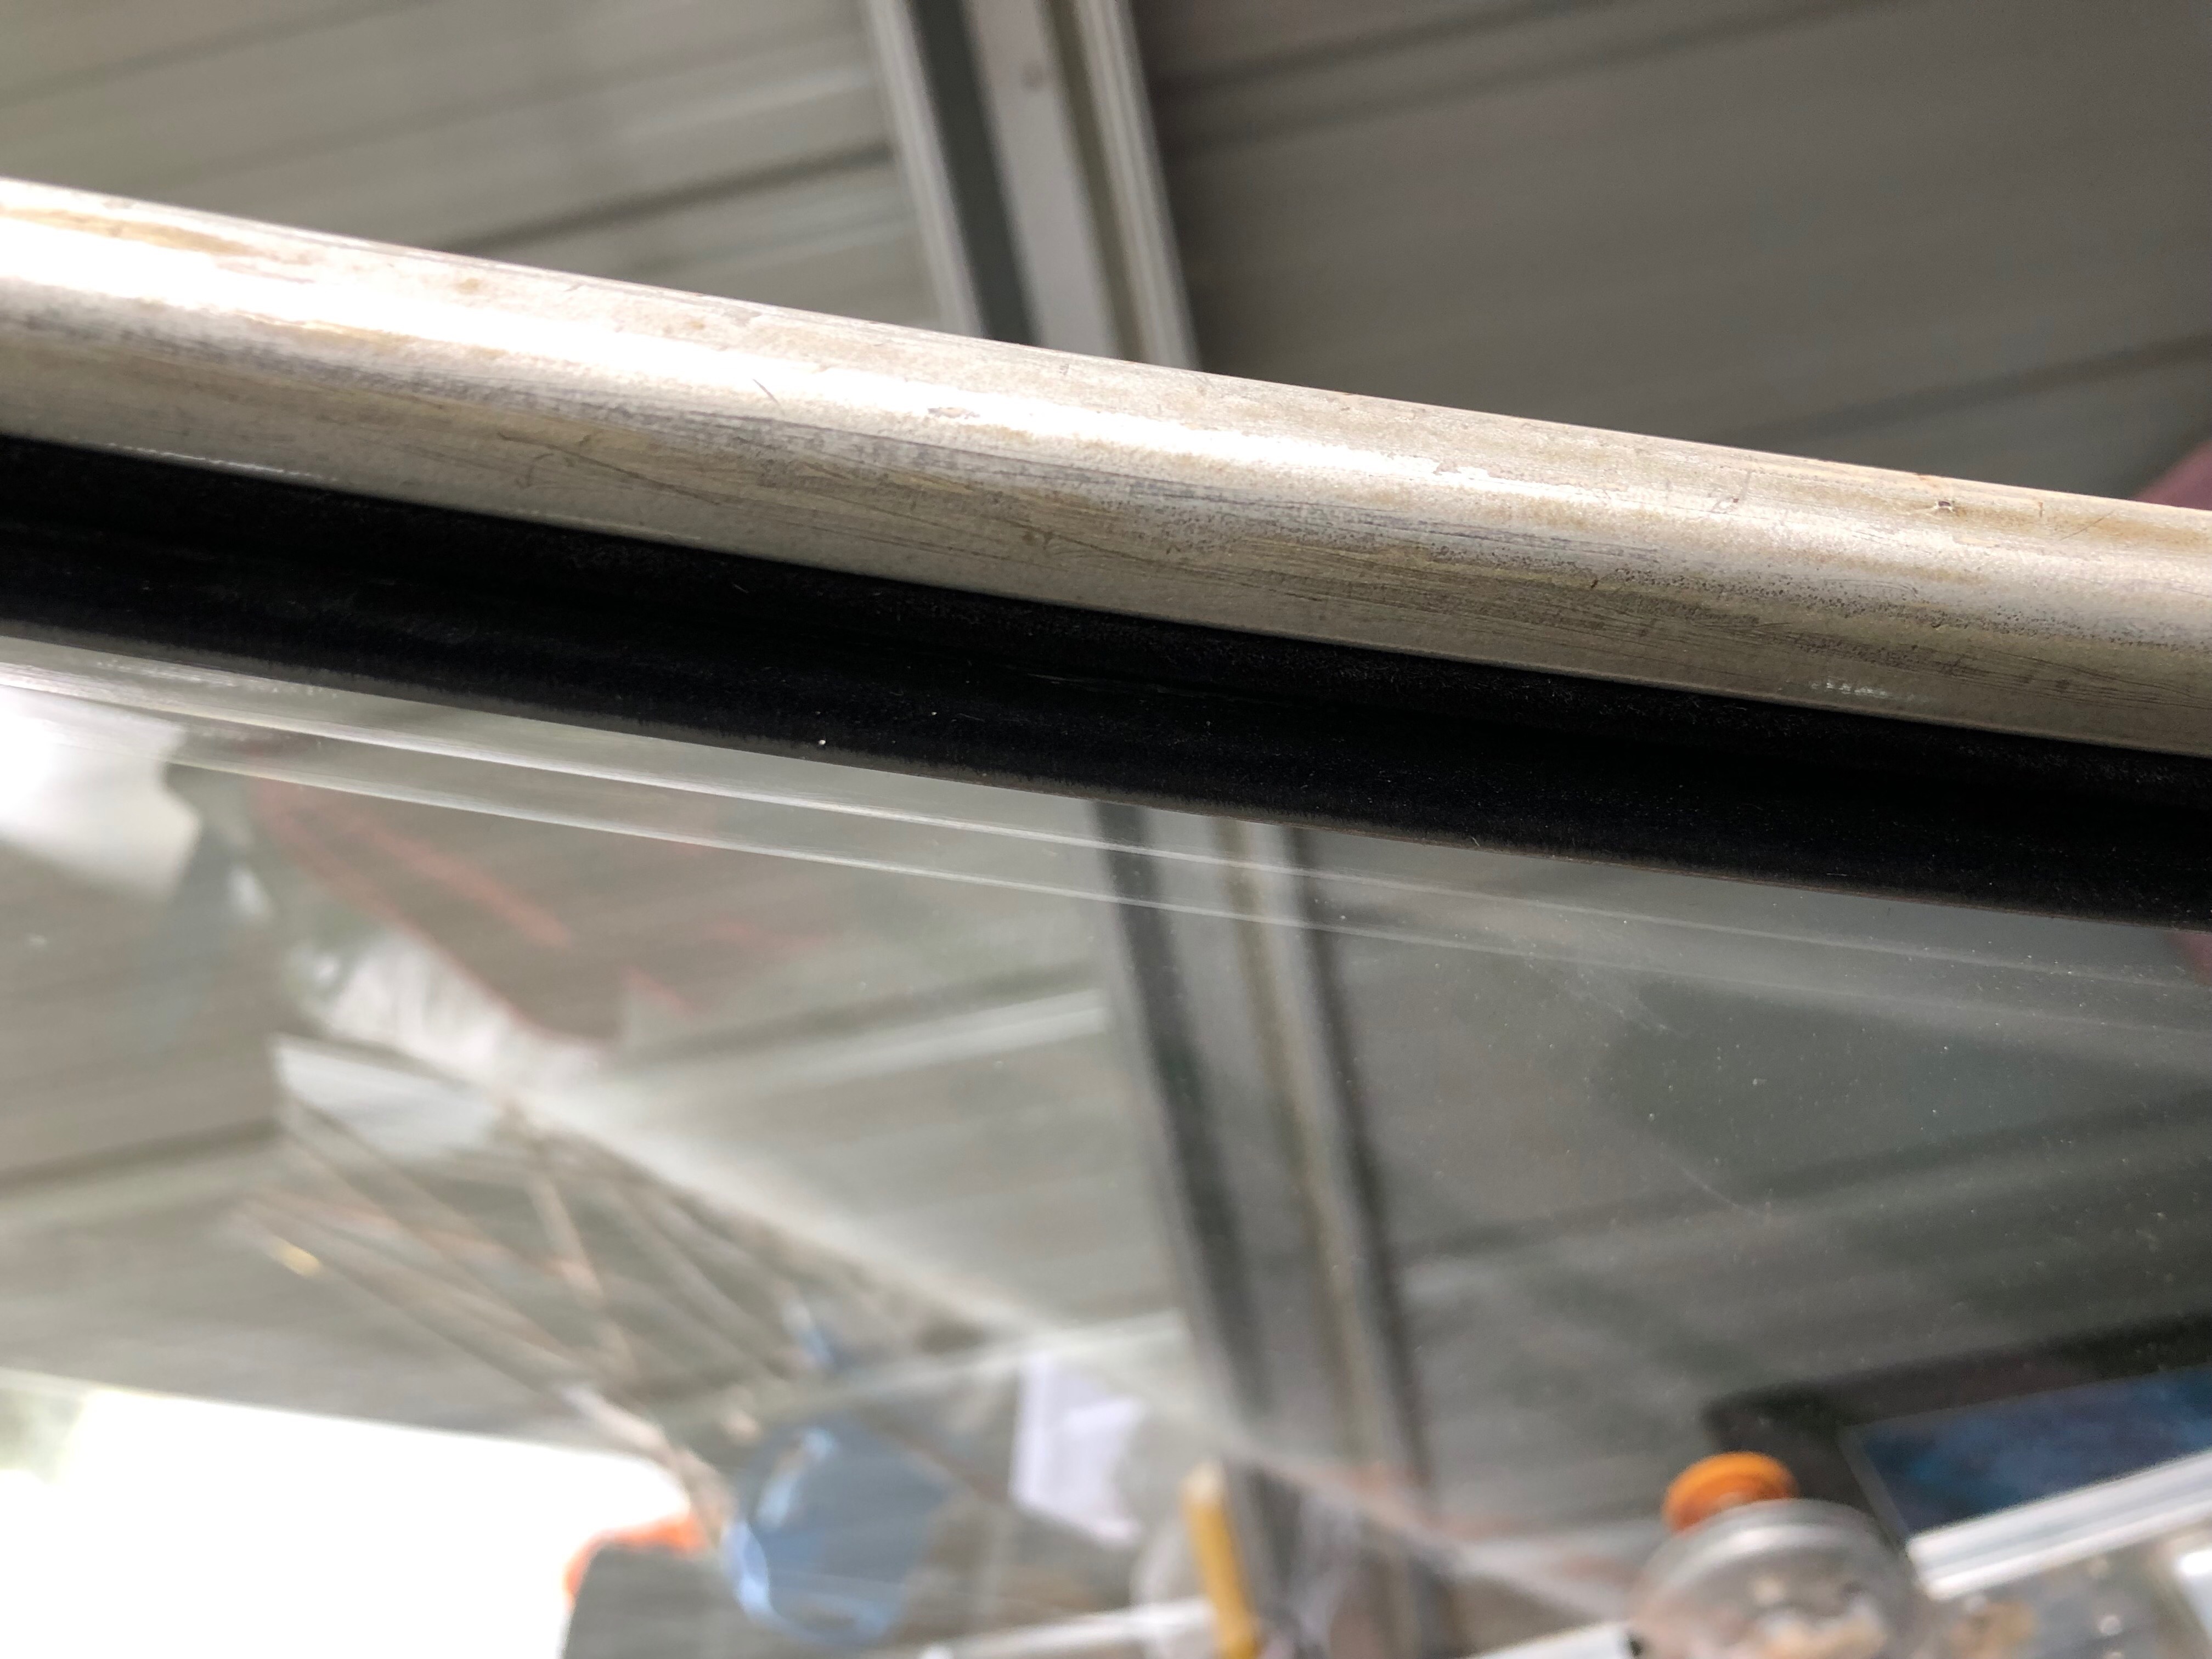
Here are the old rubbers side by side with the new one – just a bit of difference.
I purchased 4 x rubbers from the Rare Spares eBay site. I ended up only using 2 packs as one rubber was enough to do 2 windows – just.
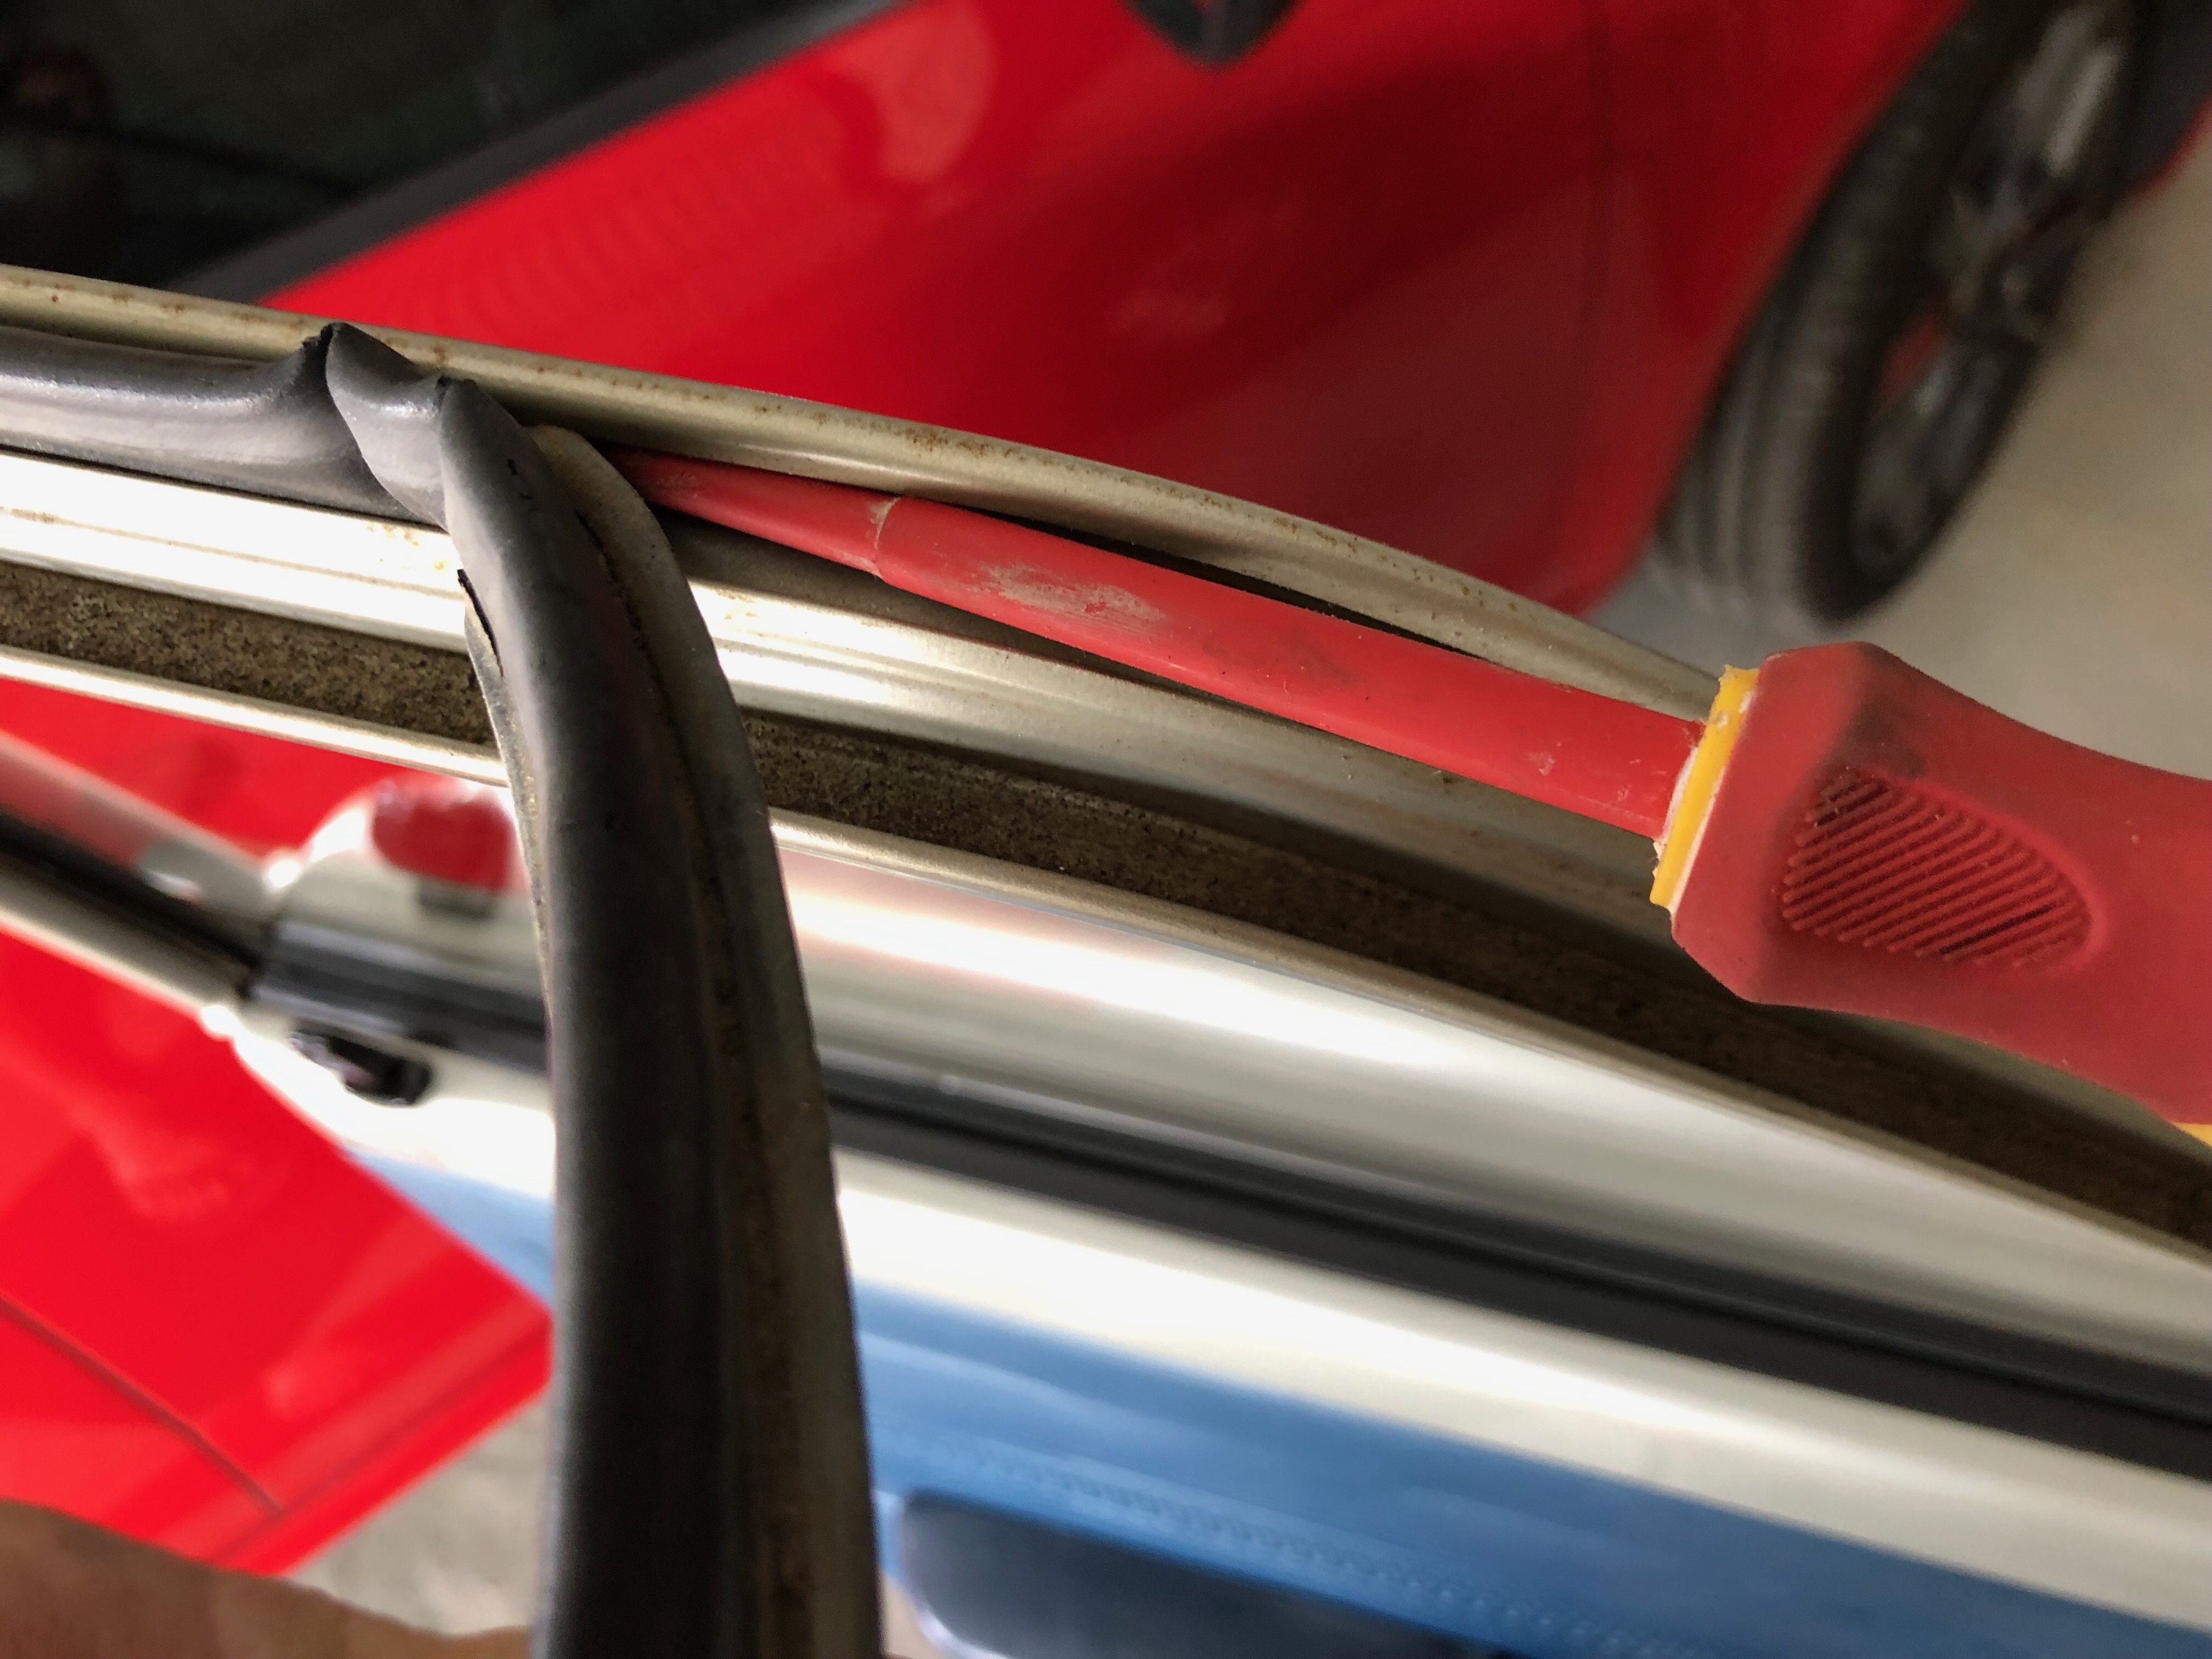
Removing the old rubbers was fairly straight forward with the old ones just pulling out, although there was a little glue in some spots.
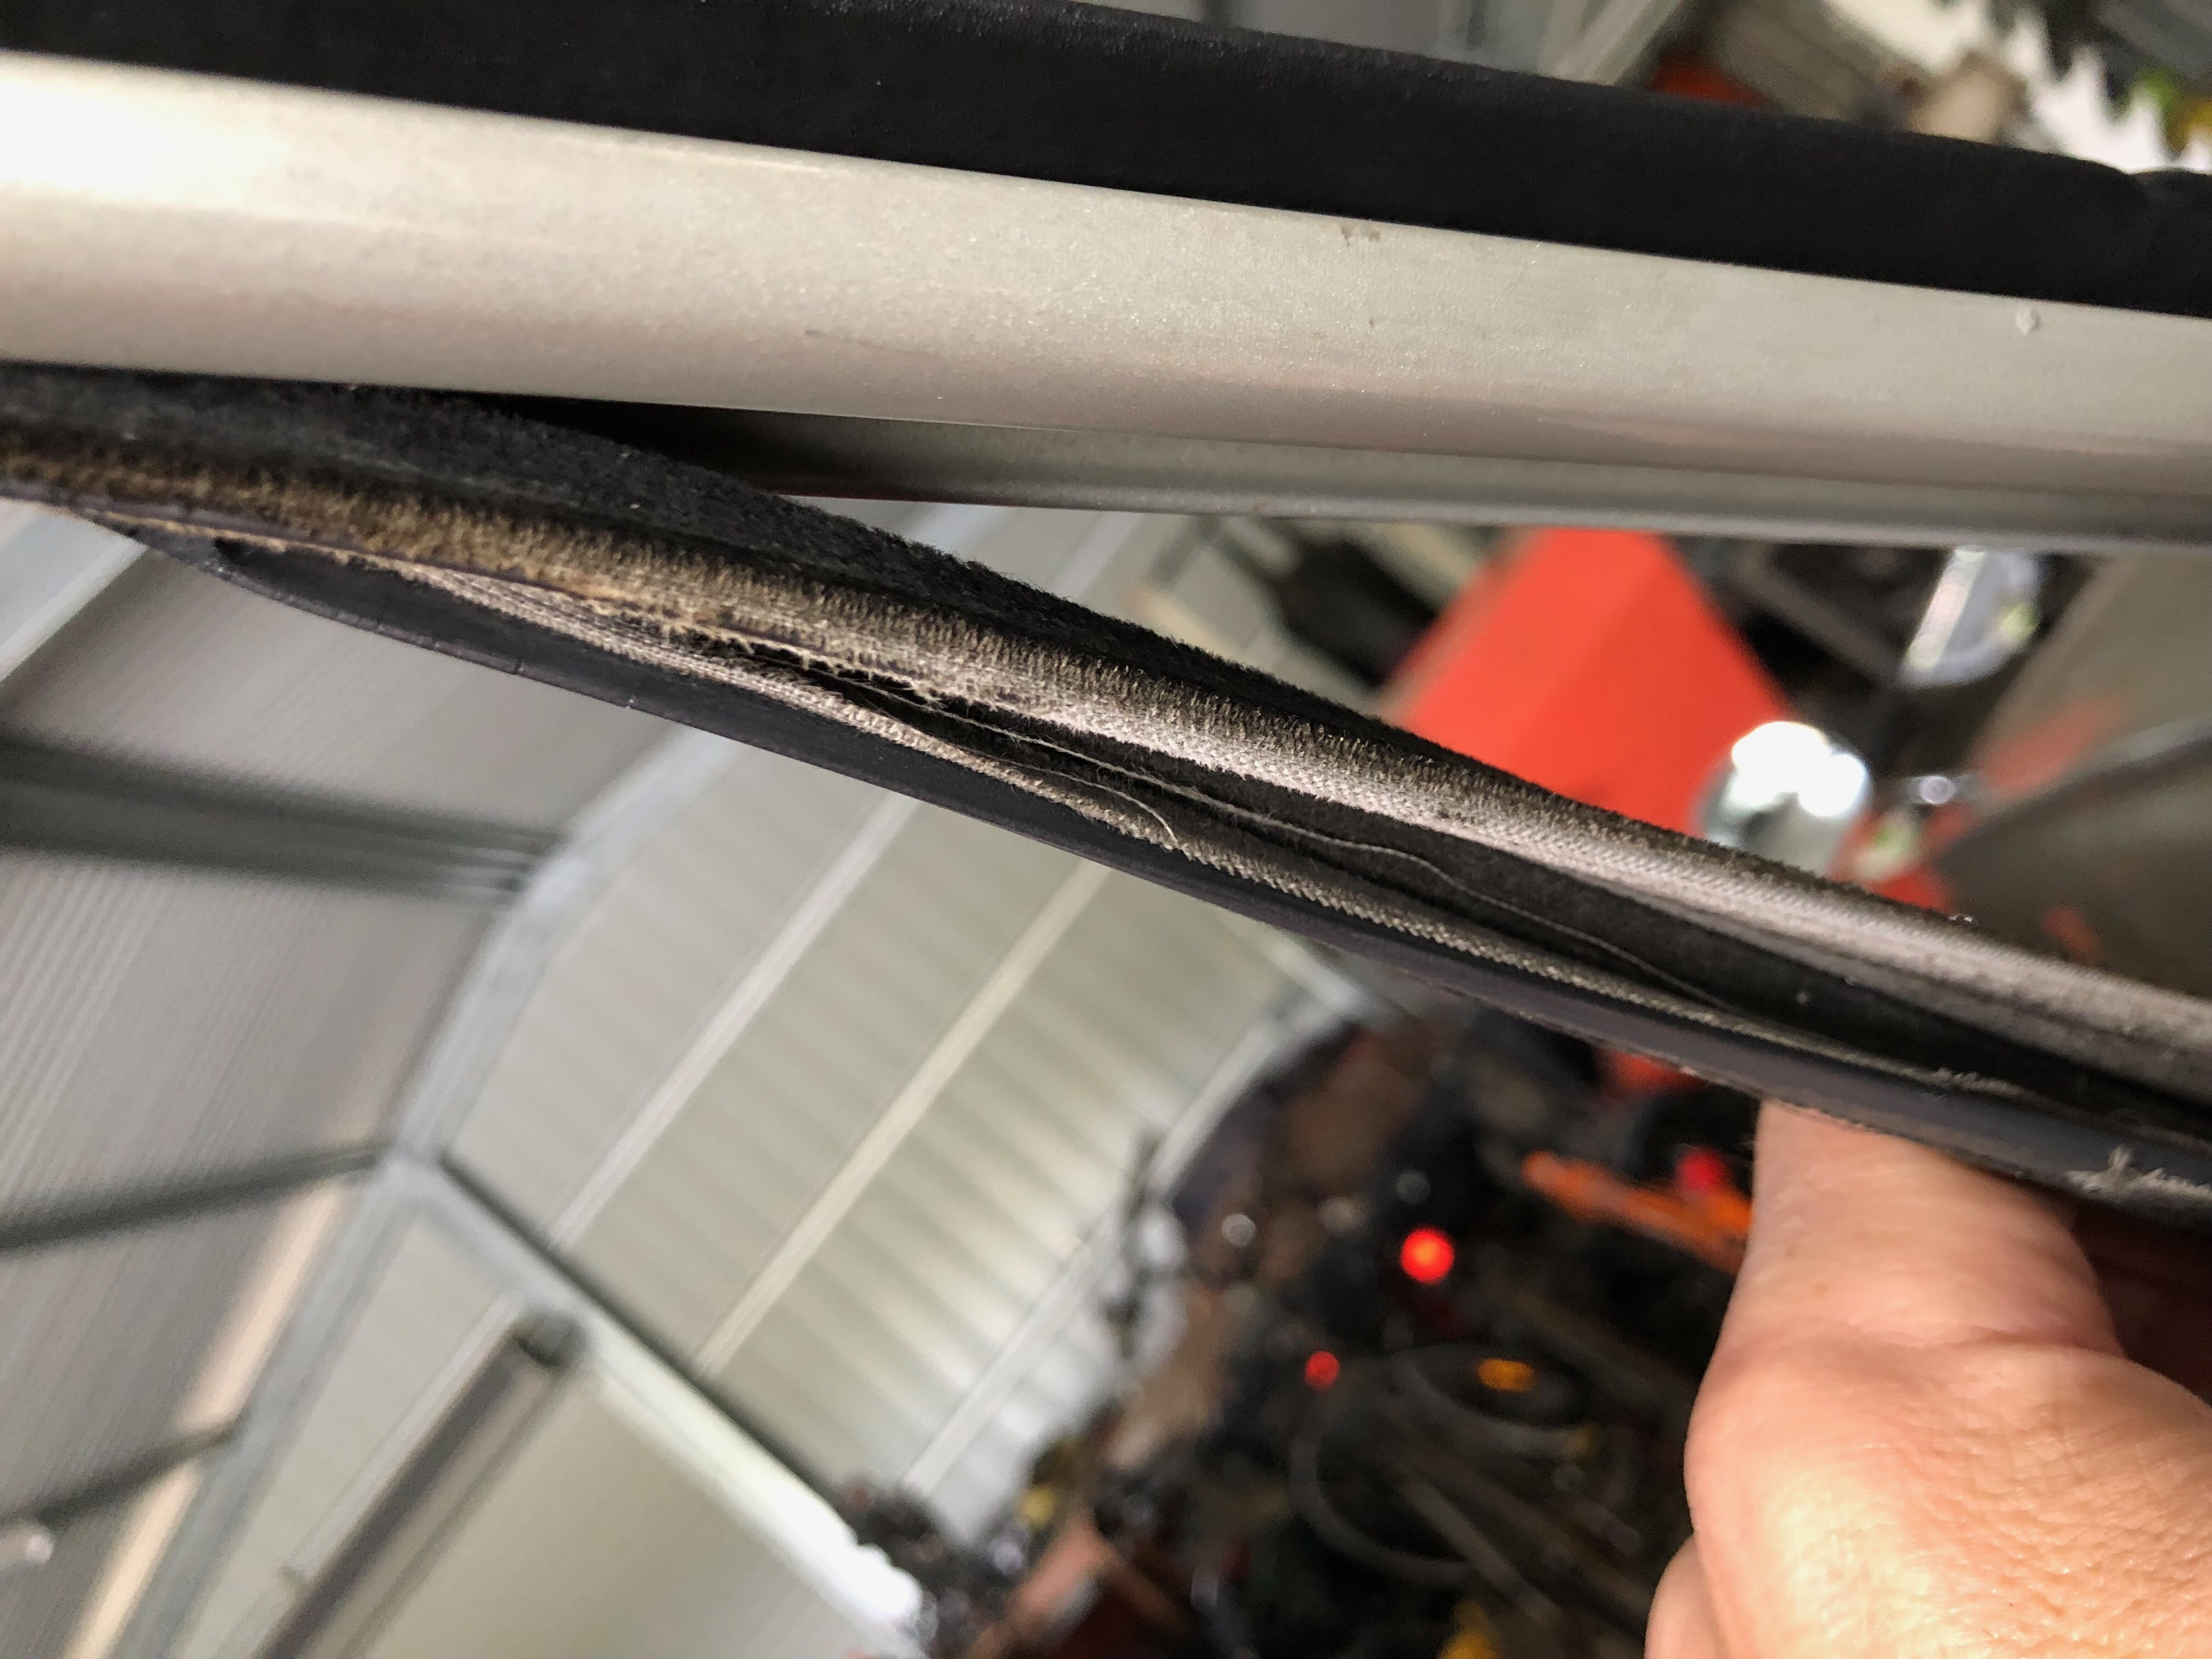
The only tricky bit is the inside of the window frame. On the outside the bailey channel rubber only just goes down below the level of the window sill. On the inside, the bailey rubber goes a long way down inside the window frame and the glass is always inside the rubber. The only way to overcome that and install is to take off the door trim to gain access to the inside of the door.
I didn’t go to this extreme, I just cut off the rubber at the sill level with a sharp Stanley knife.
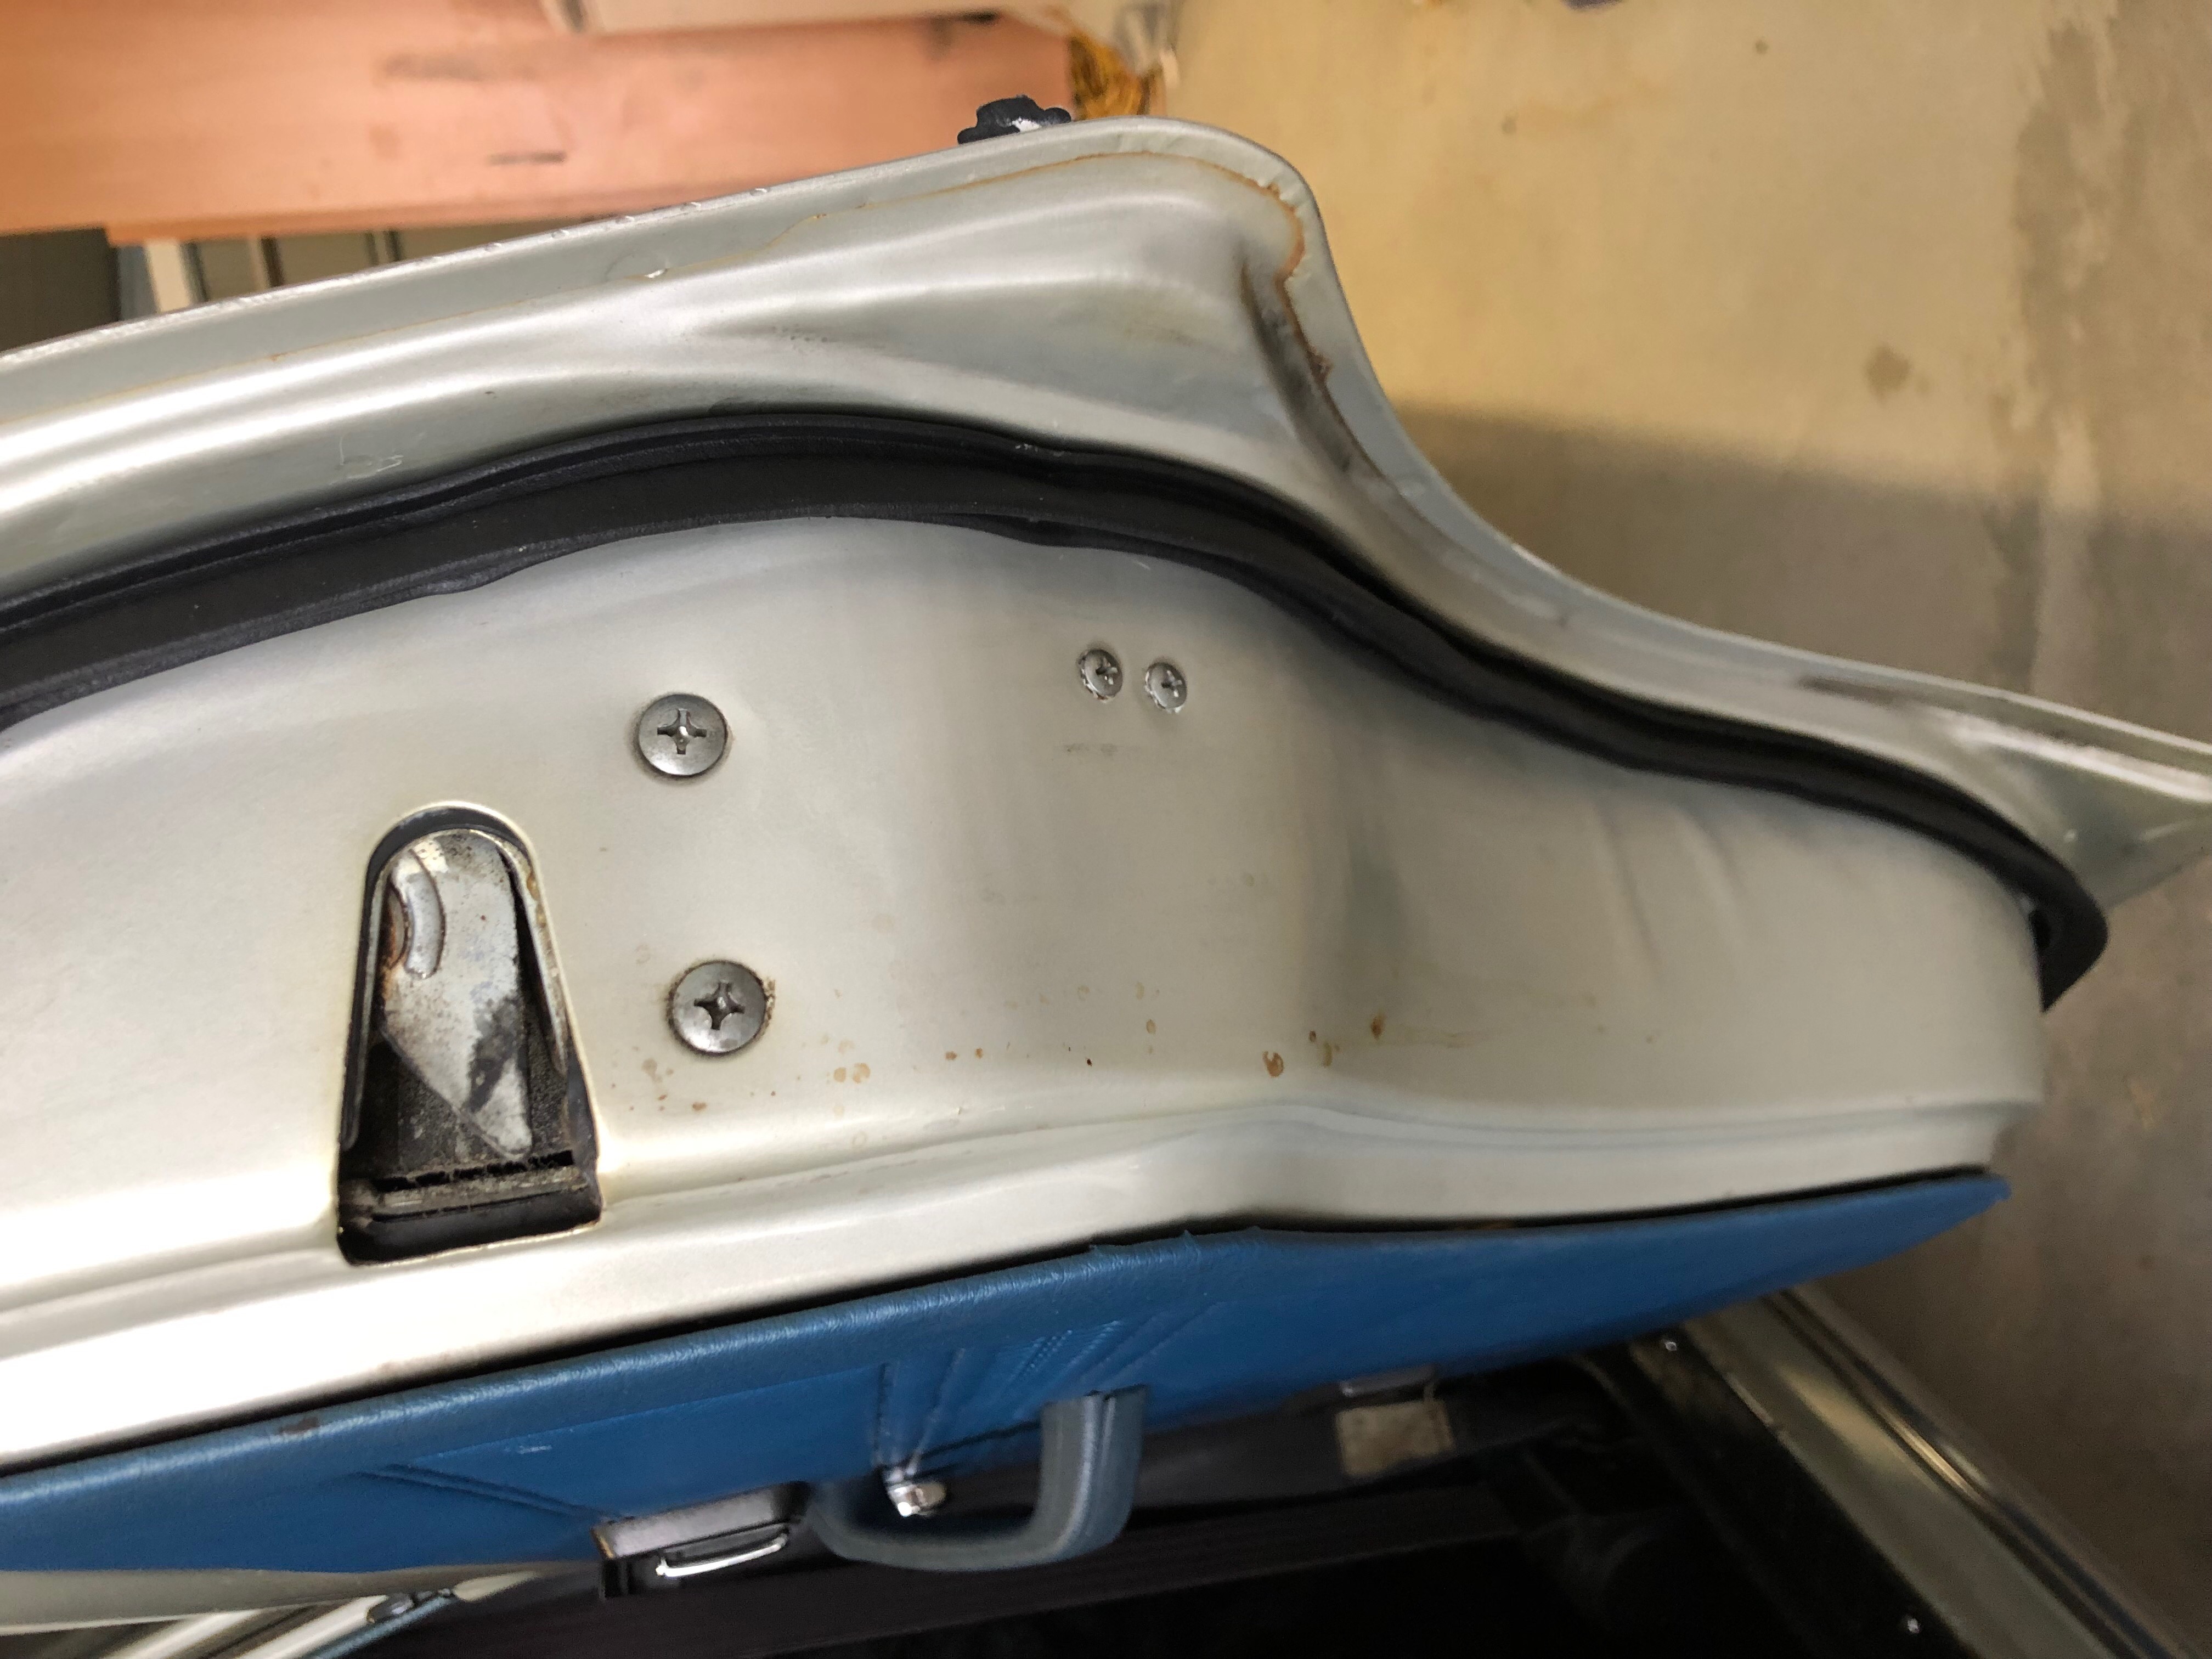
Overall quite an easy process and should make the windows seal much better from wind noise and water. A bit hard to take a pic, but the new rubbers look great and for about $100 (or $50 if I only bought 2 packs) it’s a great investment.
What I need to find now is the rubbers that go on the bottom of the window on the outside sill. As yet I haven’t found any, although Rare Spares do have the inside rubber they don’t seem to have the outside one. I’ll send them an email to ask.