Gearbox oil leak

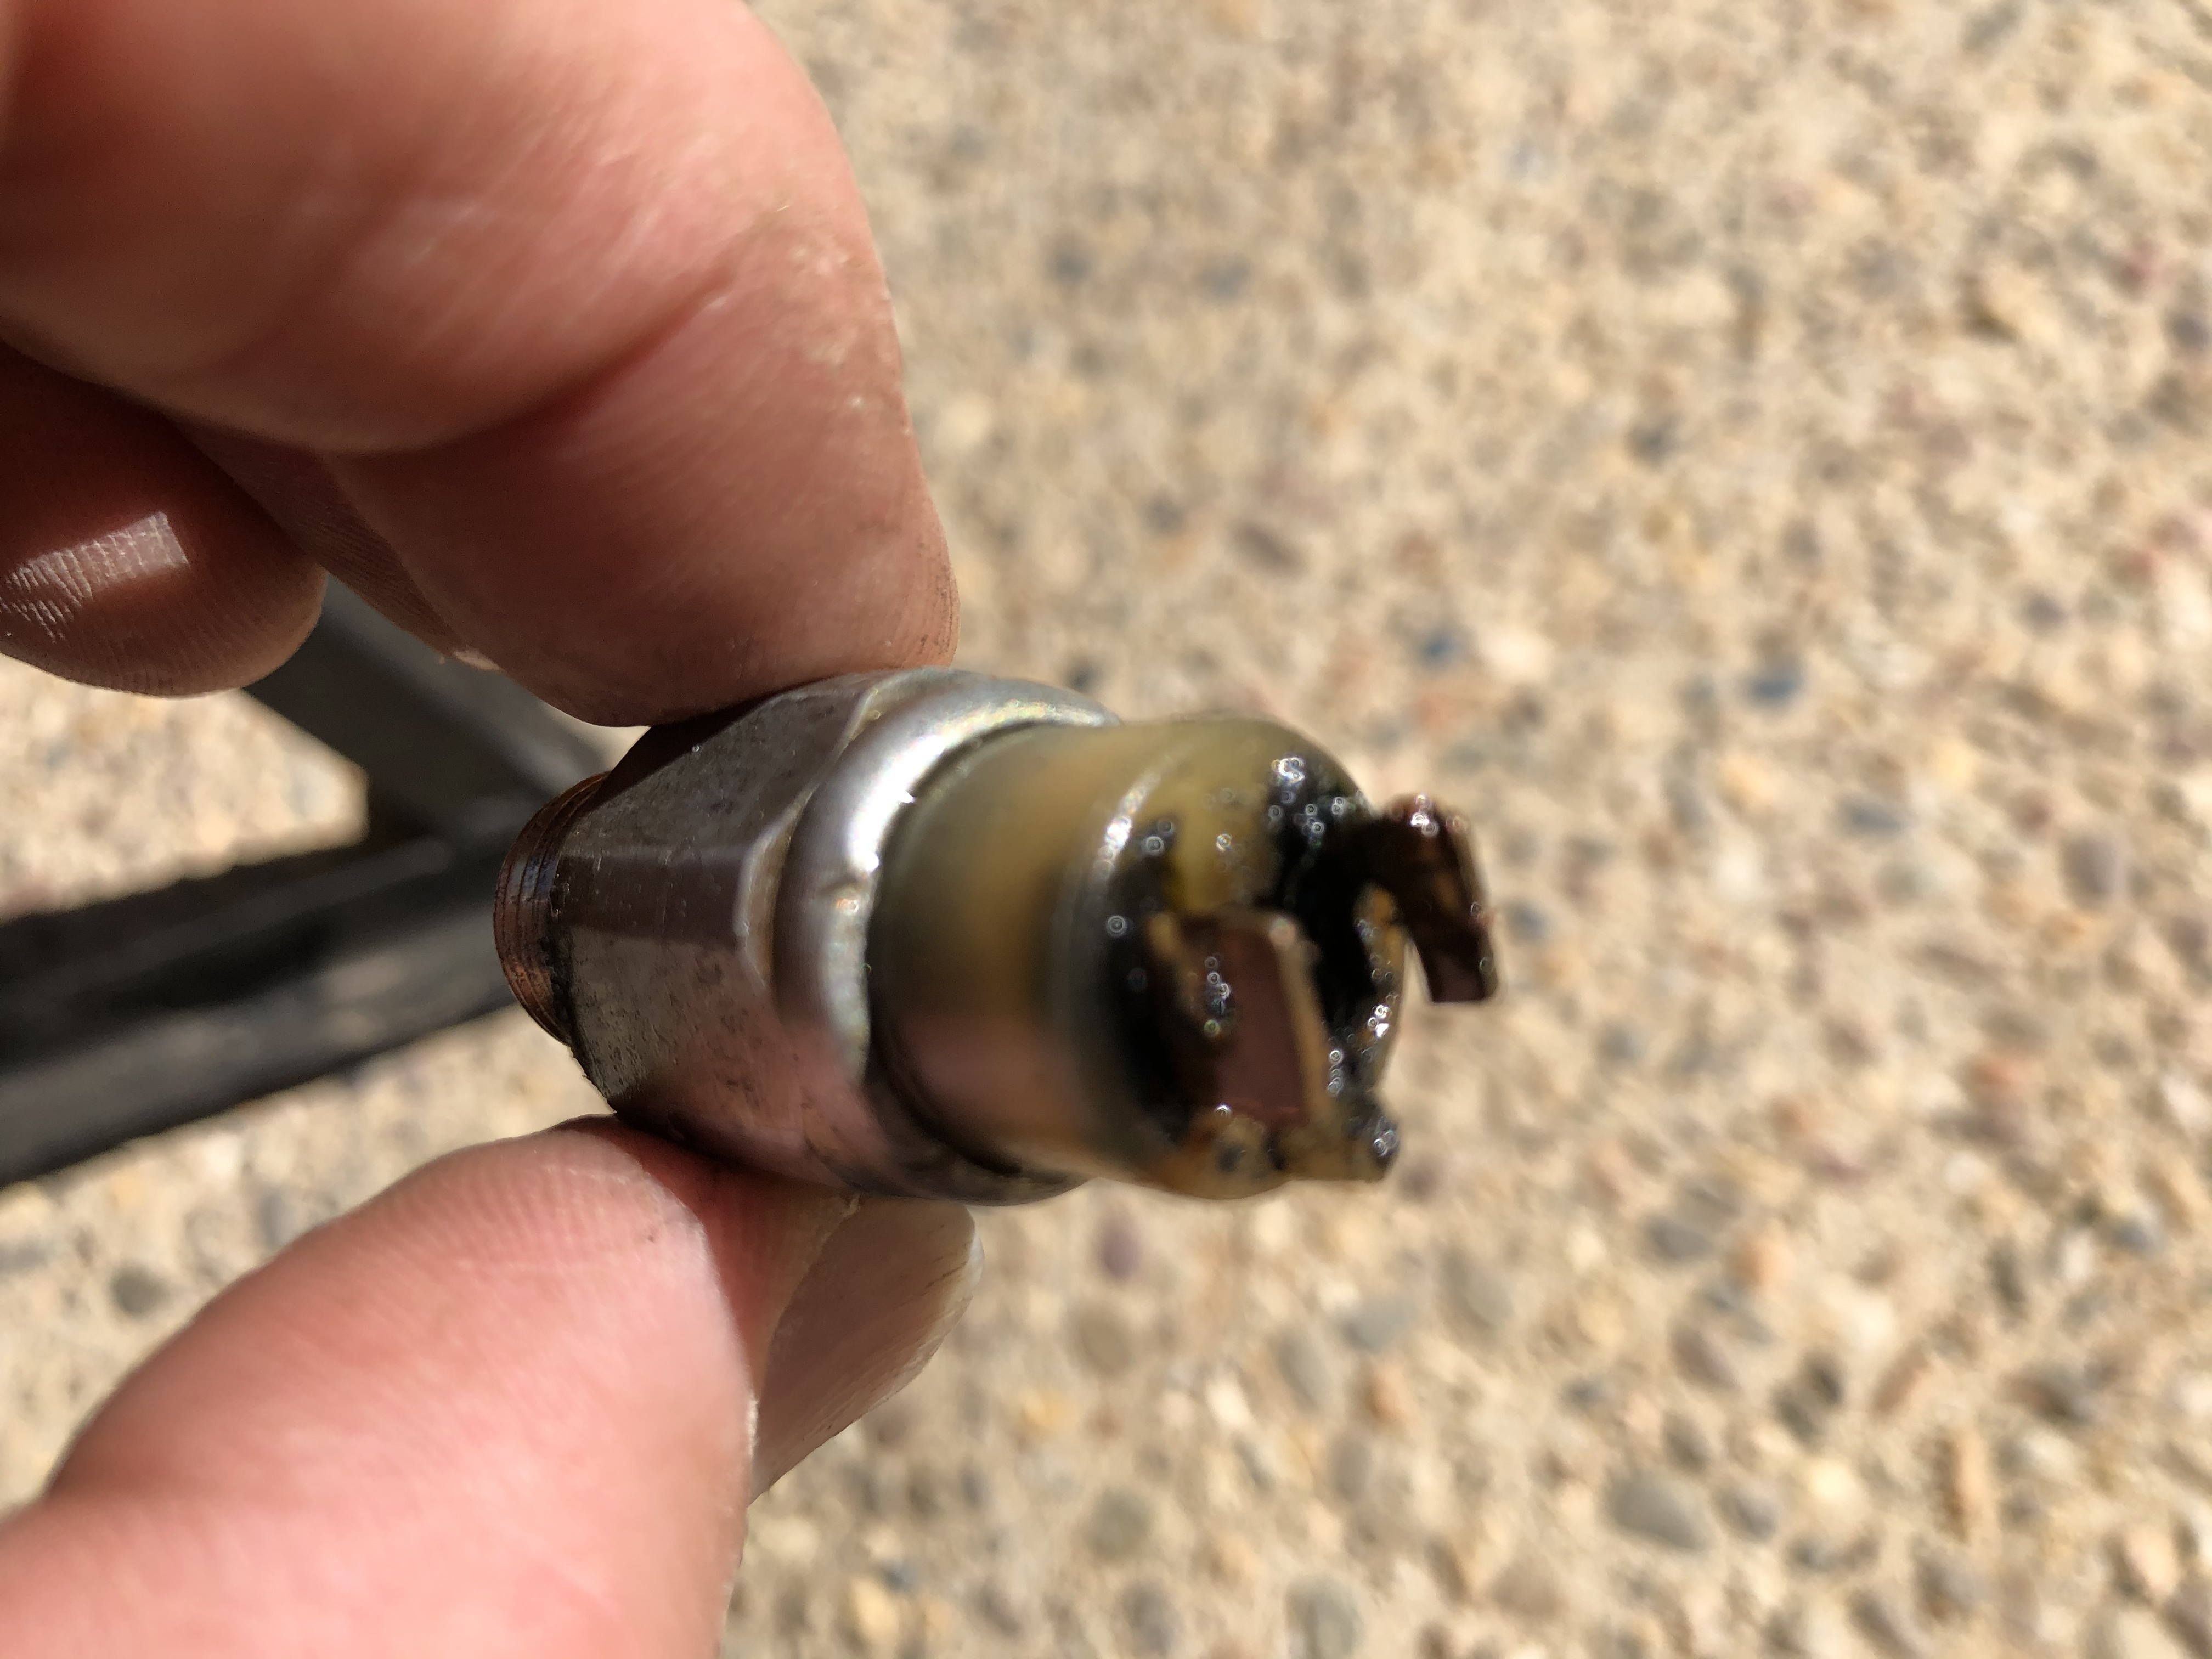
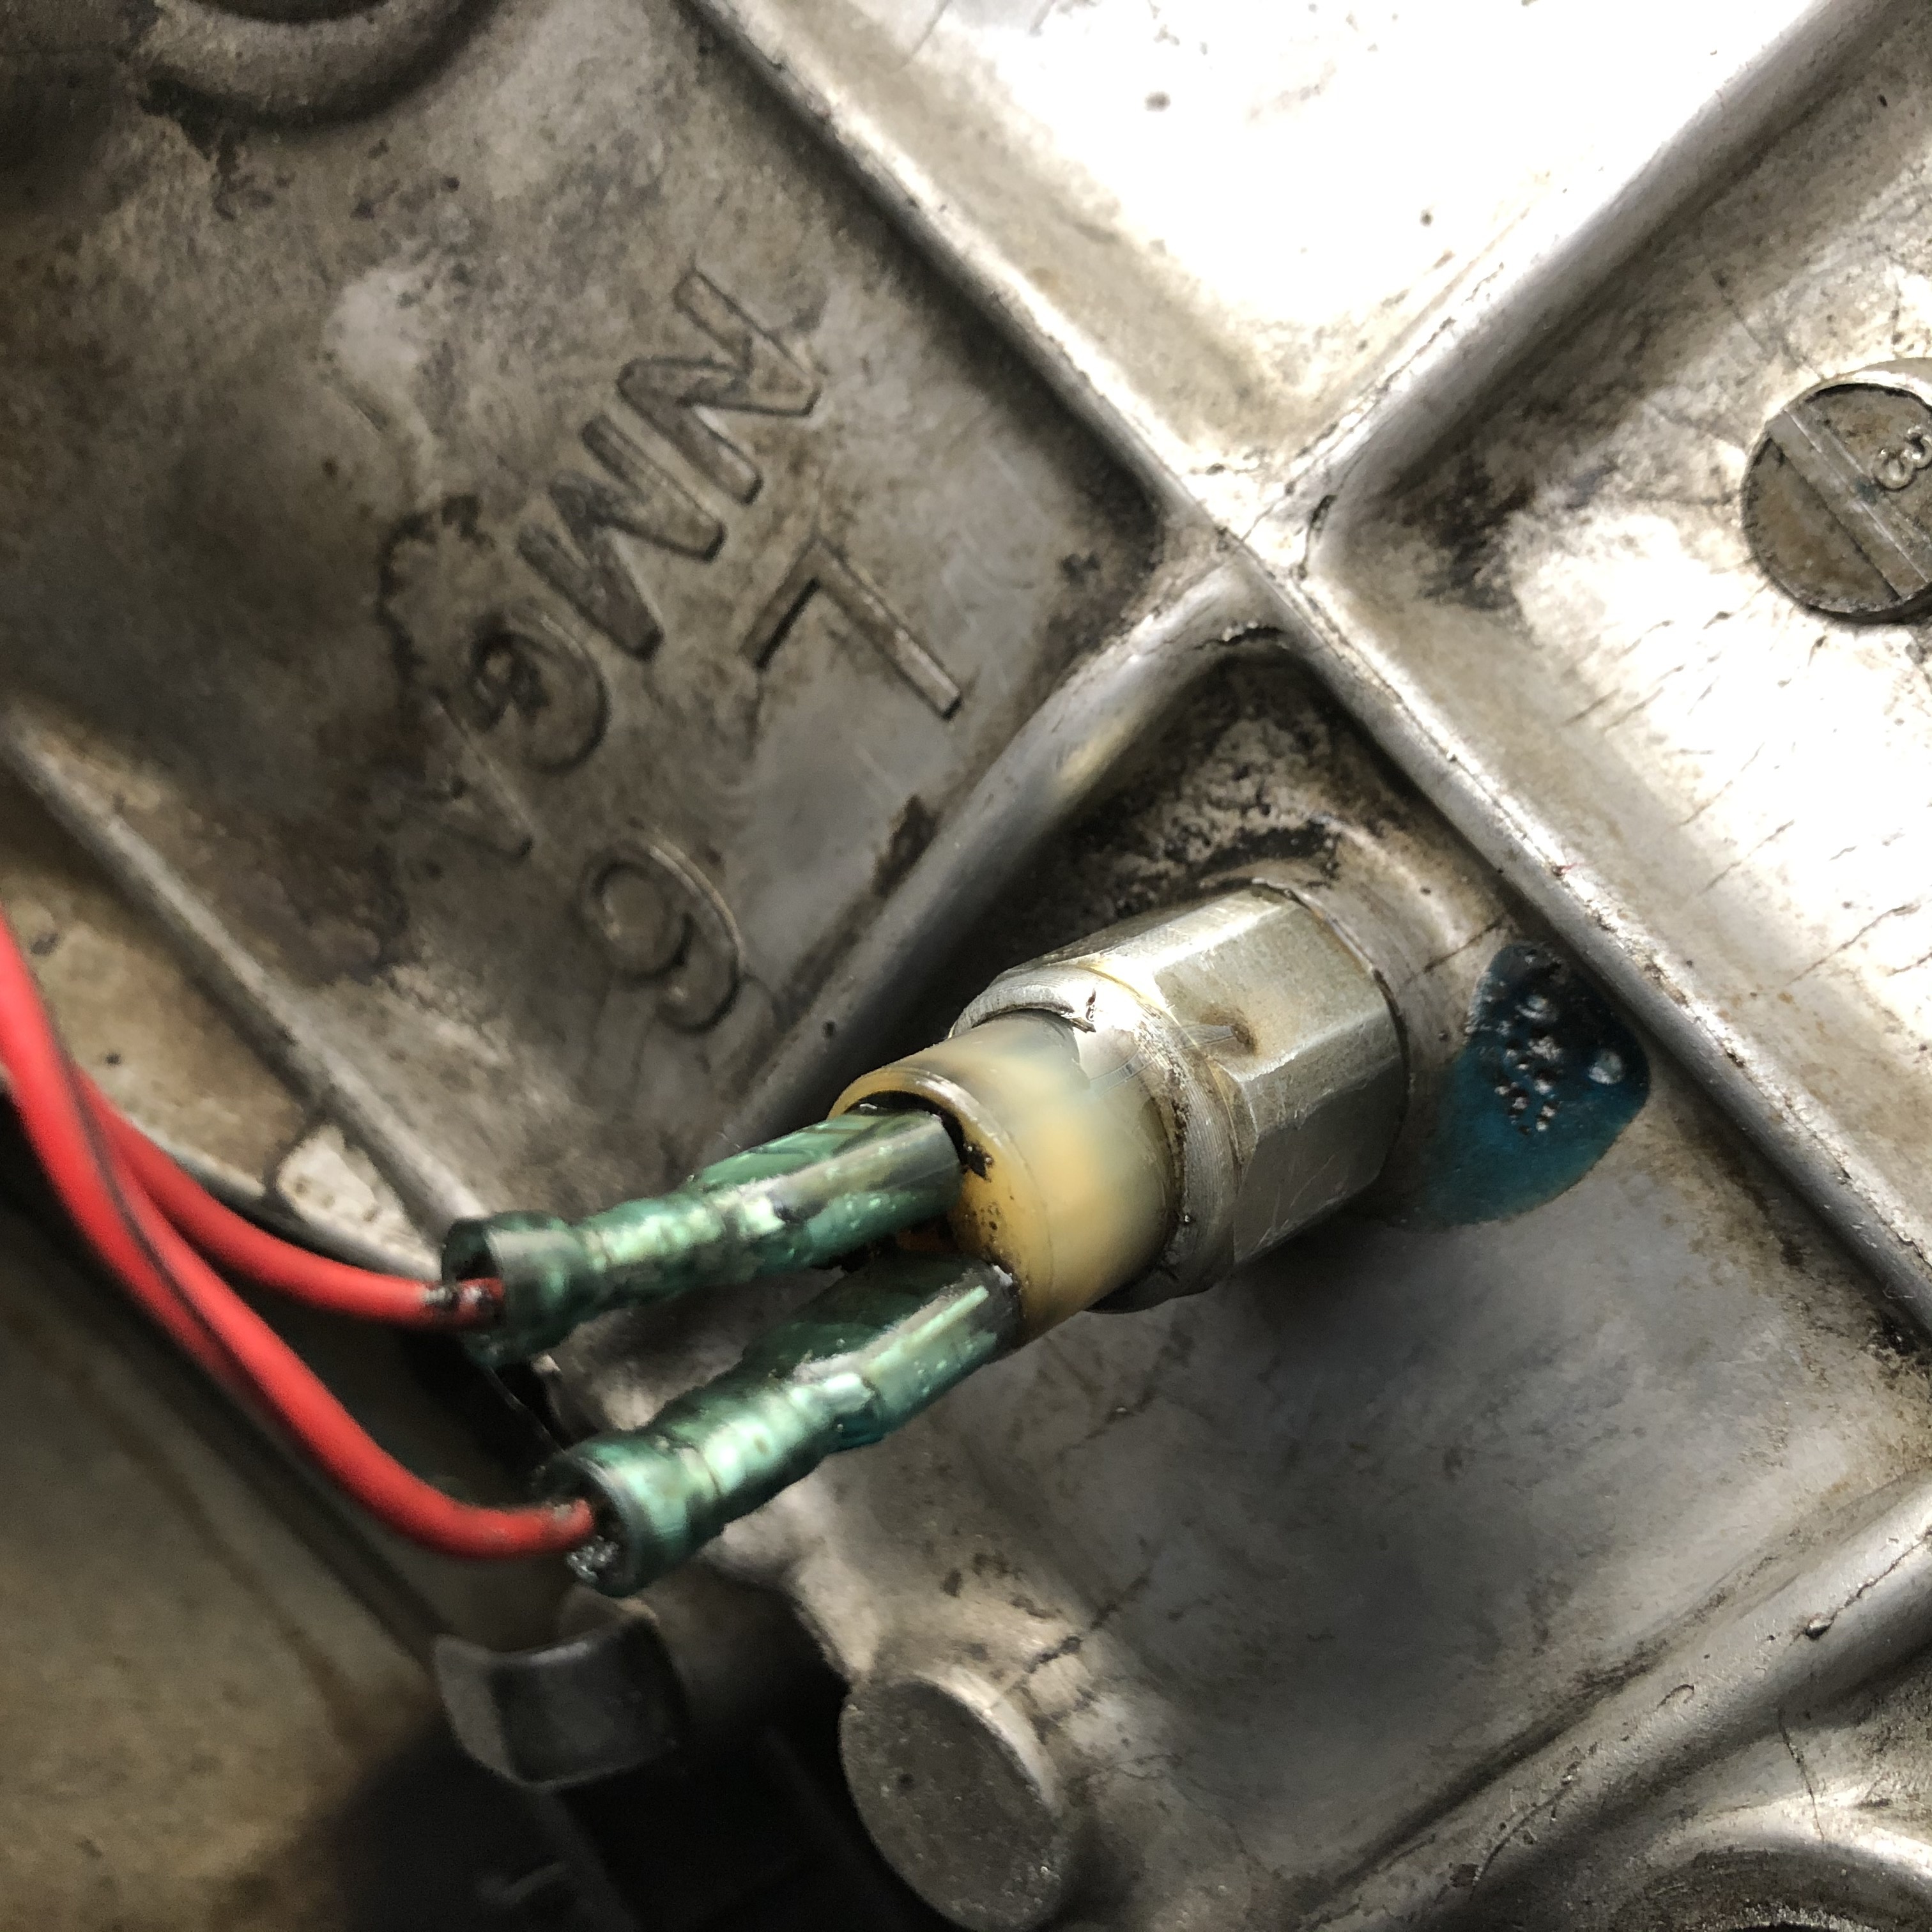
I’ve had a small gearbox oil leak which has been annoying me for a while. I finally figured out where the leak was coming from, which was the reverse switch. Oil was leaking out the plastic cover and blowing backwards onto other things and then dripping down.

I found a few places selling replacement Datsun reverse switches, but I decided to buy one from Datsun Parts Shop for $88. It arrived 2 working days later.

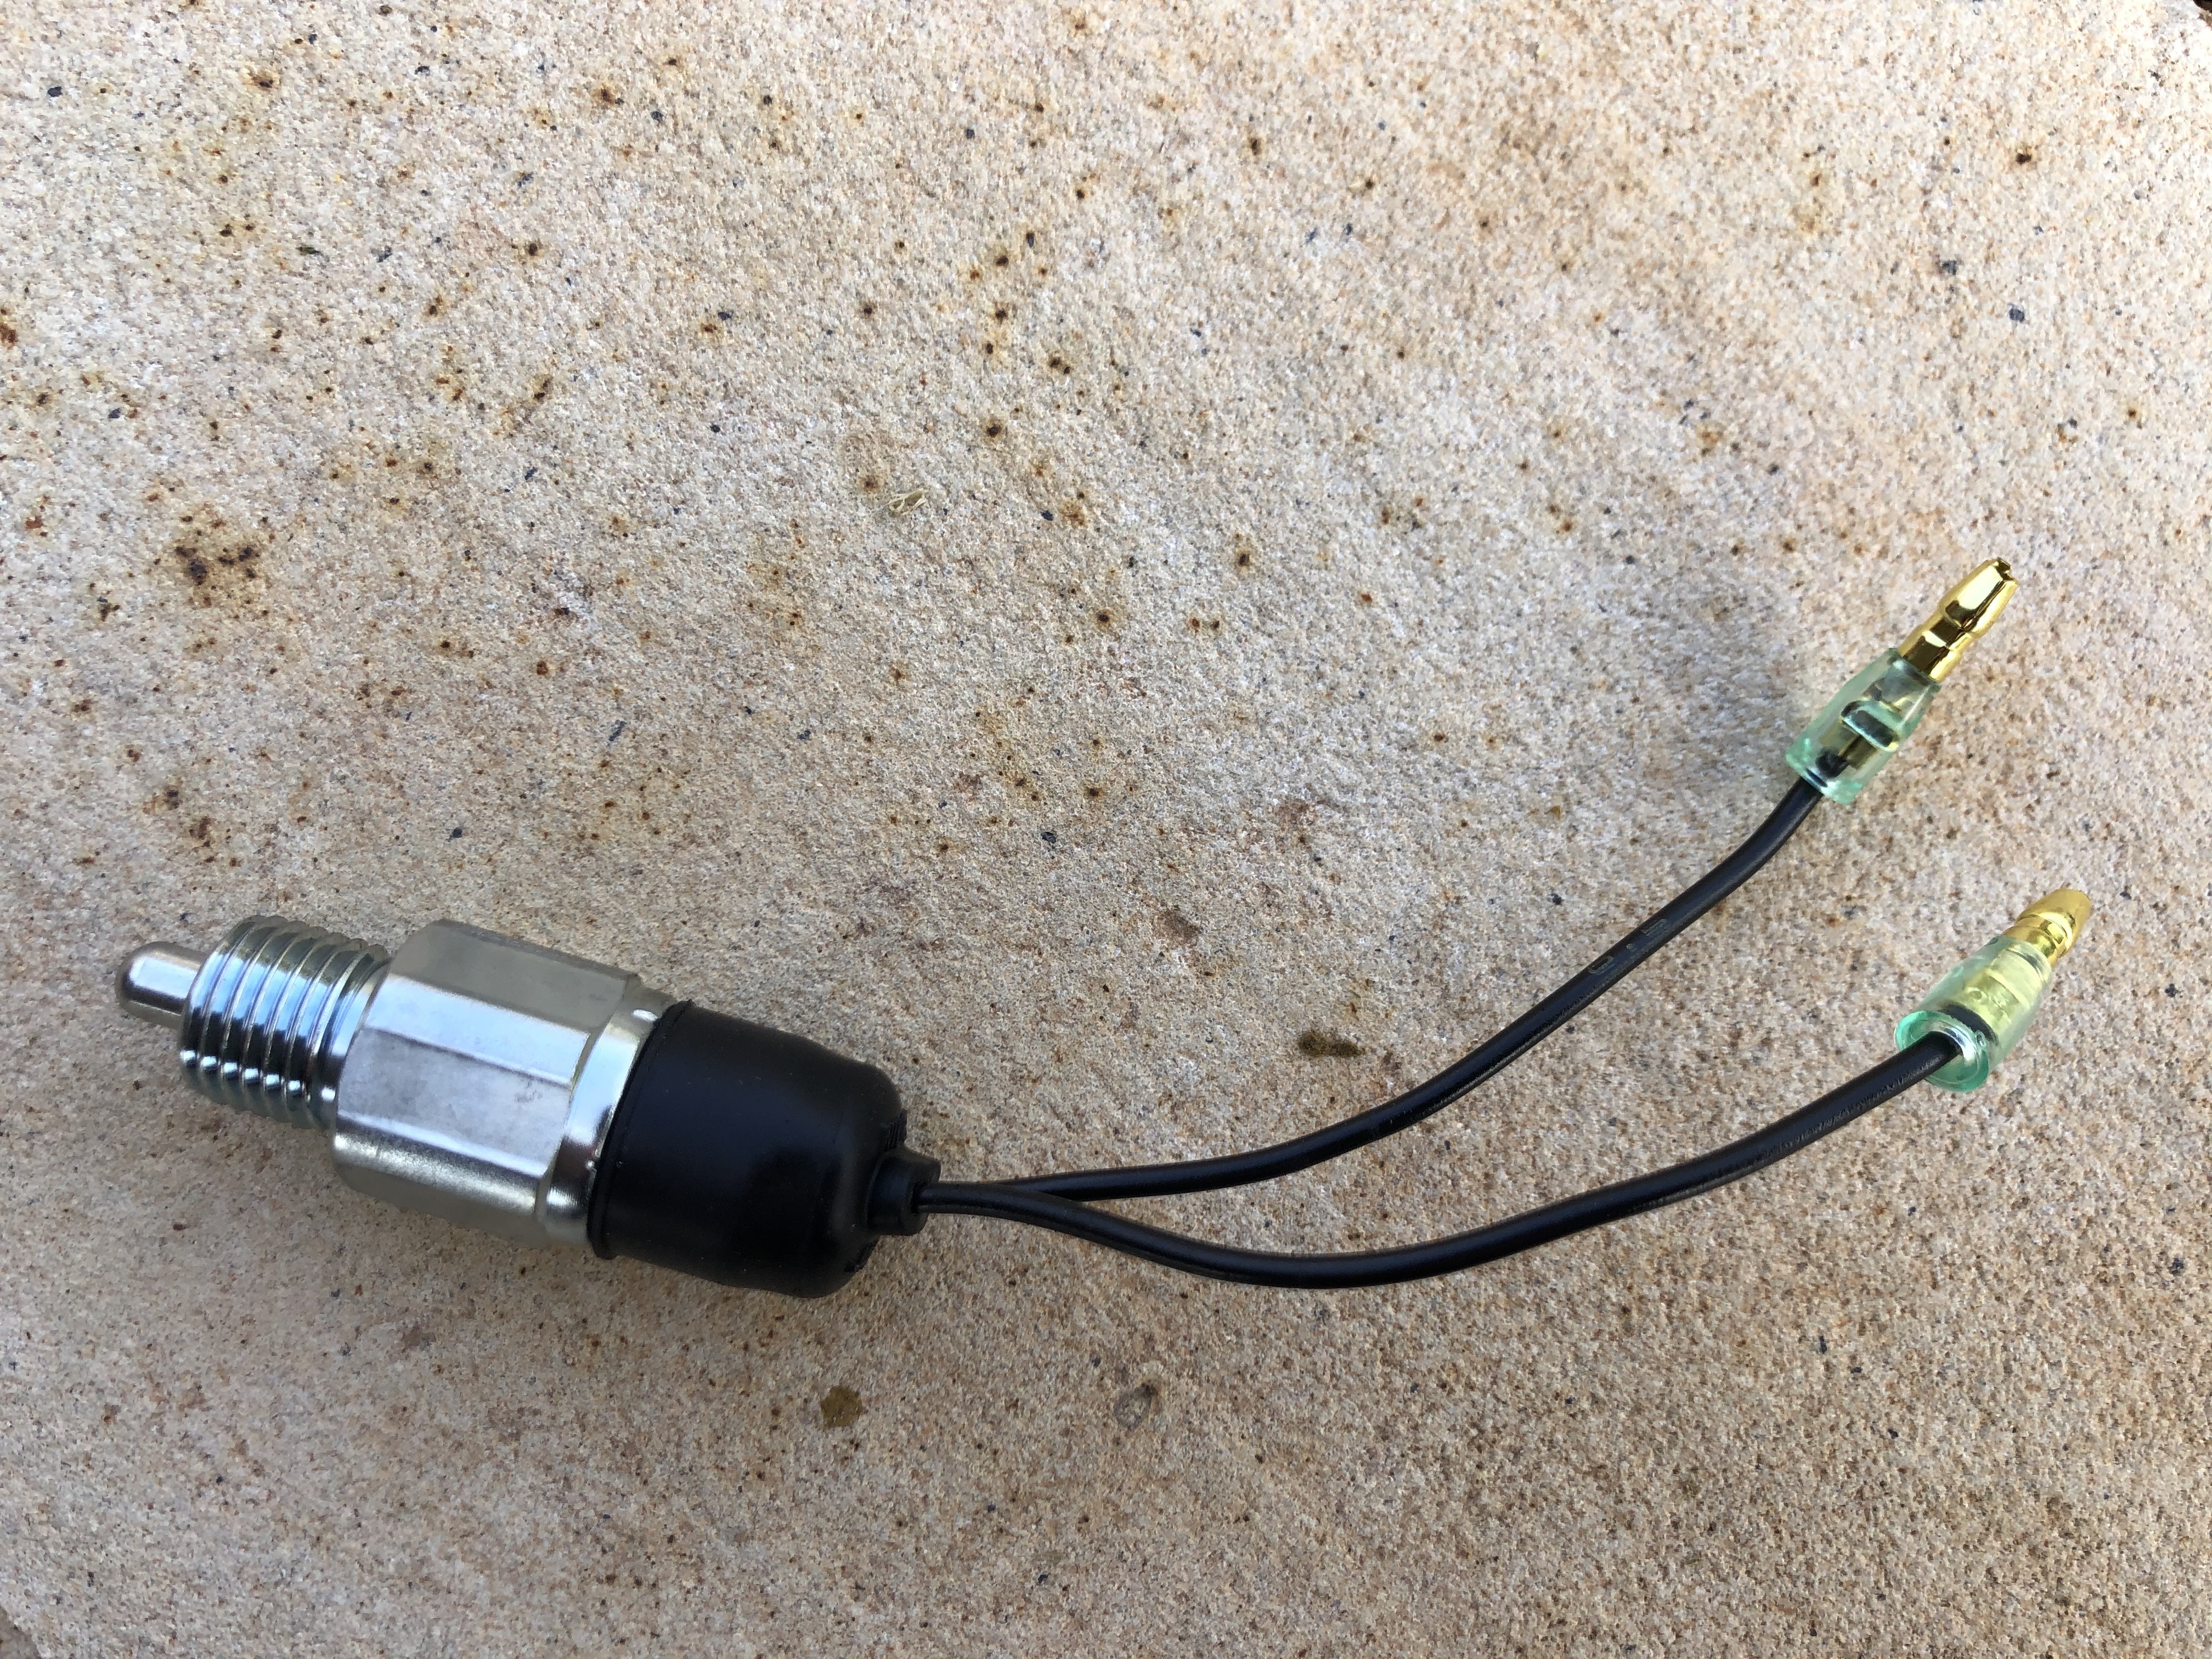
A trial fit showed that whilst it was the correct item, the electrical connections were different. I went to Super Cheap Auto and bought some connectors of the correct size.

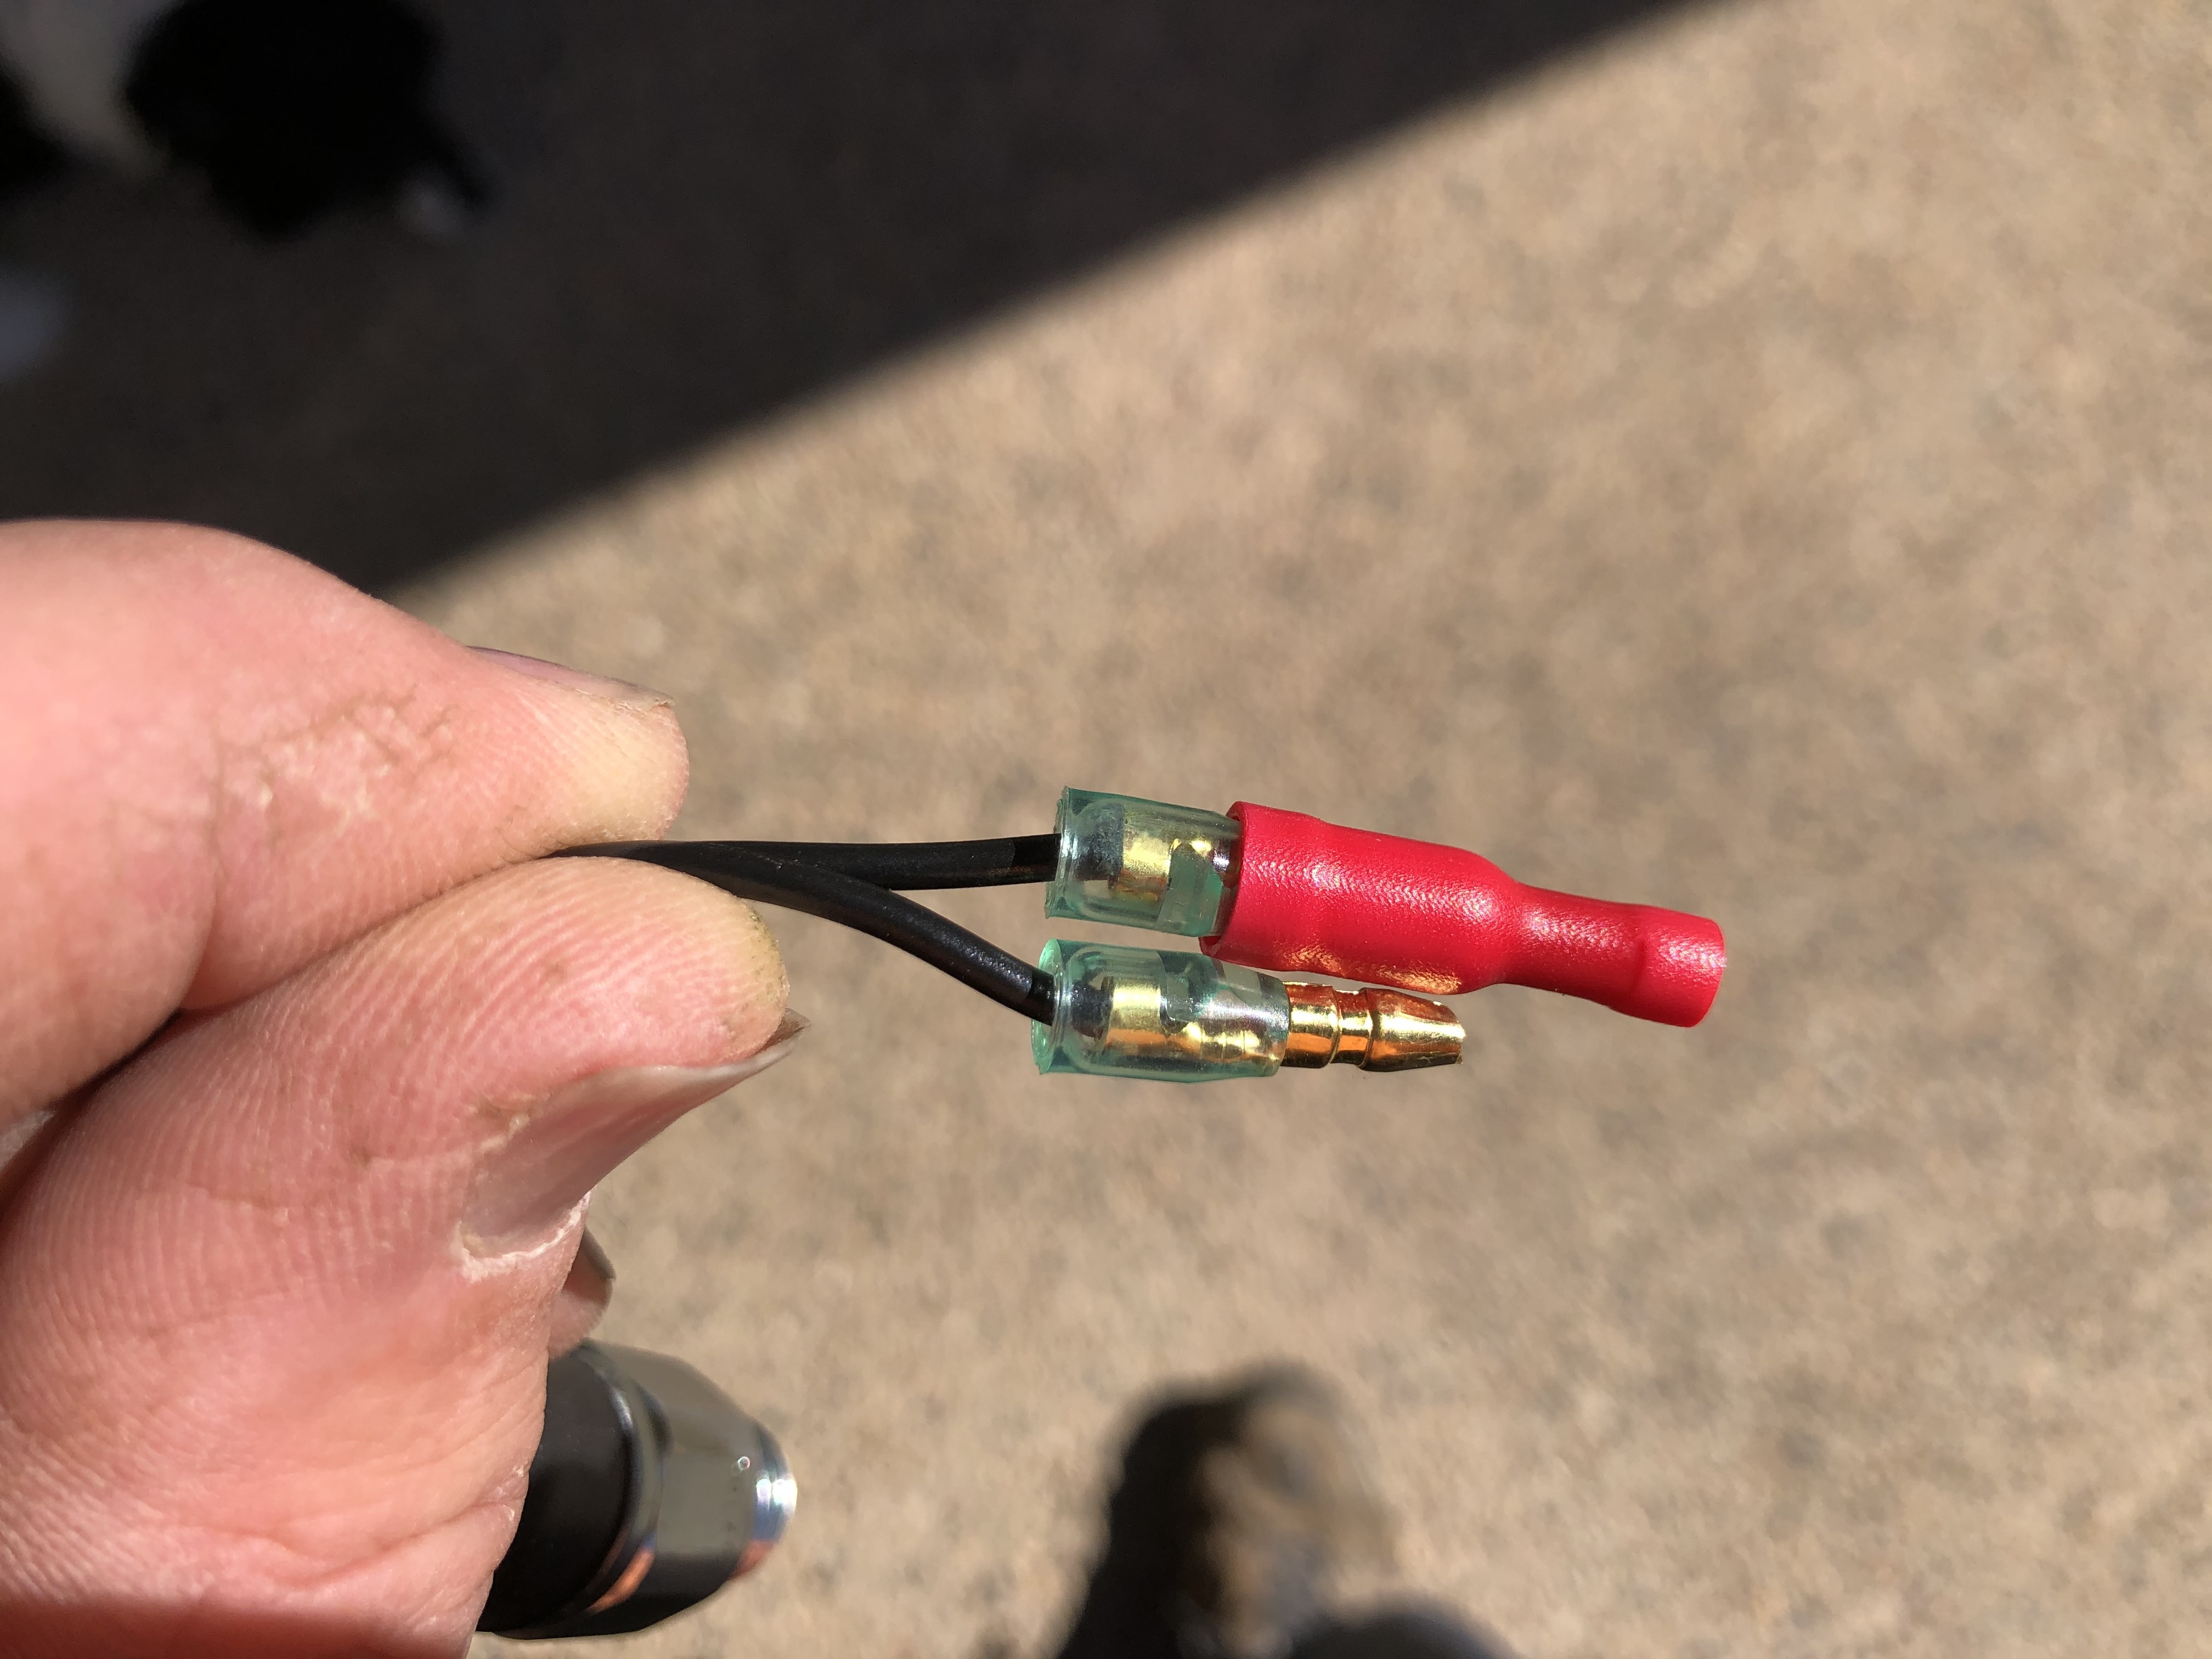
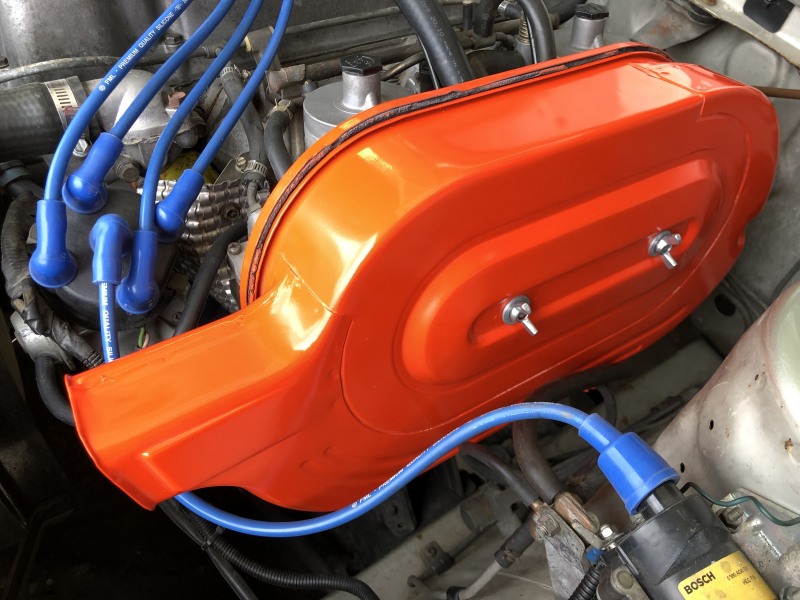
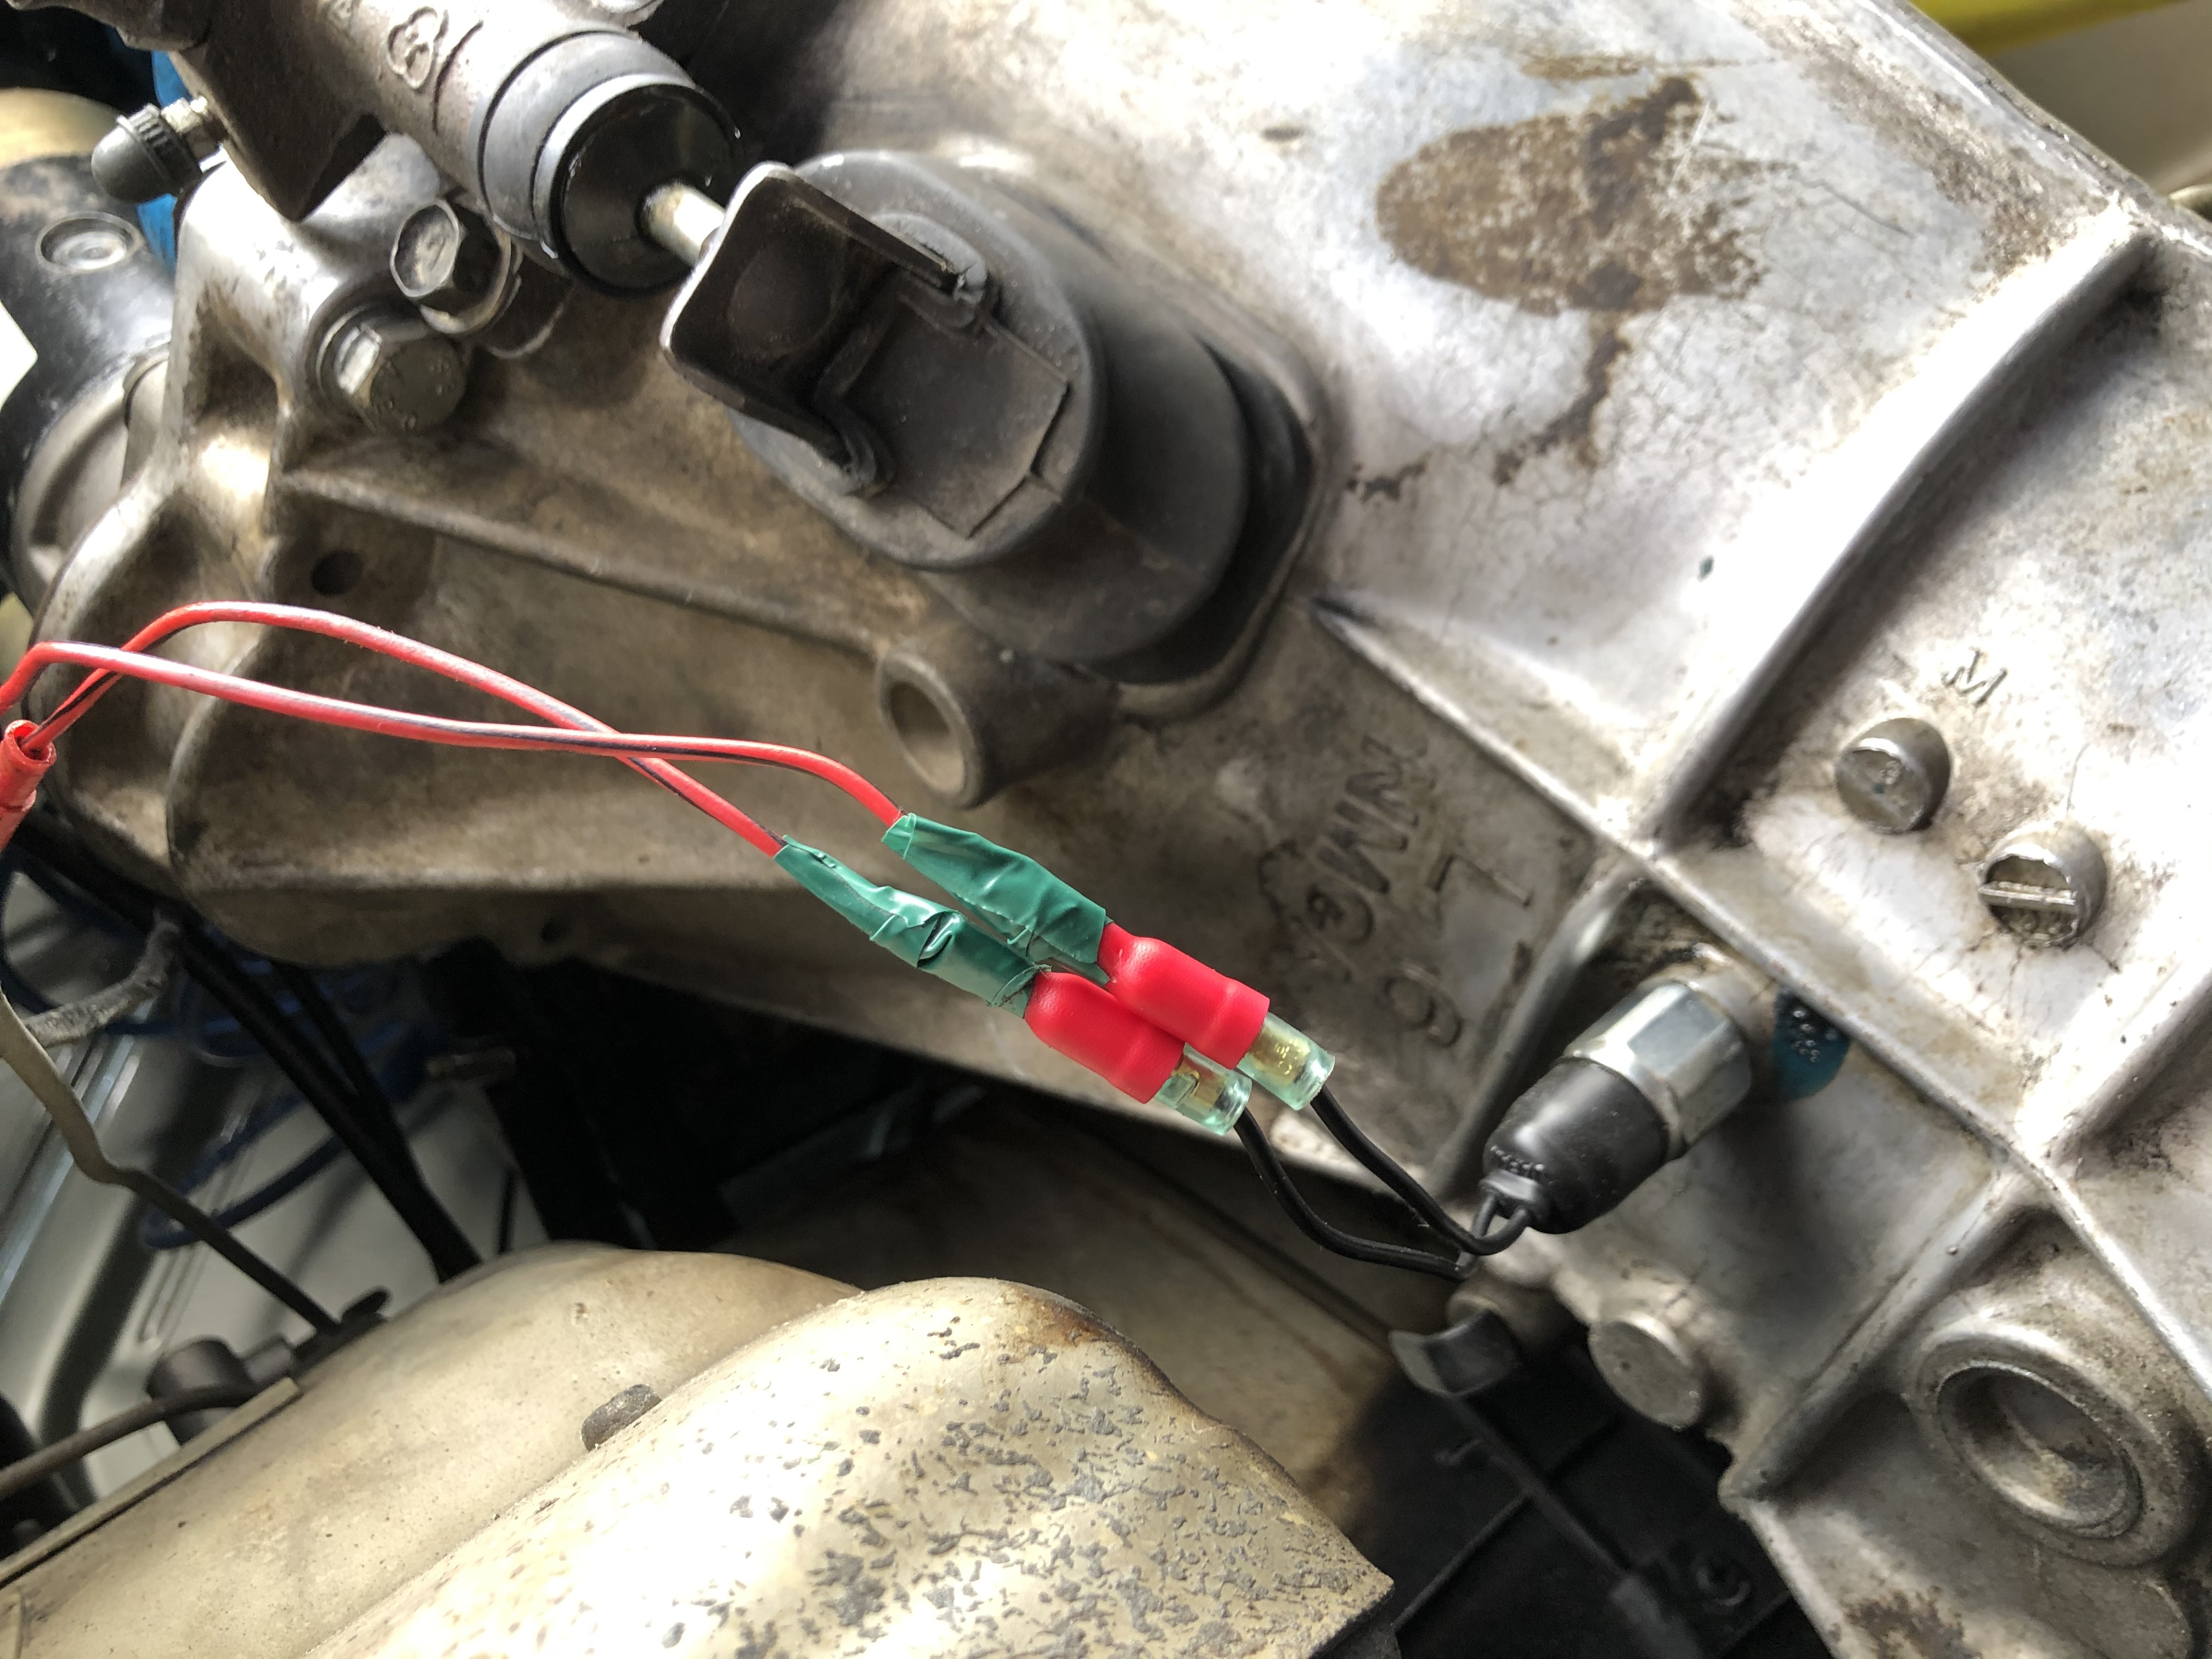
All that’s left to do is then cut the 2 wires on the car, put the wires inside the connectors, crimp and plugin to the new reverse switch. See below for it installed and a quick test showed the reverse lights were working correctly. Then top up the gearbox oil level and a test drive to ensure there were no more leaks.

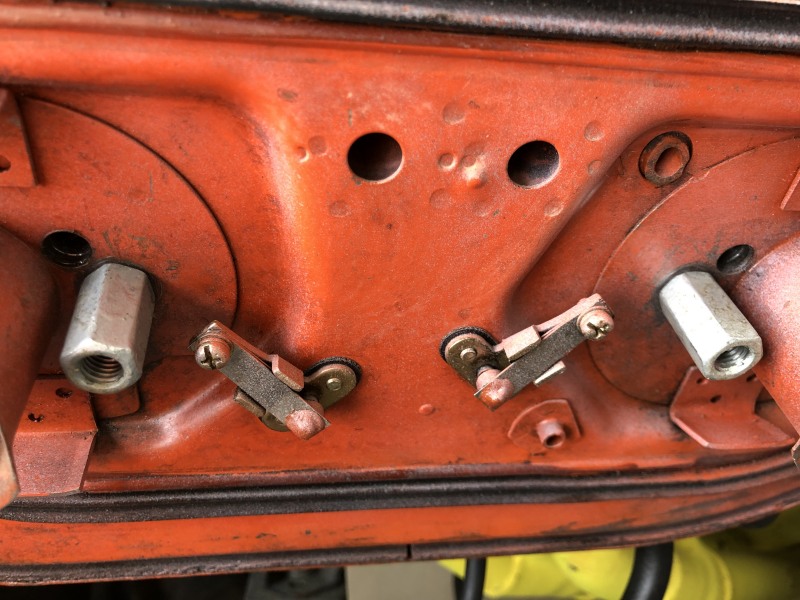
Here you can see the poor condition of the old switch and where the oil was leaking out.

Stock SSS air-box fitted – but not without some issues.

So I’ve got around to painting the stock SSS air-box. It took quite a lot of work to sand it back, smooth out the dents, spray with filler/primer and sand so I was happy with the look. I used Chevrolet Orange for the top coat. The Datsun SSS air-boxes came in either blue or orange, I’m not sure what the original orange colour is but this is quite similar.

From this:

To this:

To this:

One of the issues I had was trying to find thread extension bolts that screw into the air-box base plate, which in turn the air-box cover bolts screw into. As I couldn’t find any, I decided to make my own. I purchased 8mm threaded rod, coupling nuts, wing nuts and washers.

I cut 30mm of rod and used red Loctite to secure to make my own thread extension as pictured below.

This is what they look like in-situ in the air-box base plate.

Air-cleaner in-situ:

I really wanted wing nuts so I could insert and remove the cover by hand and I also wanted it to look stock, that’s how it came from the factory for the SSS. Again, I cut 8mm rod to length and used Loctite to fasten the wing nut and washer.

The finished product below. I’m very happy with the way it turned out and now it looks stock. A big improvement over the old setup.

Original SSS air-box sourced

Ever since I’ve got the wagon, I’ve been trying to track down an original SSS air-box as I don’t like the current setup and I’d prefer it to look original.

The current setup has a filter sandwiched between the original air-box base plate (in orange in the picture) and an outer metal plate, pic below:

It’s been tough trying to find an air-box by itself so I ended up buying a set of twin SU carbs for parts that came with the complete air box (minus filter and bolts).

This should bolt straight up and give an original appearance. Here is the air-box:

The filter didn’t come with it and the Ryco A257 which suits, is no longer in production. Luckily I found a brand new one on eBay for $50. Unifilter also make a suitable filter, #UL324 60ST but that’s double the price I got the original filter for.

When I get the wagon back from the body shop, I’ll make sure it mounts ok to the current base plate, then I will repaint both before fitting.

Wagon goes to the body shop

I’ve been thinking about it for a while and finally bit the bullet and sent the wagon off to Penrose Smash Repairs in Boorowa to have the body tidied up, rust removed and a closed door respray.

The wagon has been there for two weeks and the body work has been completed. Hopefully it’s getting resprayed this week and I’ll get it back soon. I’ll do an update when I do with the finished product and progress pics of the repairs.

It should look a million dollars when it’s done.

New bailey channel rubbers

I recently bought new bailey channel rubbers, these are the rubbers that go inside the door window channel. The original ones were in quite poor condition and threads were hanging off from the rubbers everywhere. They didn’t look very good.


Here are the old rubbers side by side with the new one – just a bit of difference.

I purchased 4 x rubbers from the Rare Spares eBay site. I ended up only using 2 packs as one rubber was enough to do 2 windows – just.

Removing the old rubbers was fairly straight forward with the old ones just pulling out, although there was a little glue in some spots.

The only tricky bit is the inside of the window frame. On the outside the bailey channel rubber only just goes down below the level of the window sill. On the inside, the bailey rubber goes a long way down inside the window frame and the glass is always inside the rubber. The only way to overcome that and install is to take off the door trim to gain access to the inside of the door.

I didn’t go to this extreme, I just cut off the rubber at the sill level with a sharp Stanley knife.

Overall quite an easy process and should make the windows seal much better from wind noise and water. A bit hard to take a pic, but the new rubbers look great and for about $100 (or $50 if I only bought 2 packs) it’s a great investment.

What I need to find now is the rubbers that go on the bottom of the window on the outside sill. As yet I haven’t found any, although Rare Spares do have the inside rubber they don’t seem to have the outside one. I’ll send them an email to ask.

New door rubbers

I purchased a set of 4 new door rubbers from “The New Old Car Company” on eBay for $160. Being 41 years old the original door rubbers are a little worse for wear but overall they’re actually in pretty good condition – expect for a few spots like below:

They come with the plastic retention clips already pre-installed in the correct spots. Well, that’s the theory anyway…

Removing the old rubber is pretty straight forward, just pull it off. The rubber is brittle due to it’s age and most of the retention clips stayed in place. Removing the rubber from the window area required a little help from a flat-head screwdriver.

Getting the old clips out was a painful process due to the plastic being brittle. I tried the fork prongs to pry them out but ended up using pliers to pull them out.

Then I gave the area under the rubbers a good clean with metho and installed the new rubbers. The two front doors were relatively straight forward with all the clips being in the correct places.

However the rear doors were a little different, with 3 clips down the outside of the window where there should have been none. The first couple of clips after that were in the incorrect spot too. Easy enough to fix, just poke a small hole in the rubber and place the clips in the correct spot.

One of the finished rubbers below.

Well worth the money and the couple of hours it took to fit them.