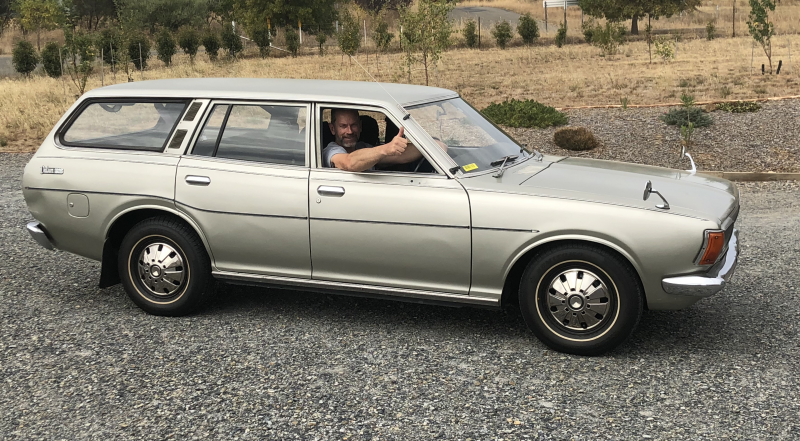
Tomorrow, Saturday 03/11/18, is the annual Classic Yass car show. I spent a few hours this morning cleaning and preparing the Datsun for the show. It’s not going to win any awards but still she’s a good looking old girl.
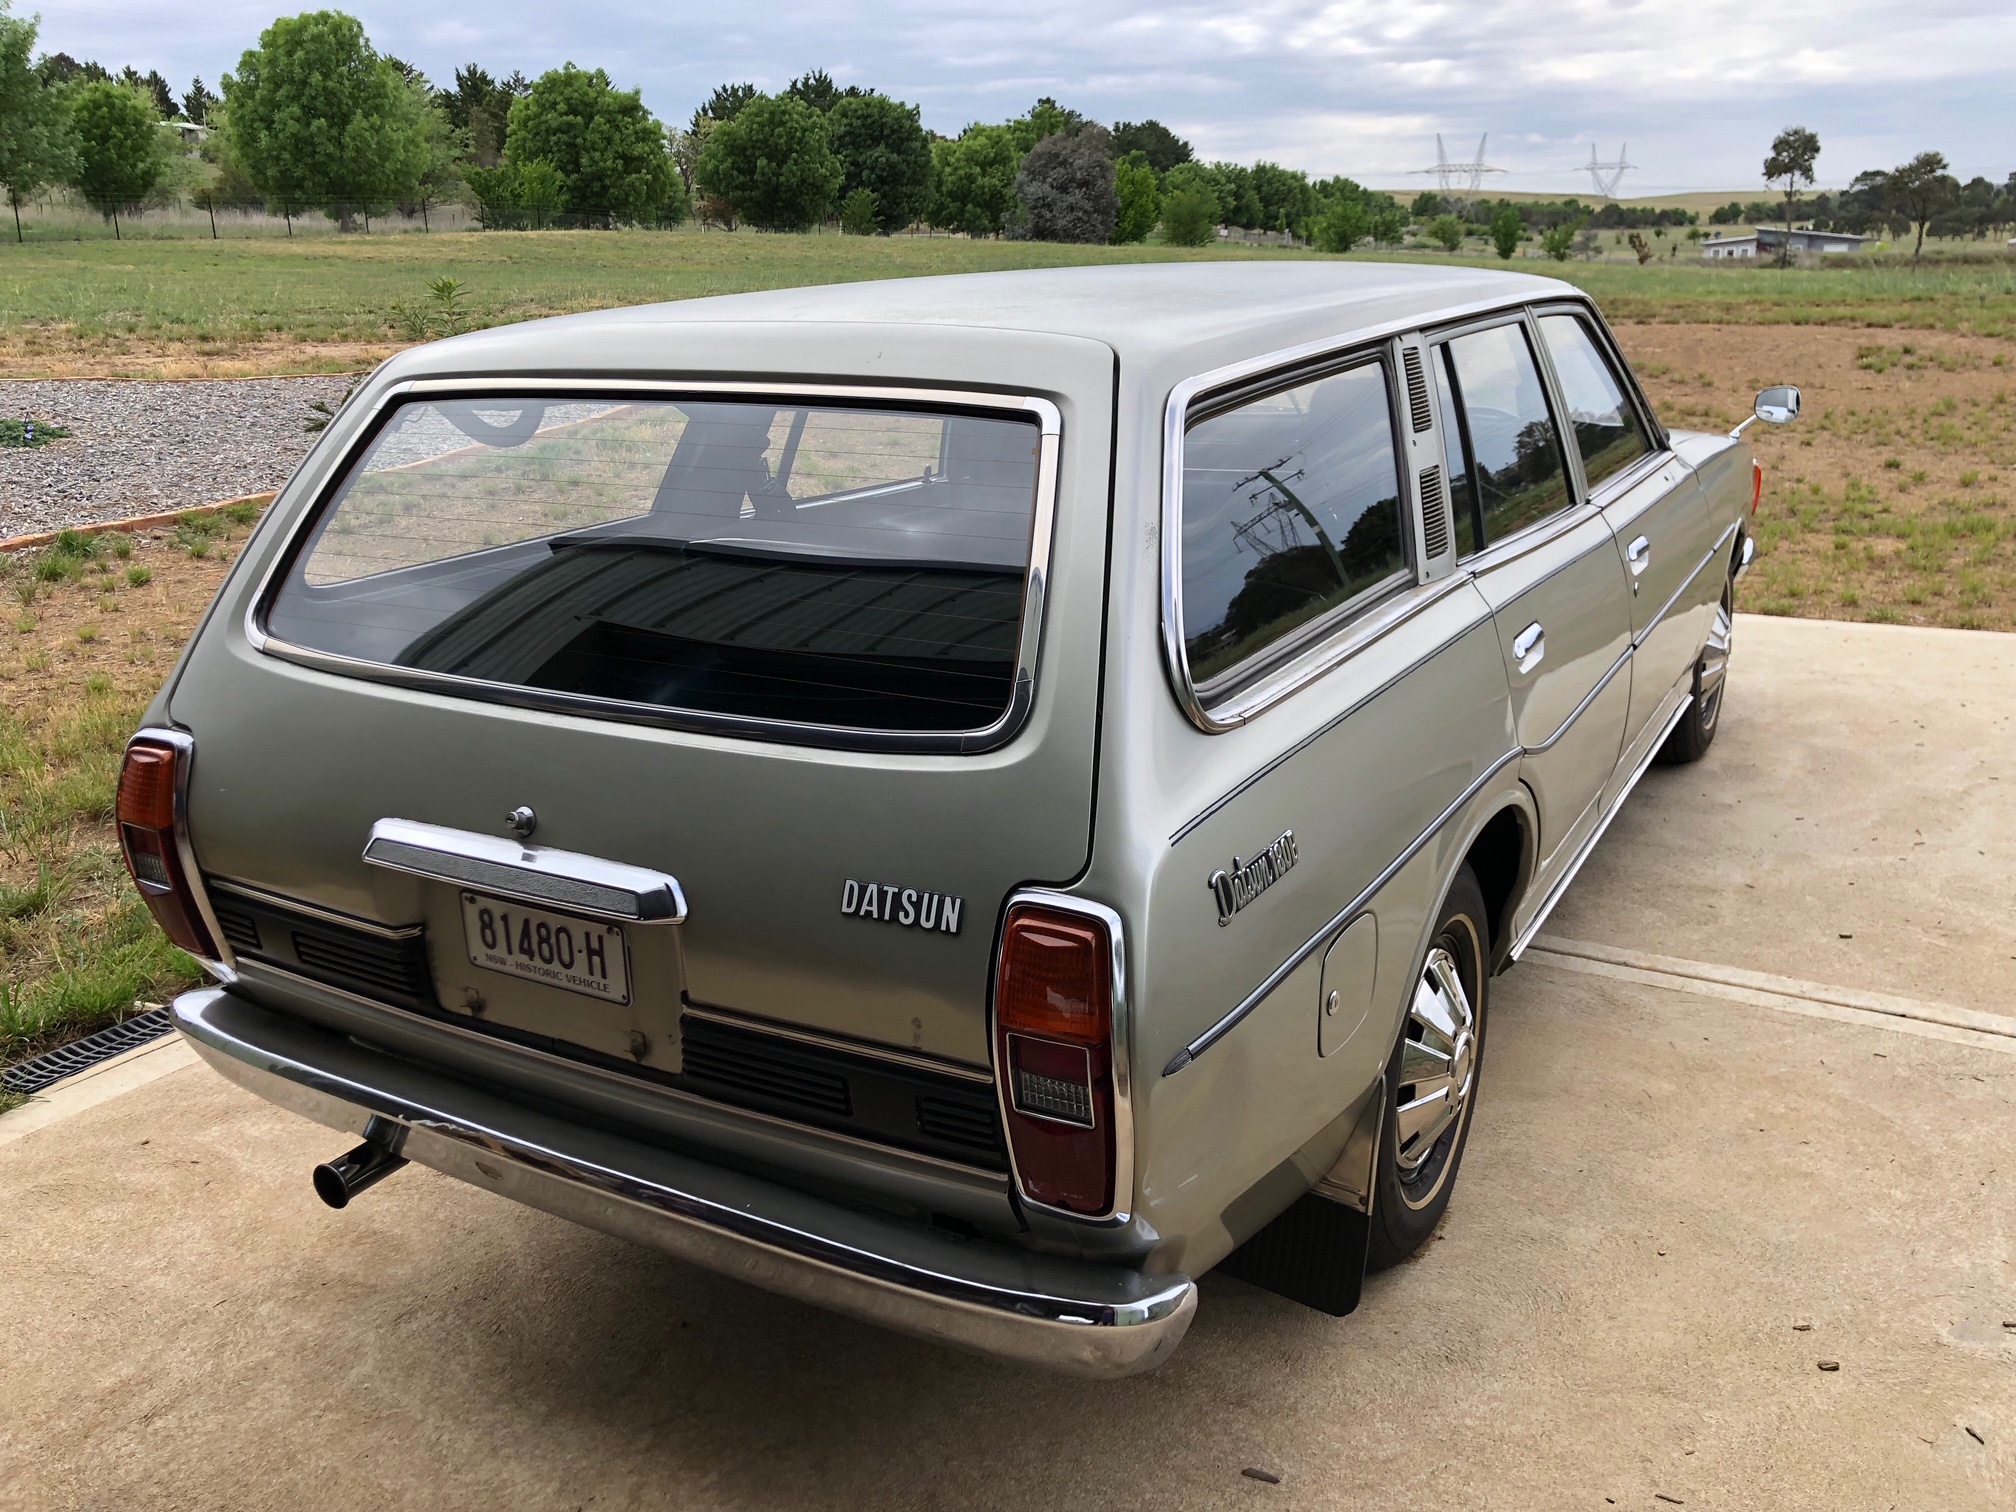

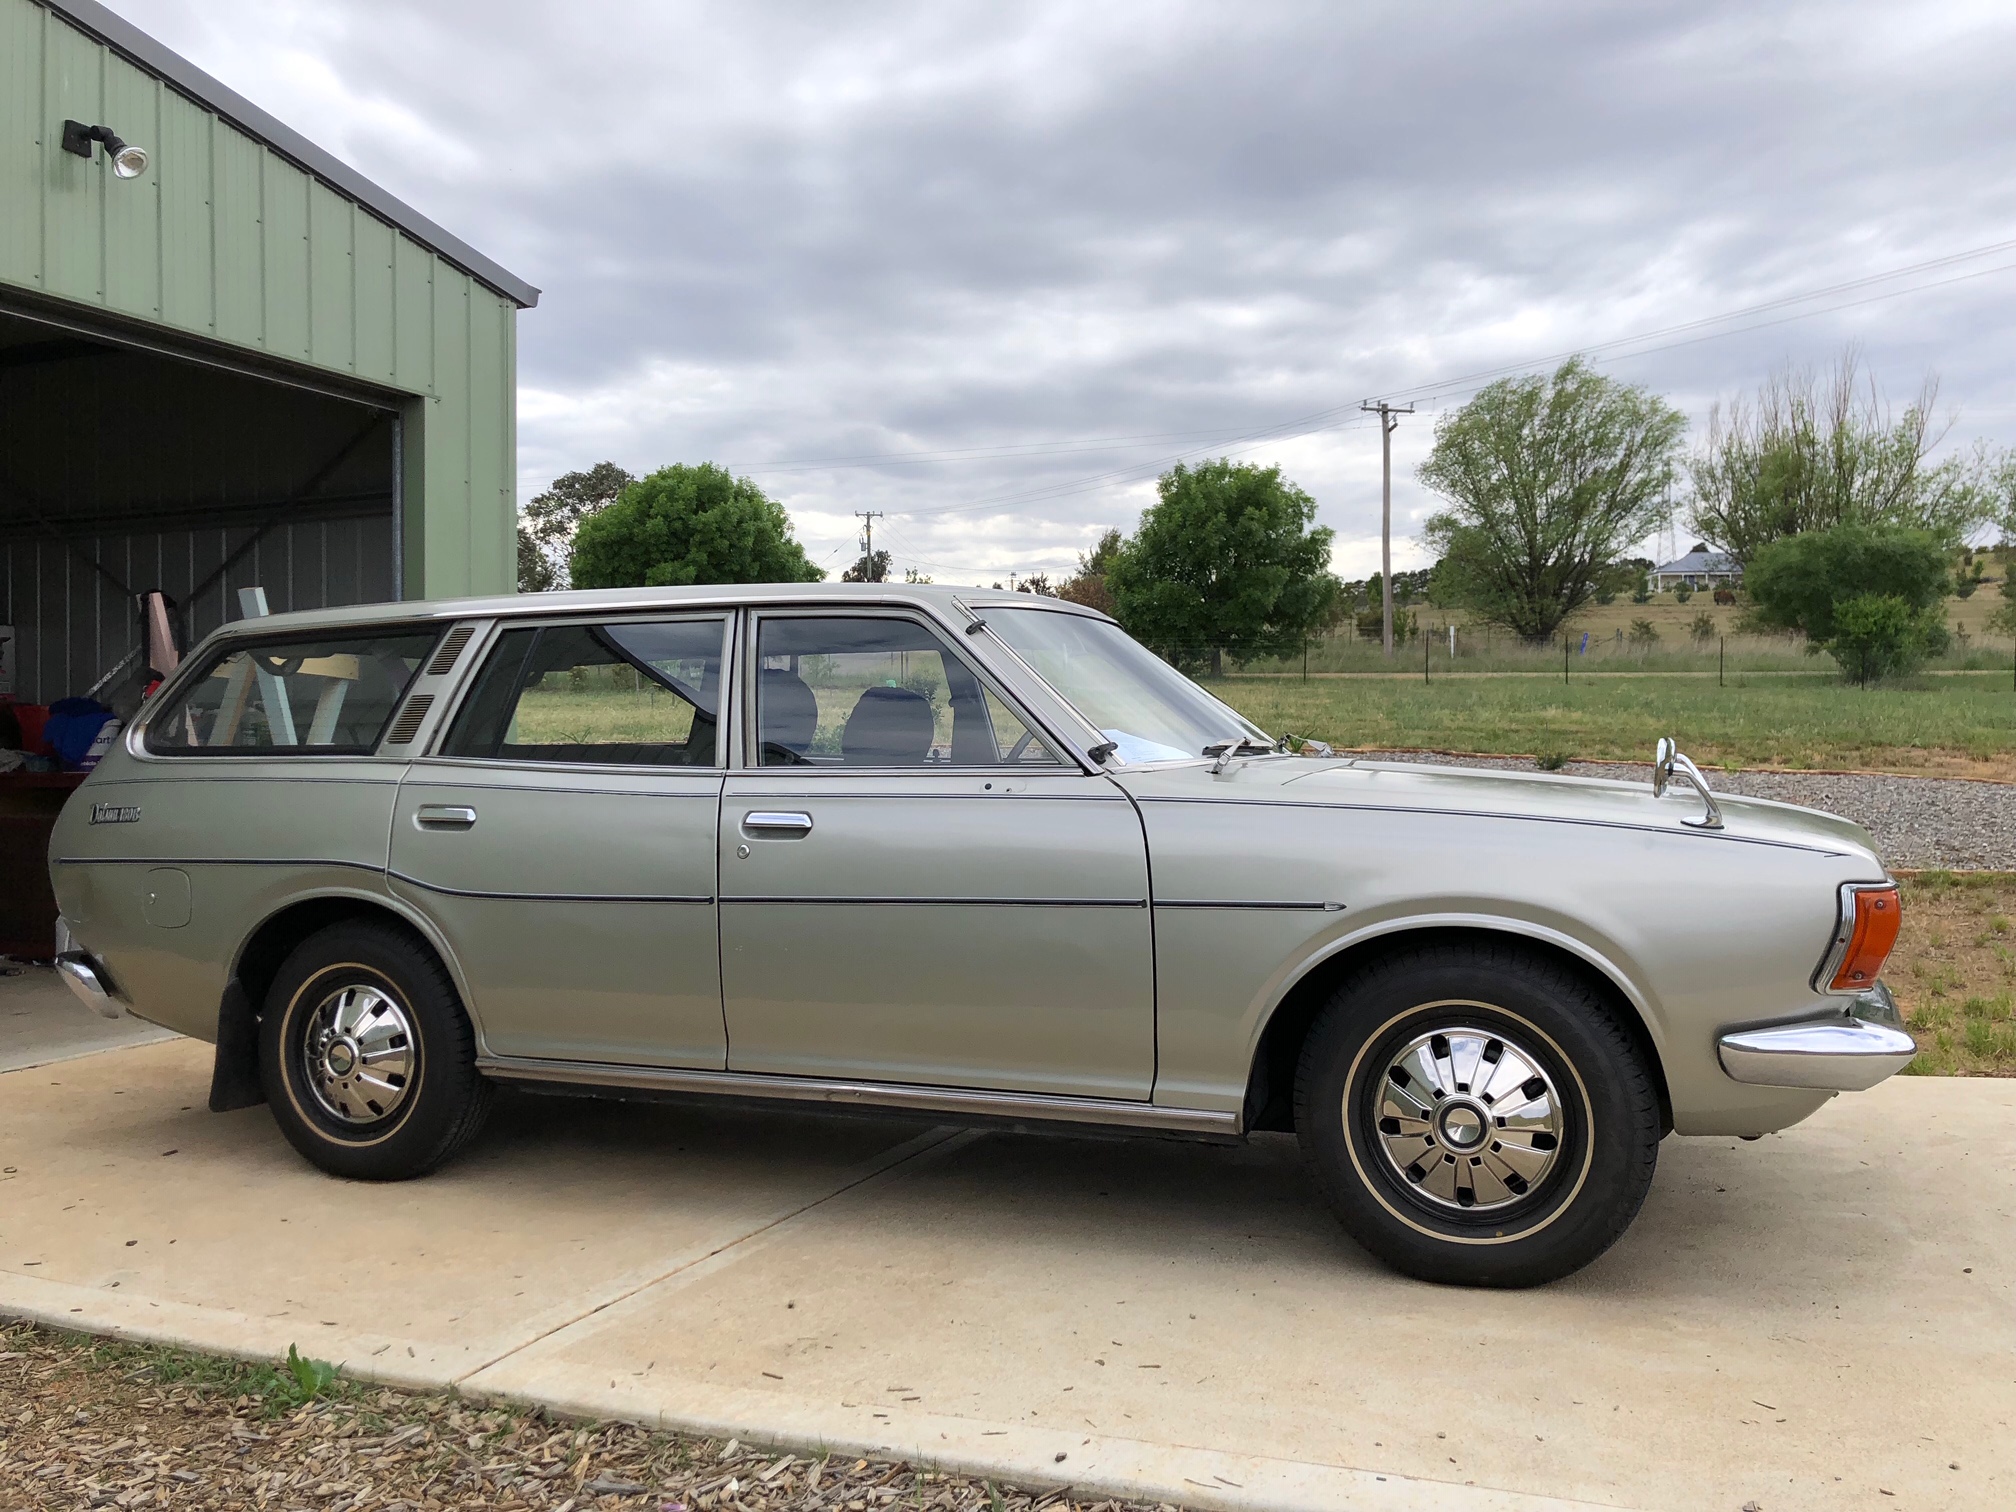
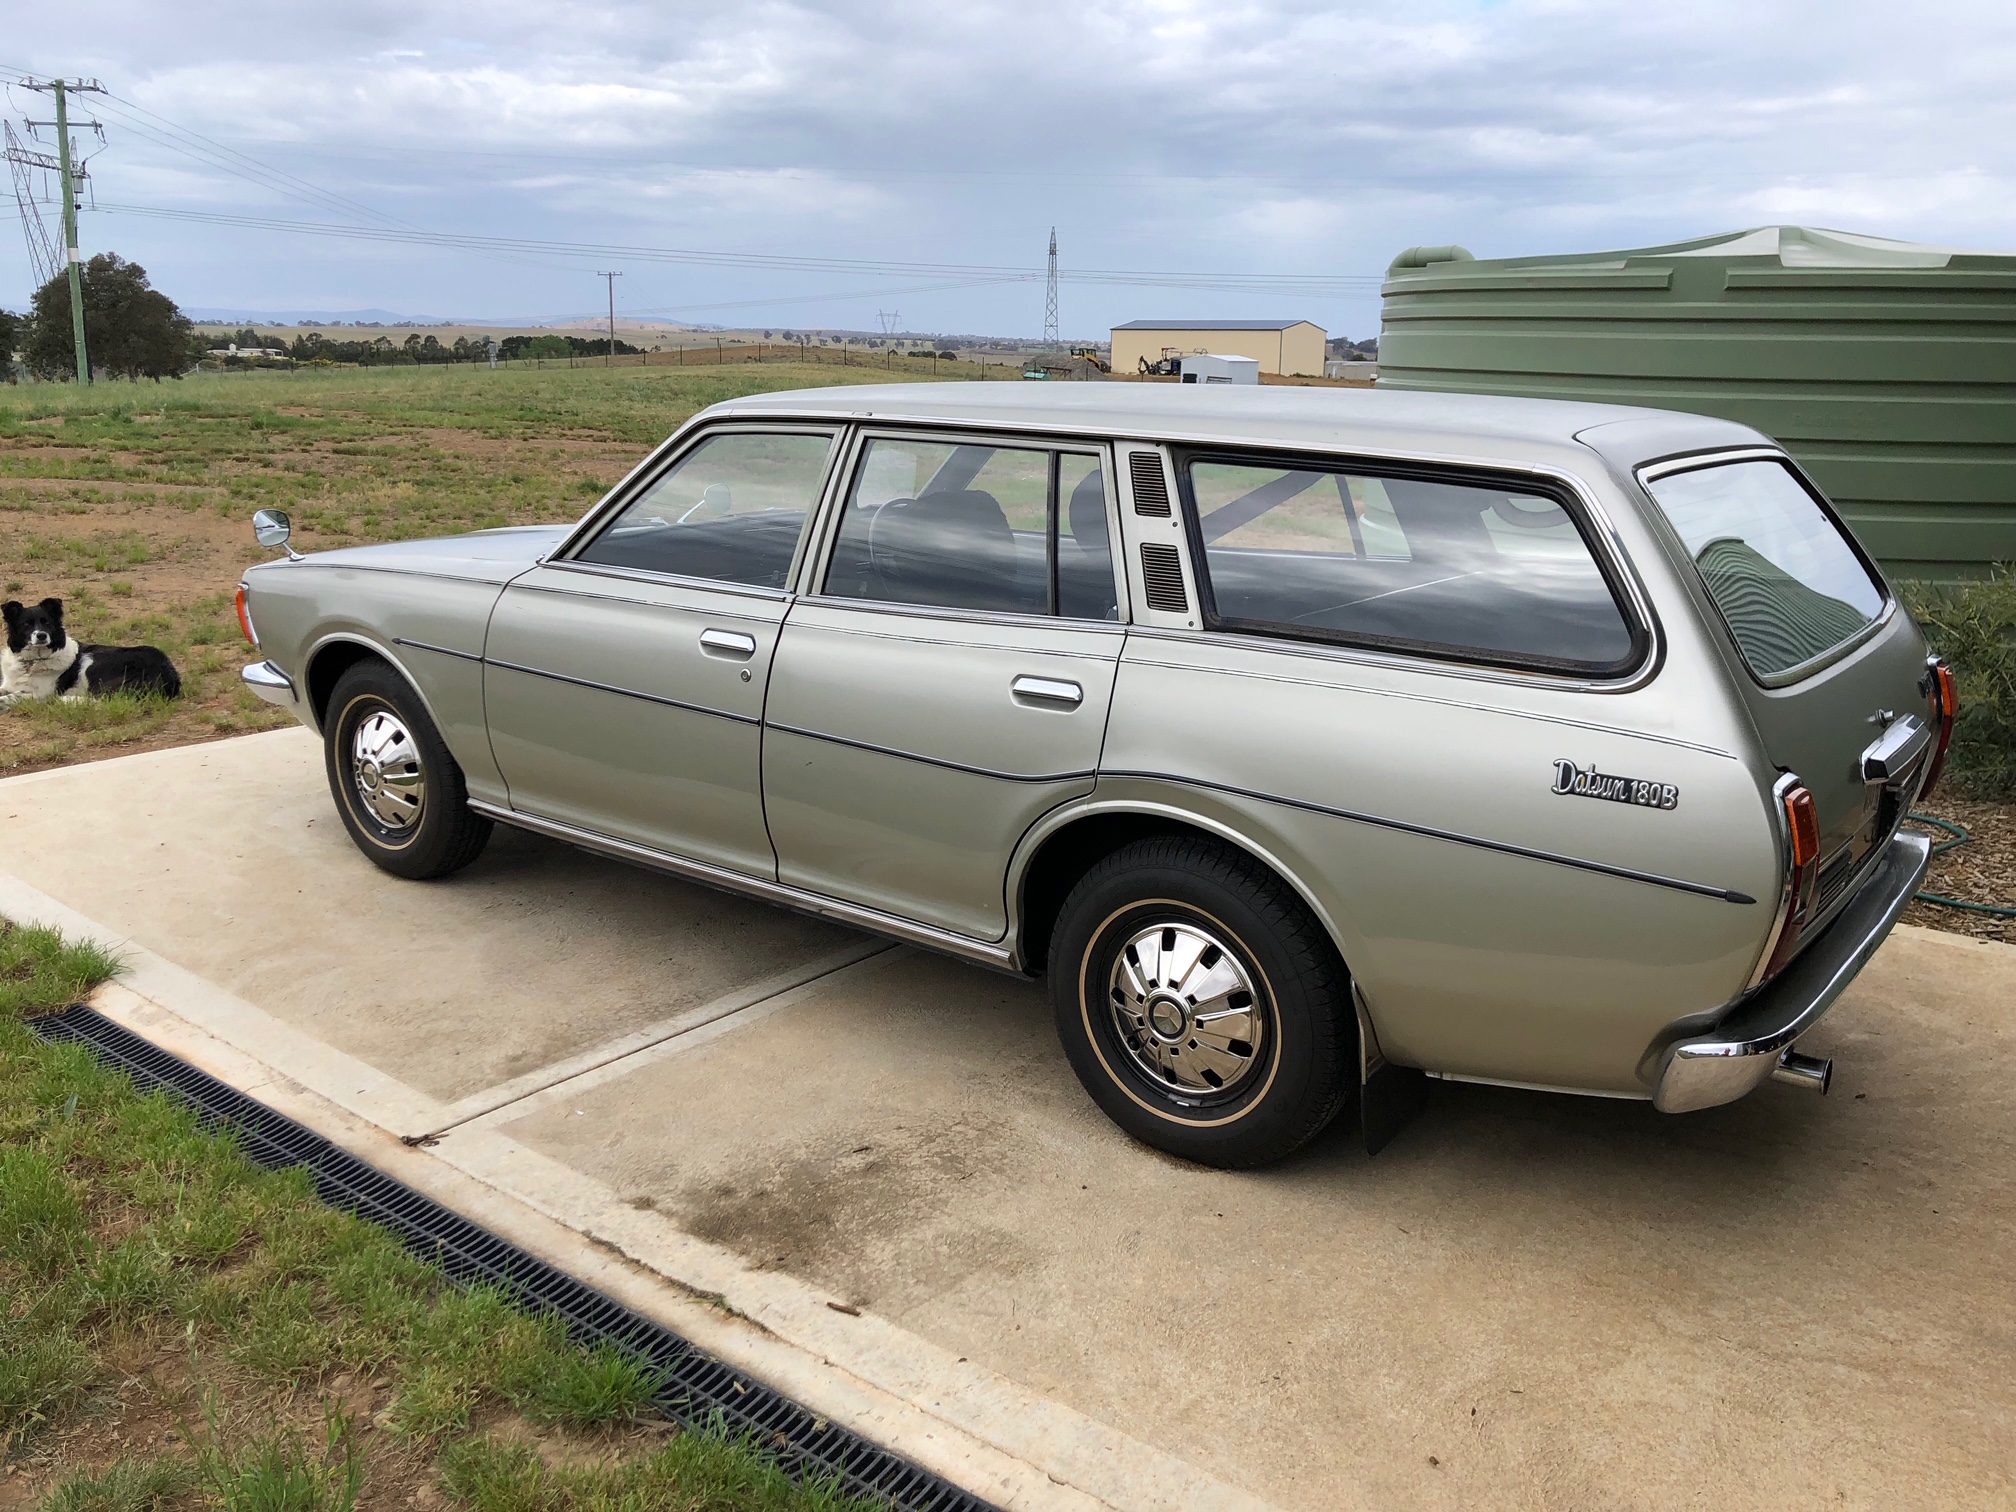
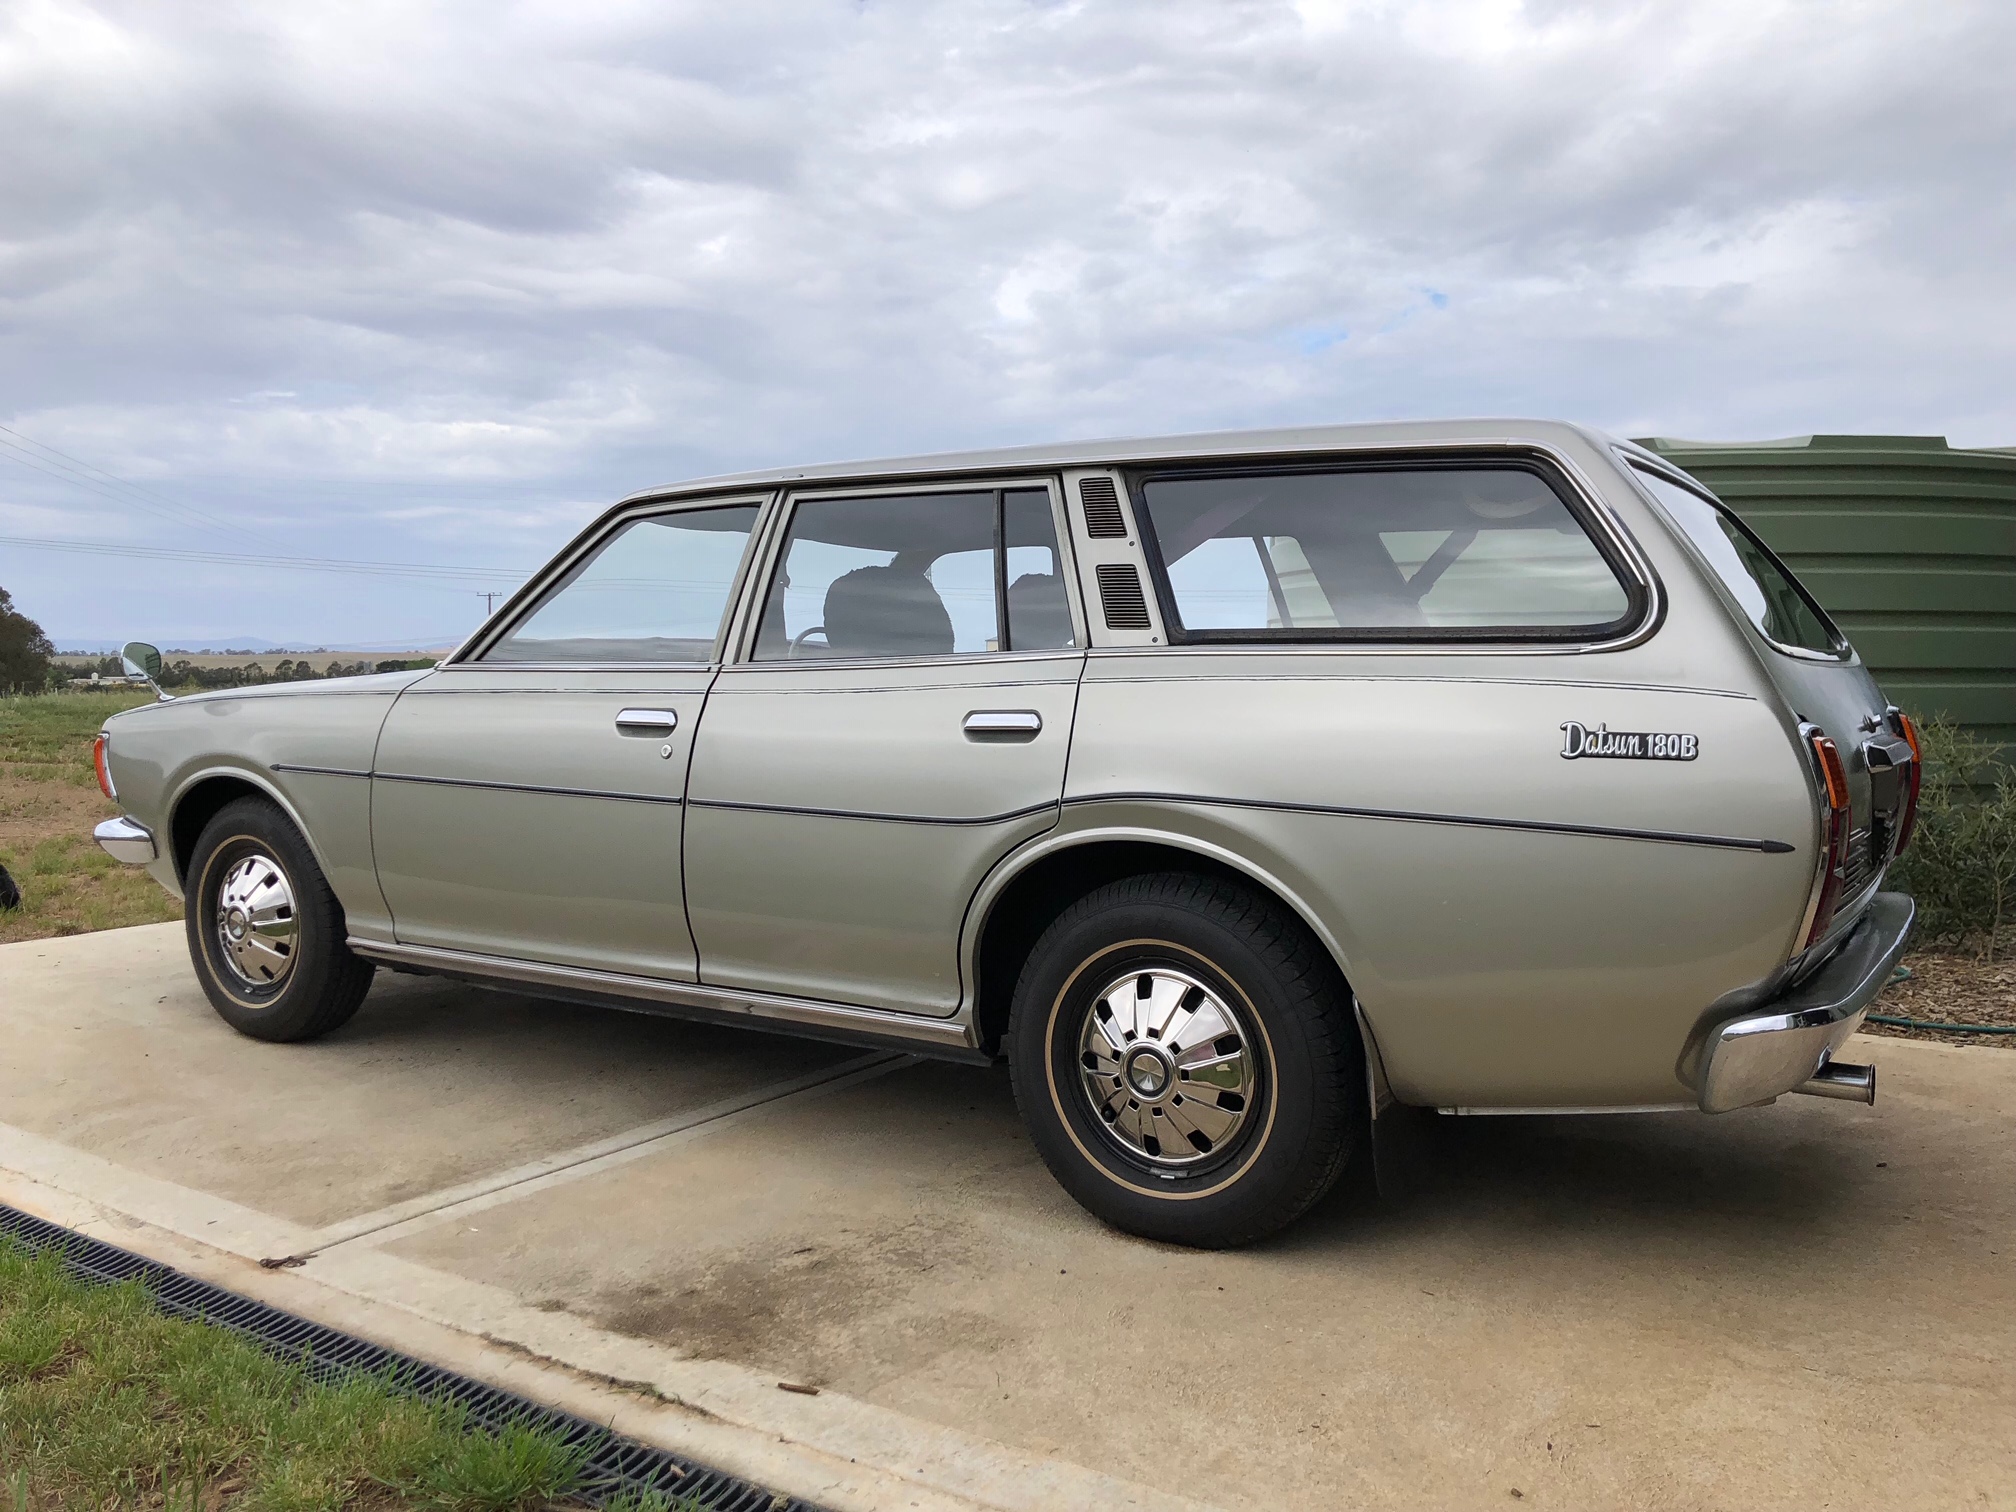
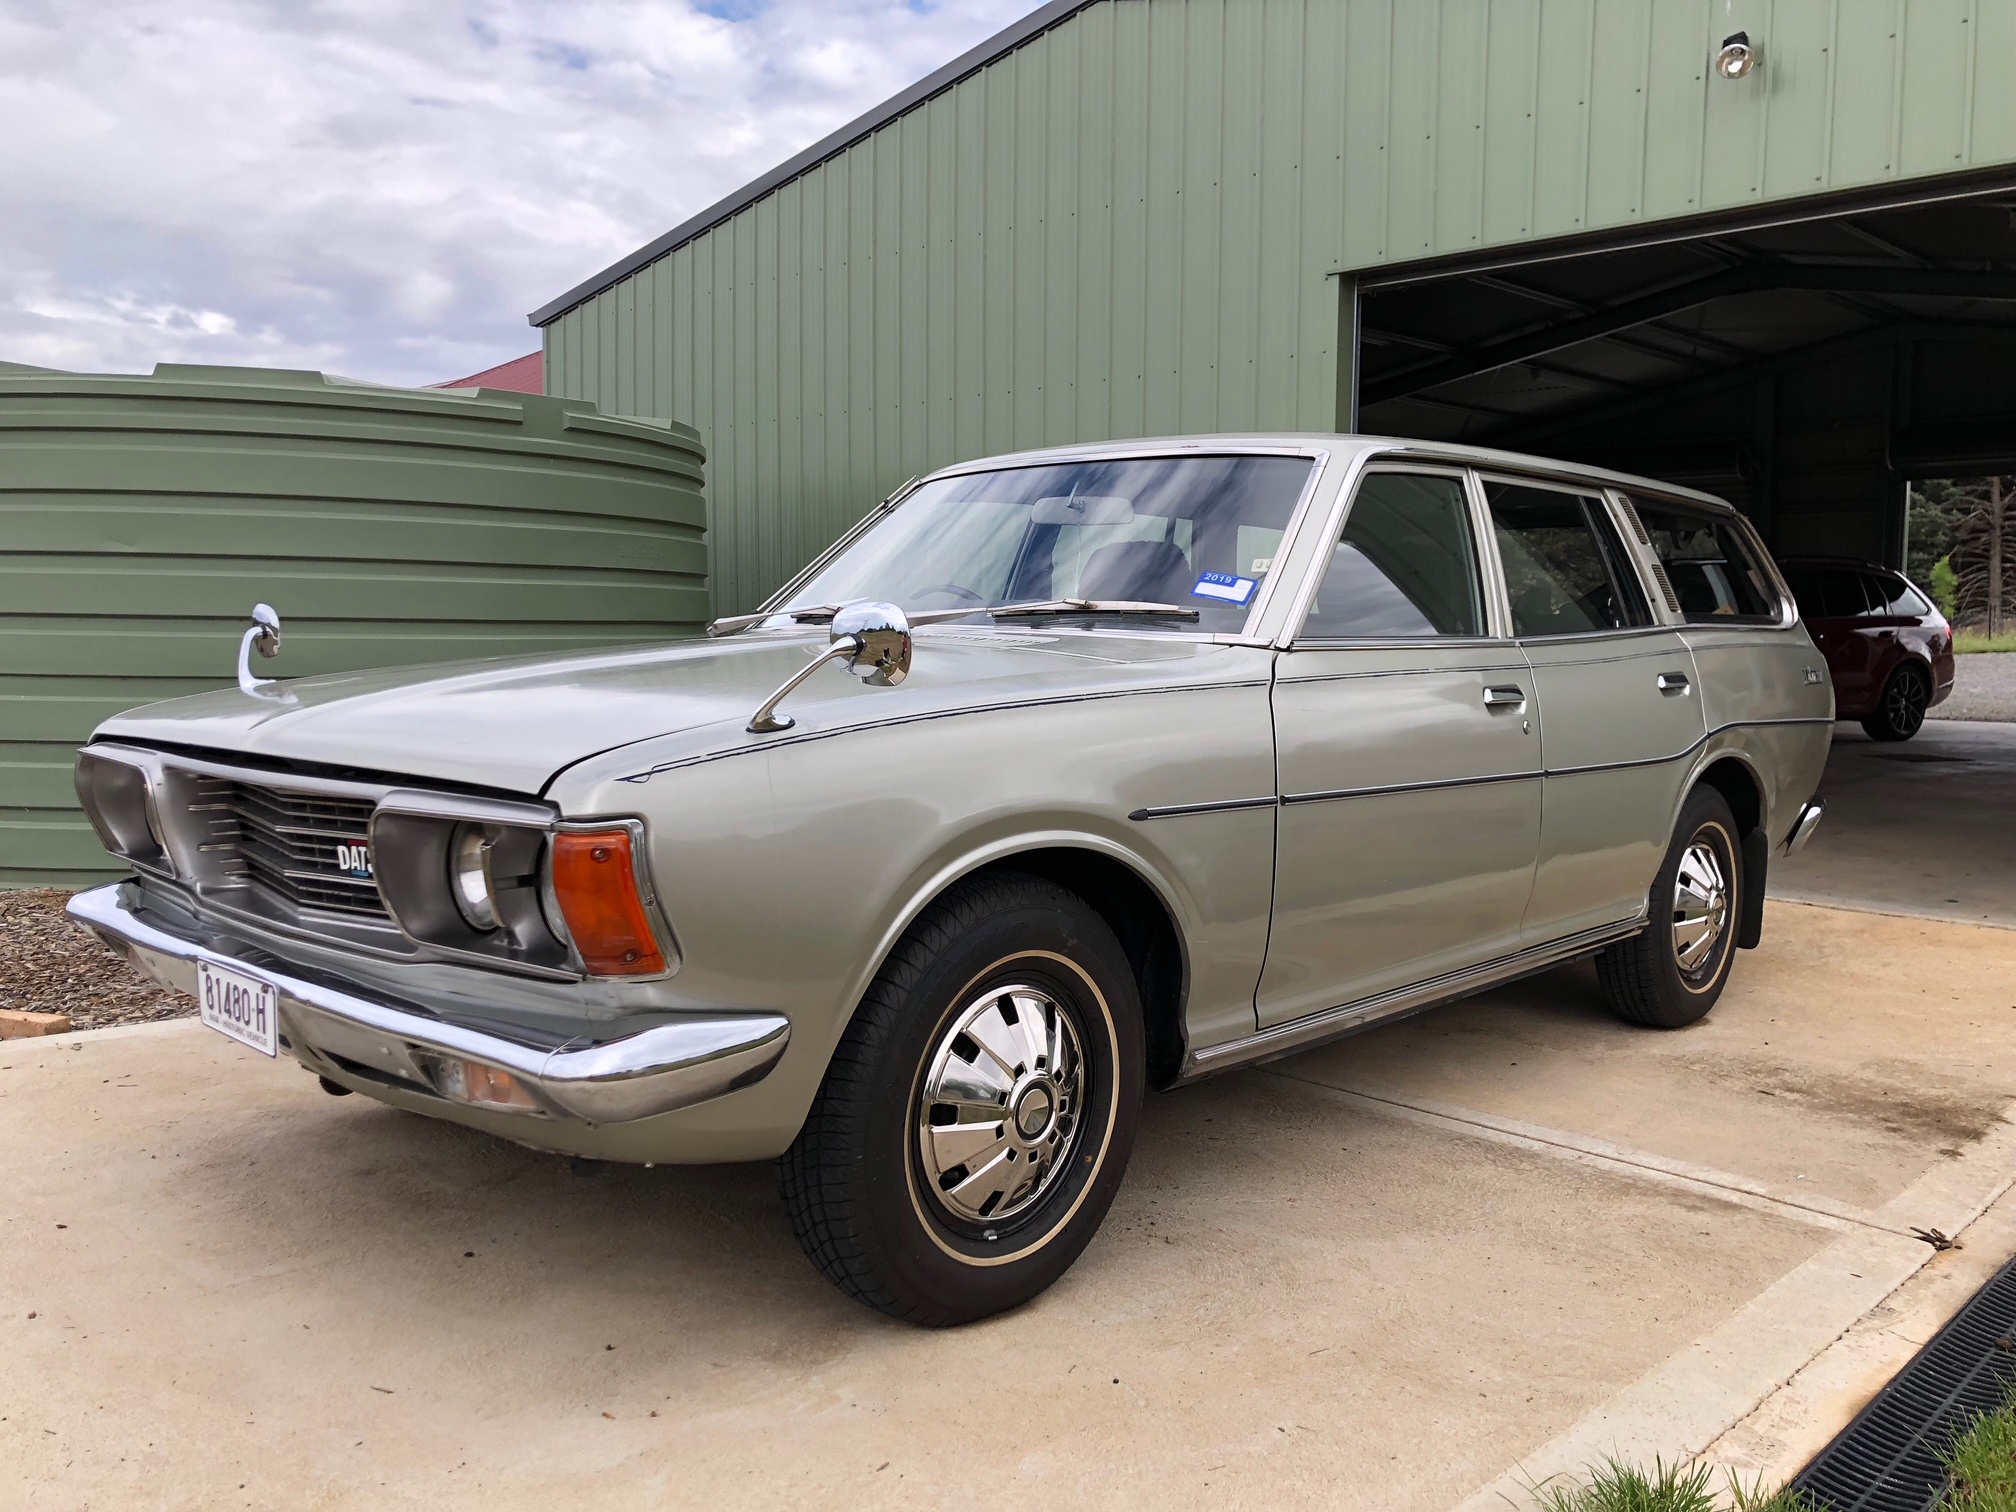
Tomorrow, Saturday 03/11/18, is the annual Classic Yass car show. I spent a few hours this morning cleaning and preparing the Datsun for the show. It’s not going to win any awards but still she’s a good looking old girl.
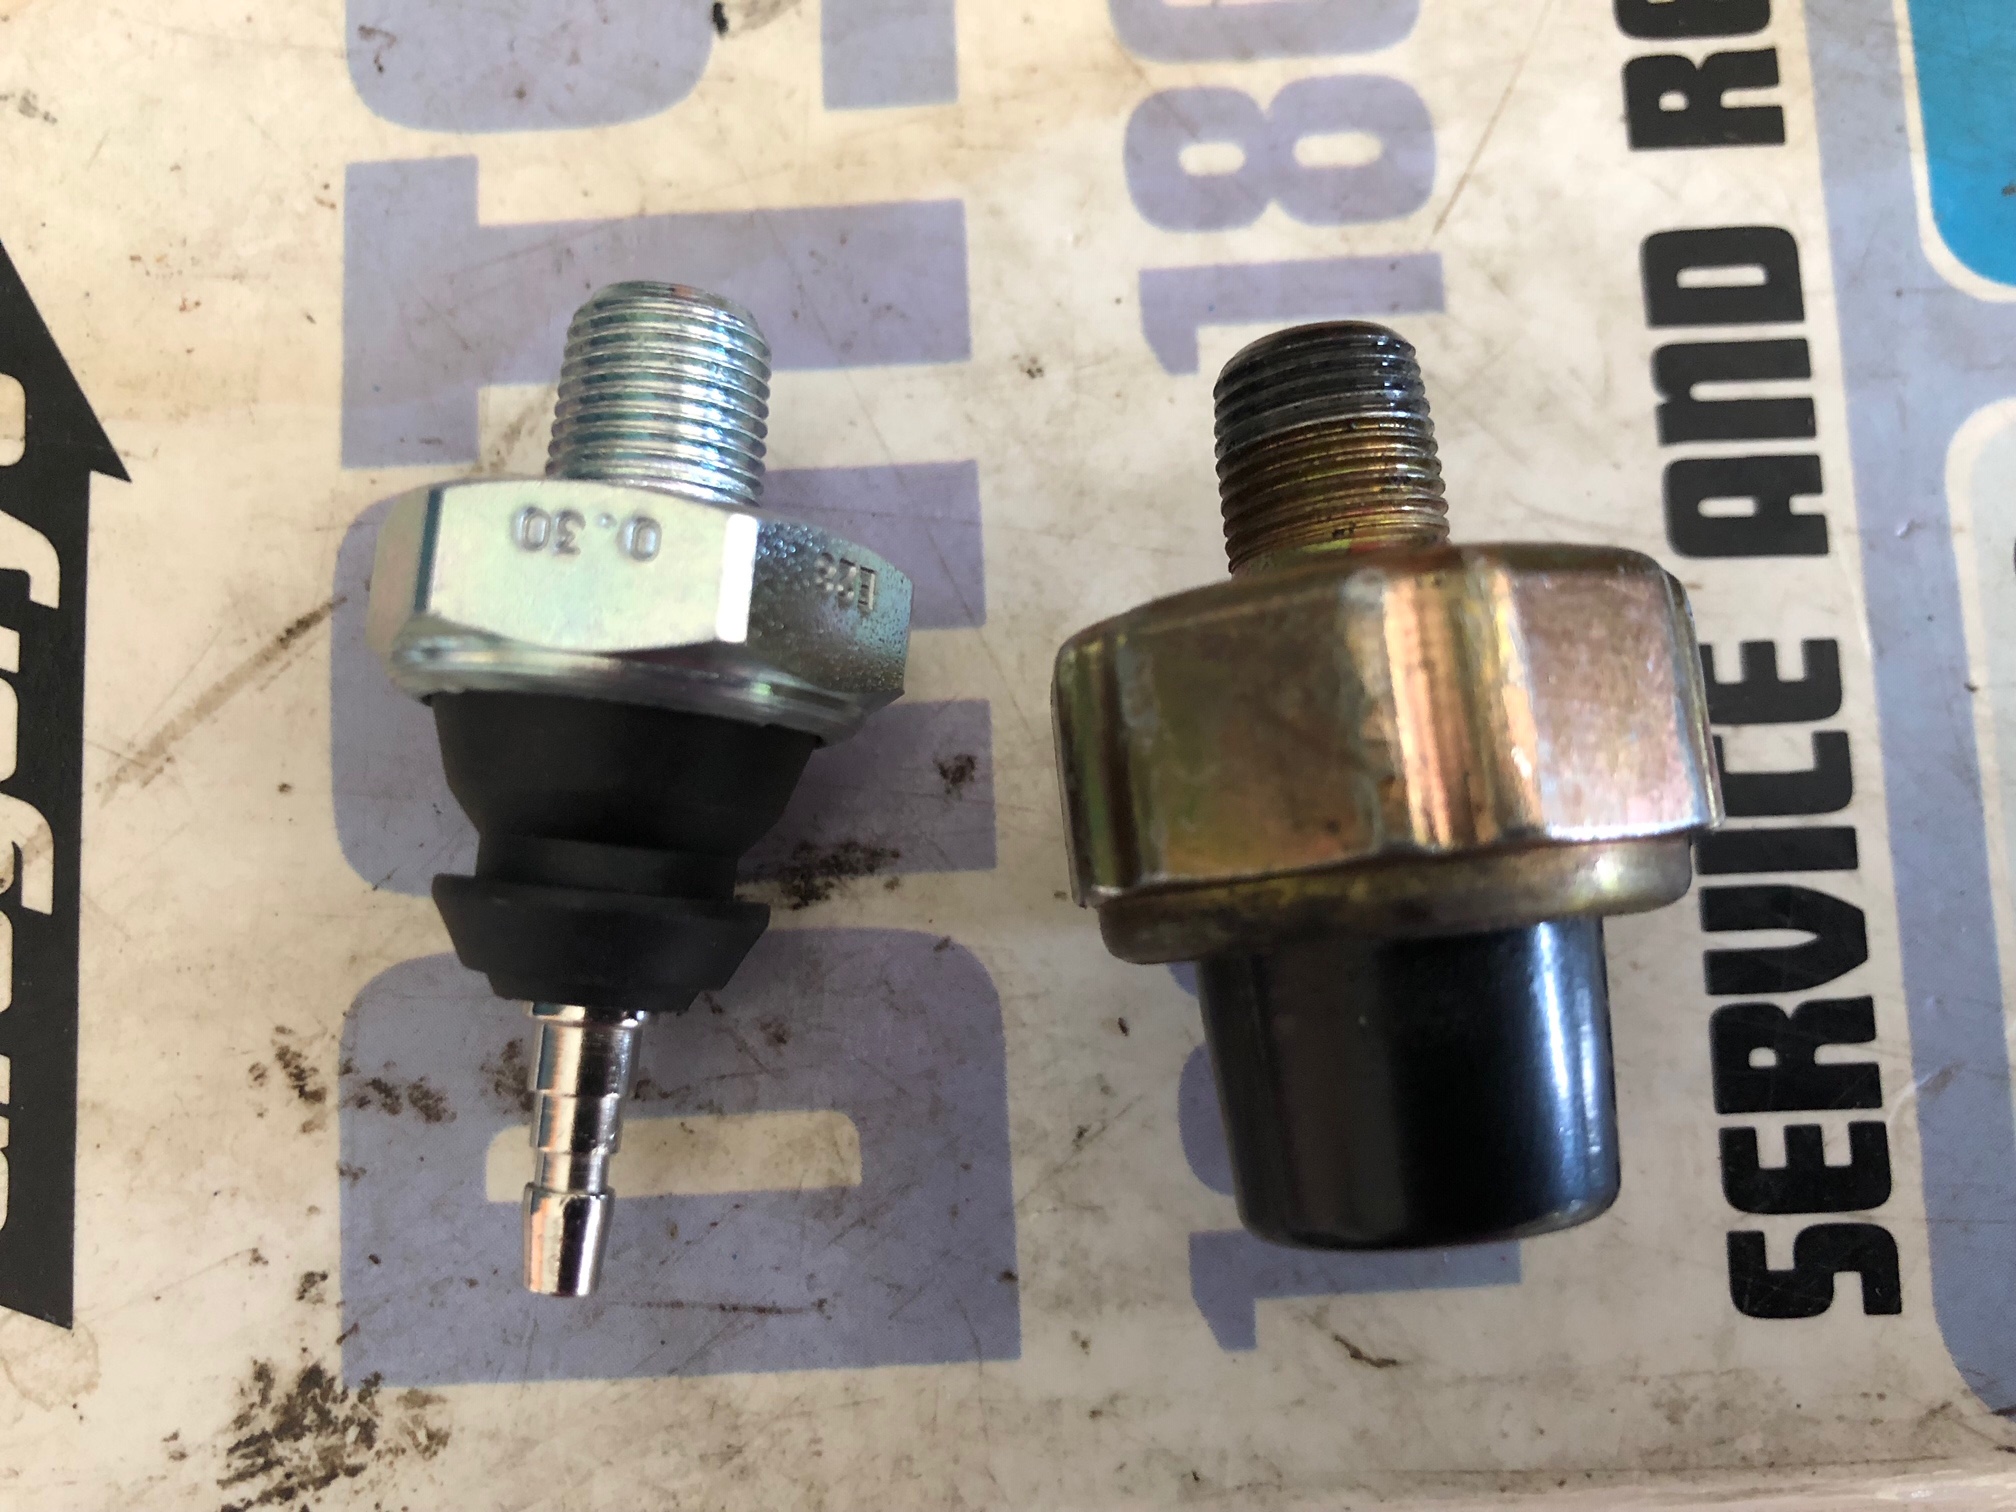
The new oil pressure sender arrived from eBay (a few days late), but it only cost $16.66 so I can’t really complain.
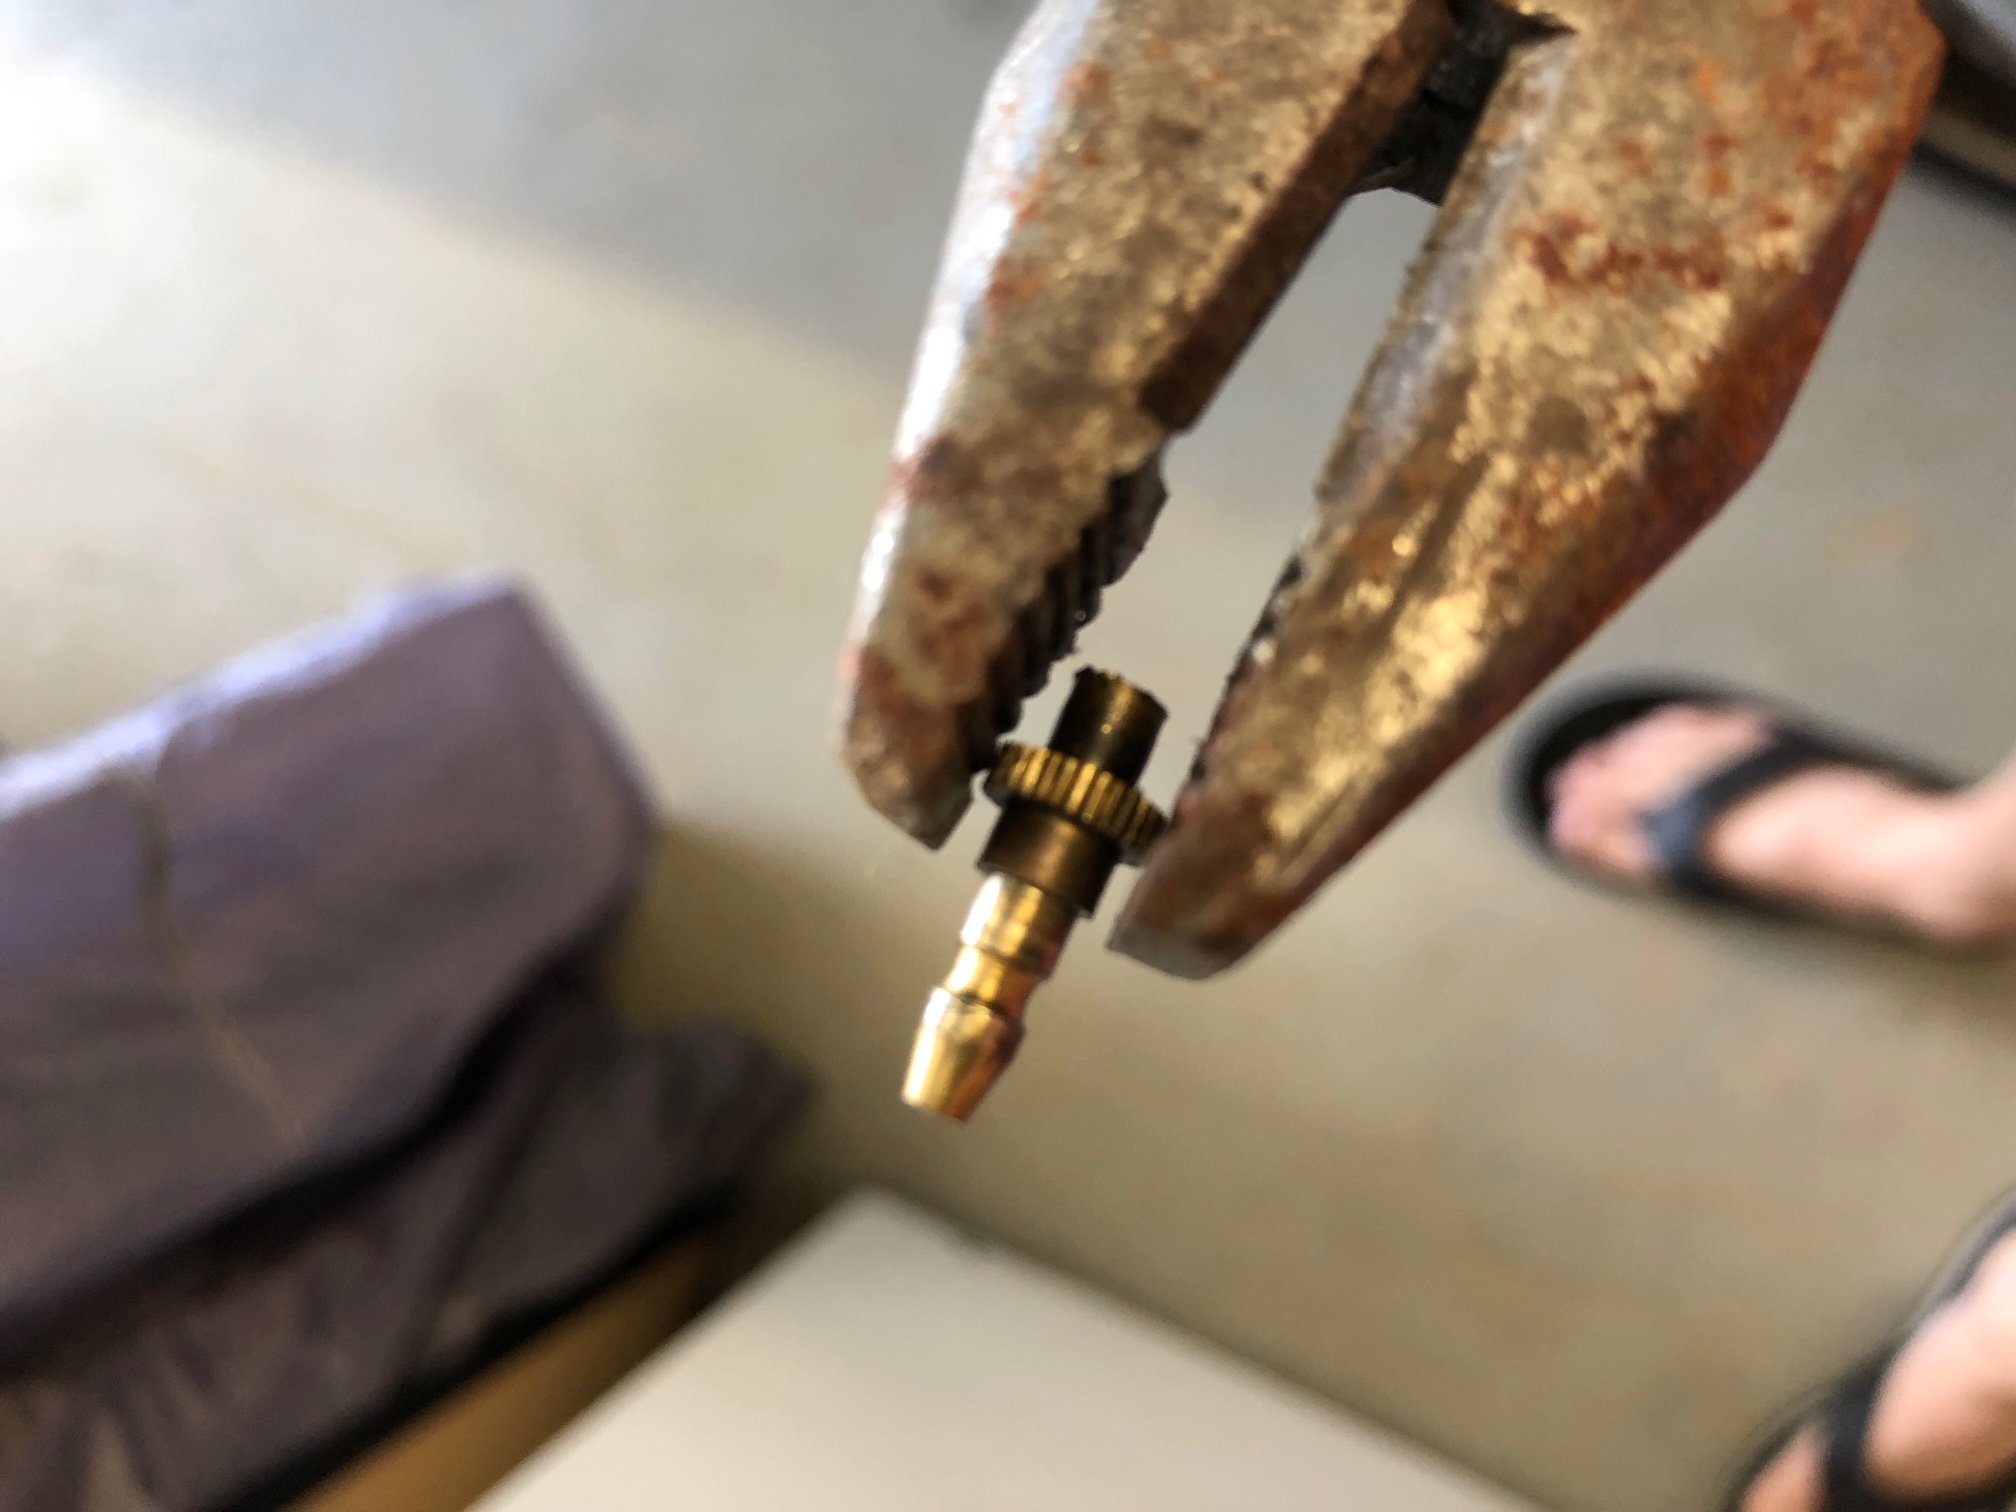
The issue was the nib from the sender unit had broken away and was stuck in the wiring as can be seen below.
Installing the new sender is a simple matter of unscrewing the old sender unit from the block, screwing in the new sender unit and attaching the wiring connector to the end of the sender.
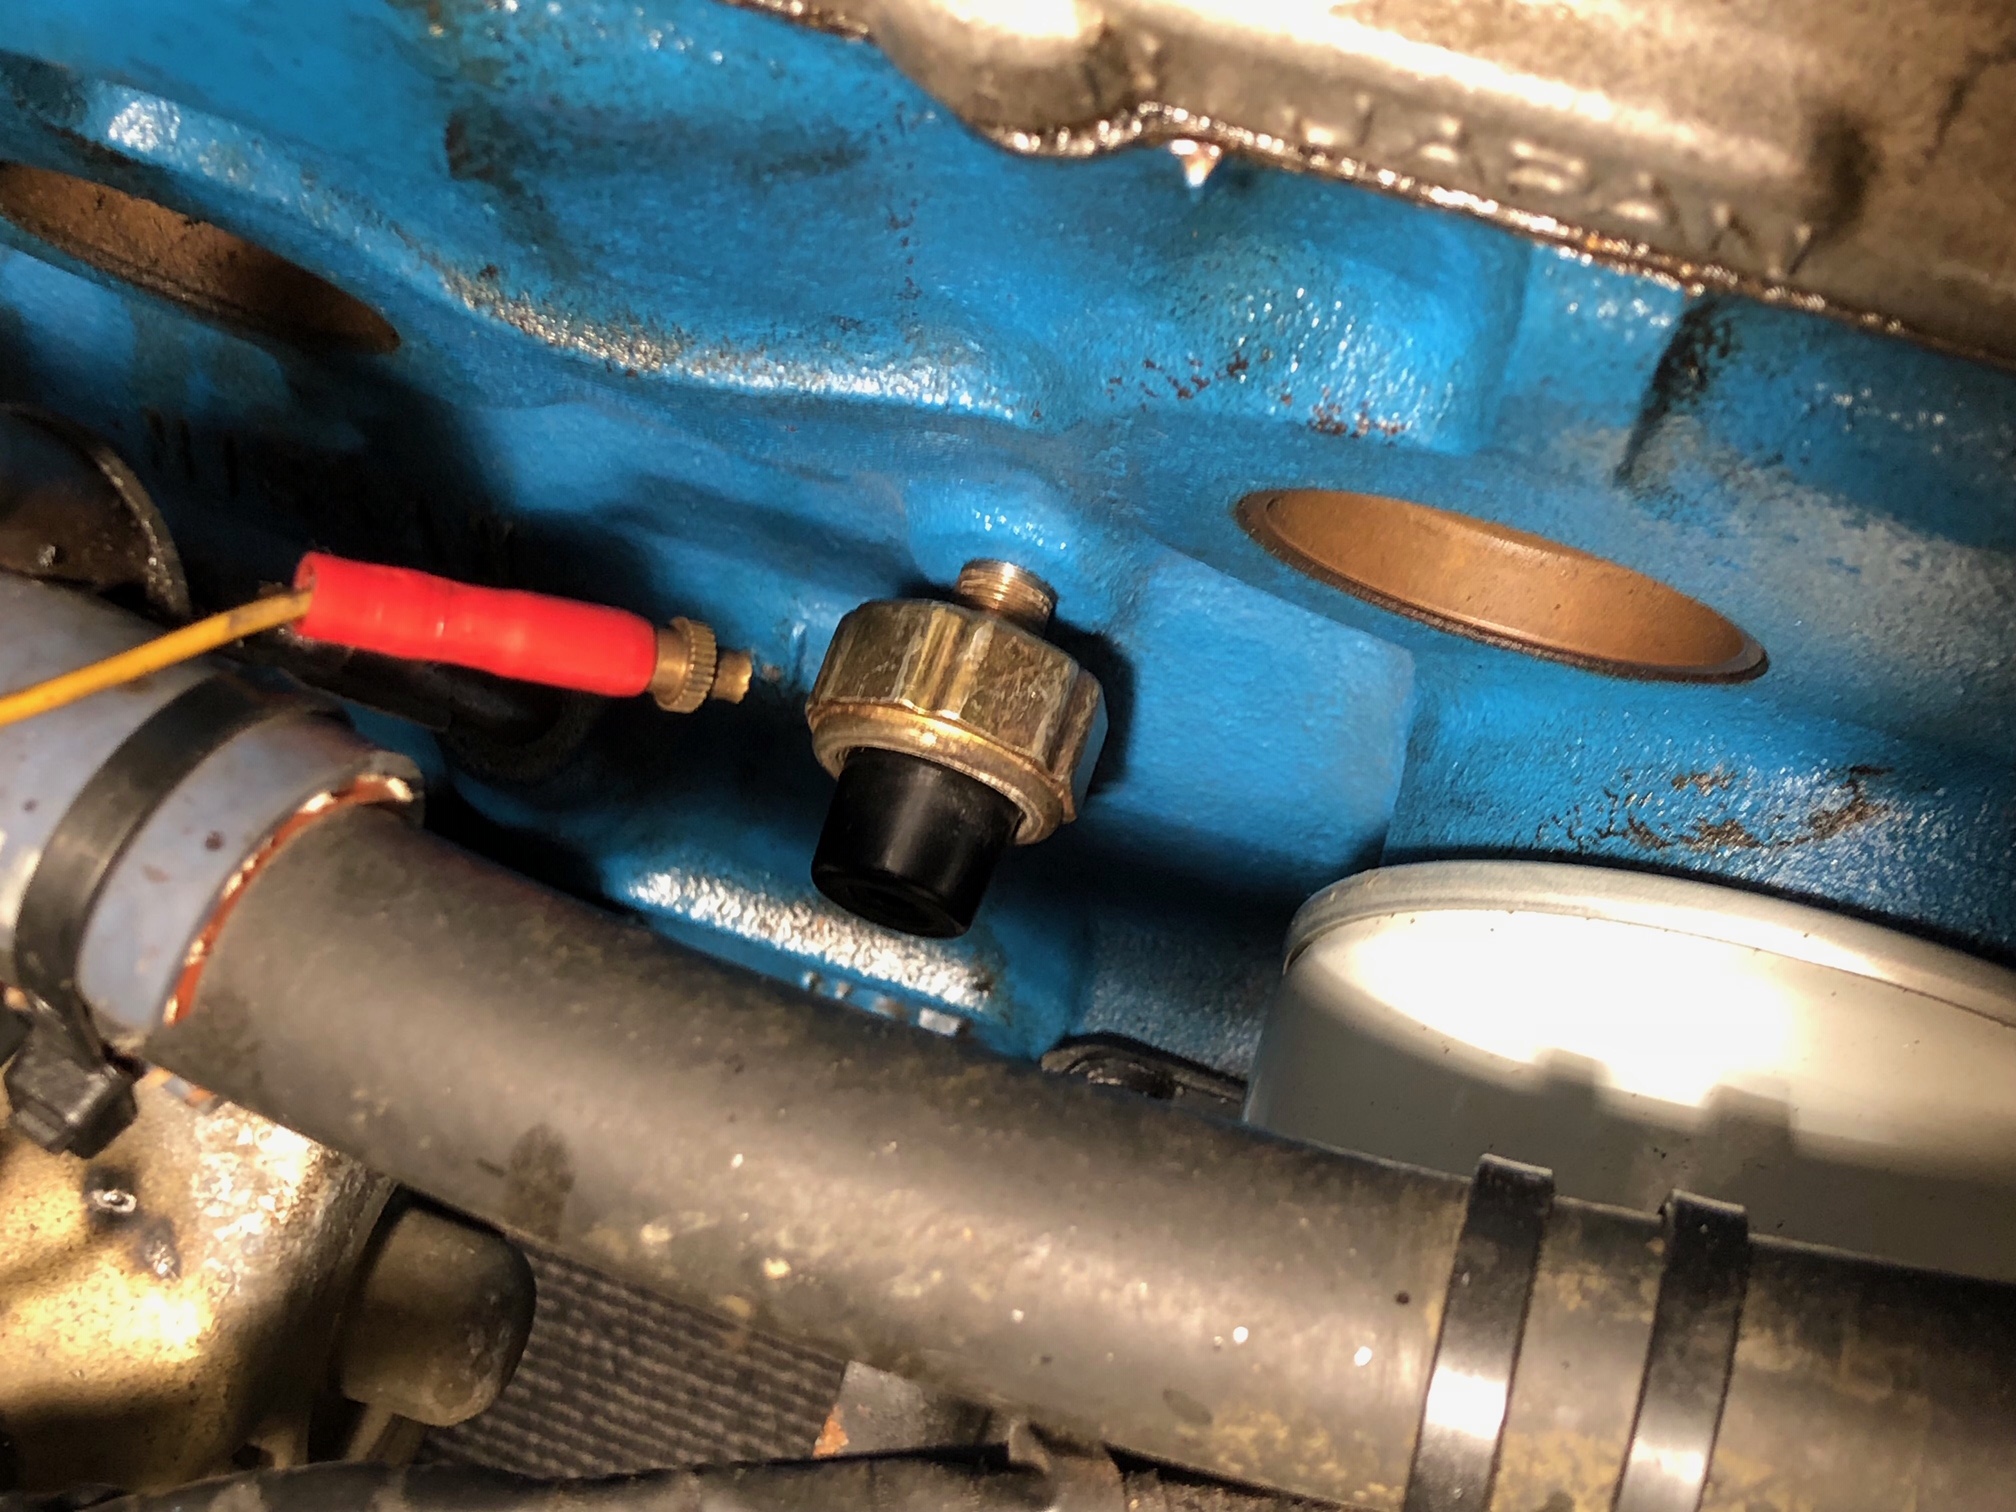
The nib stuck in the wiring.
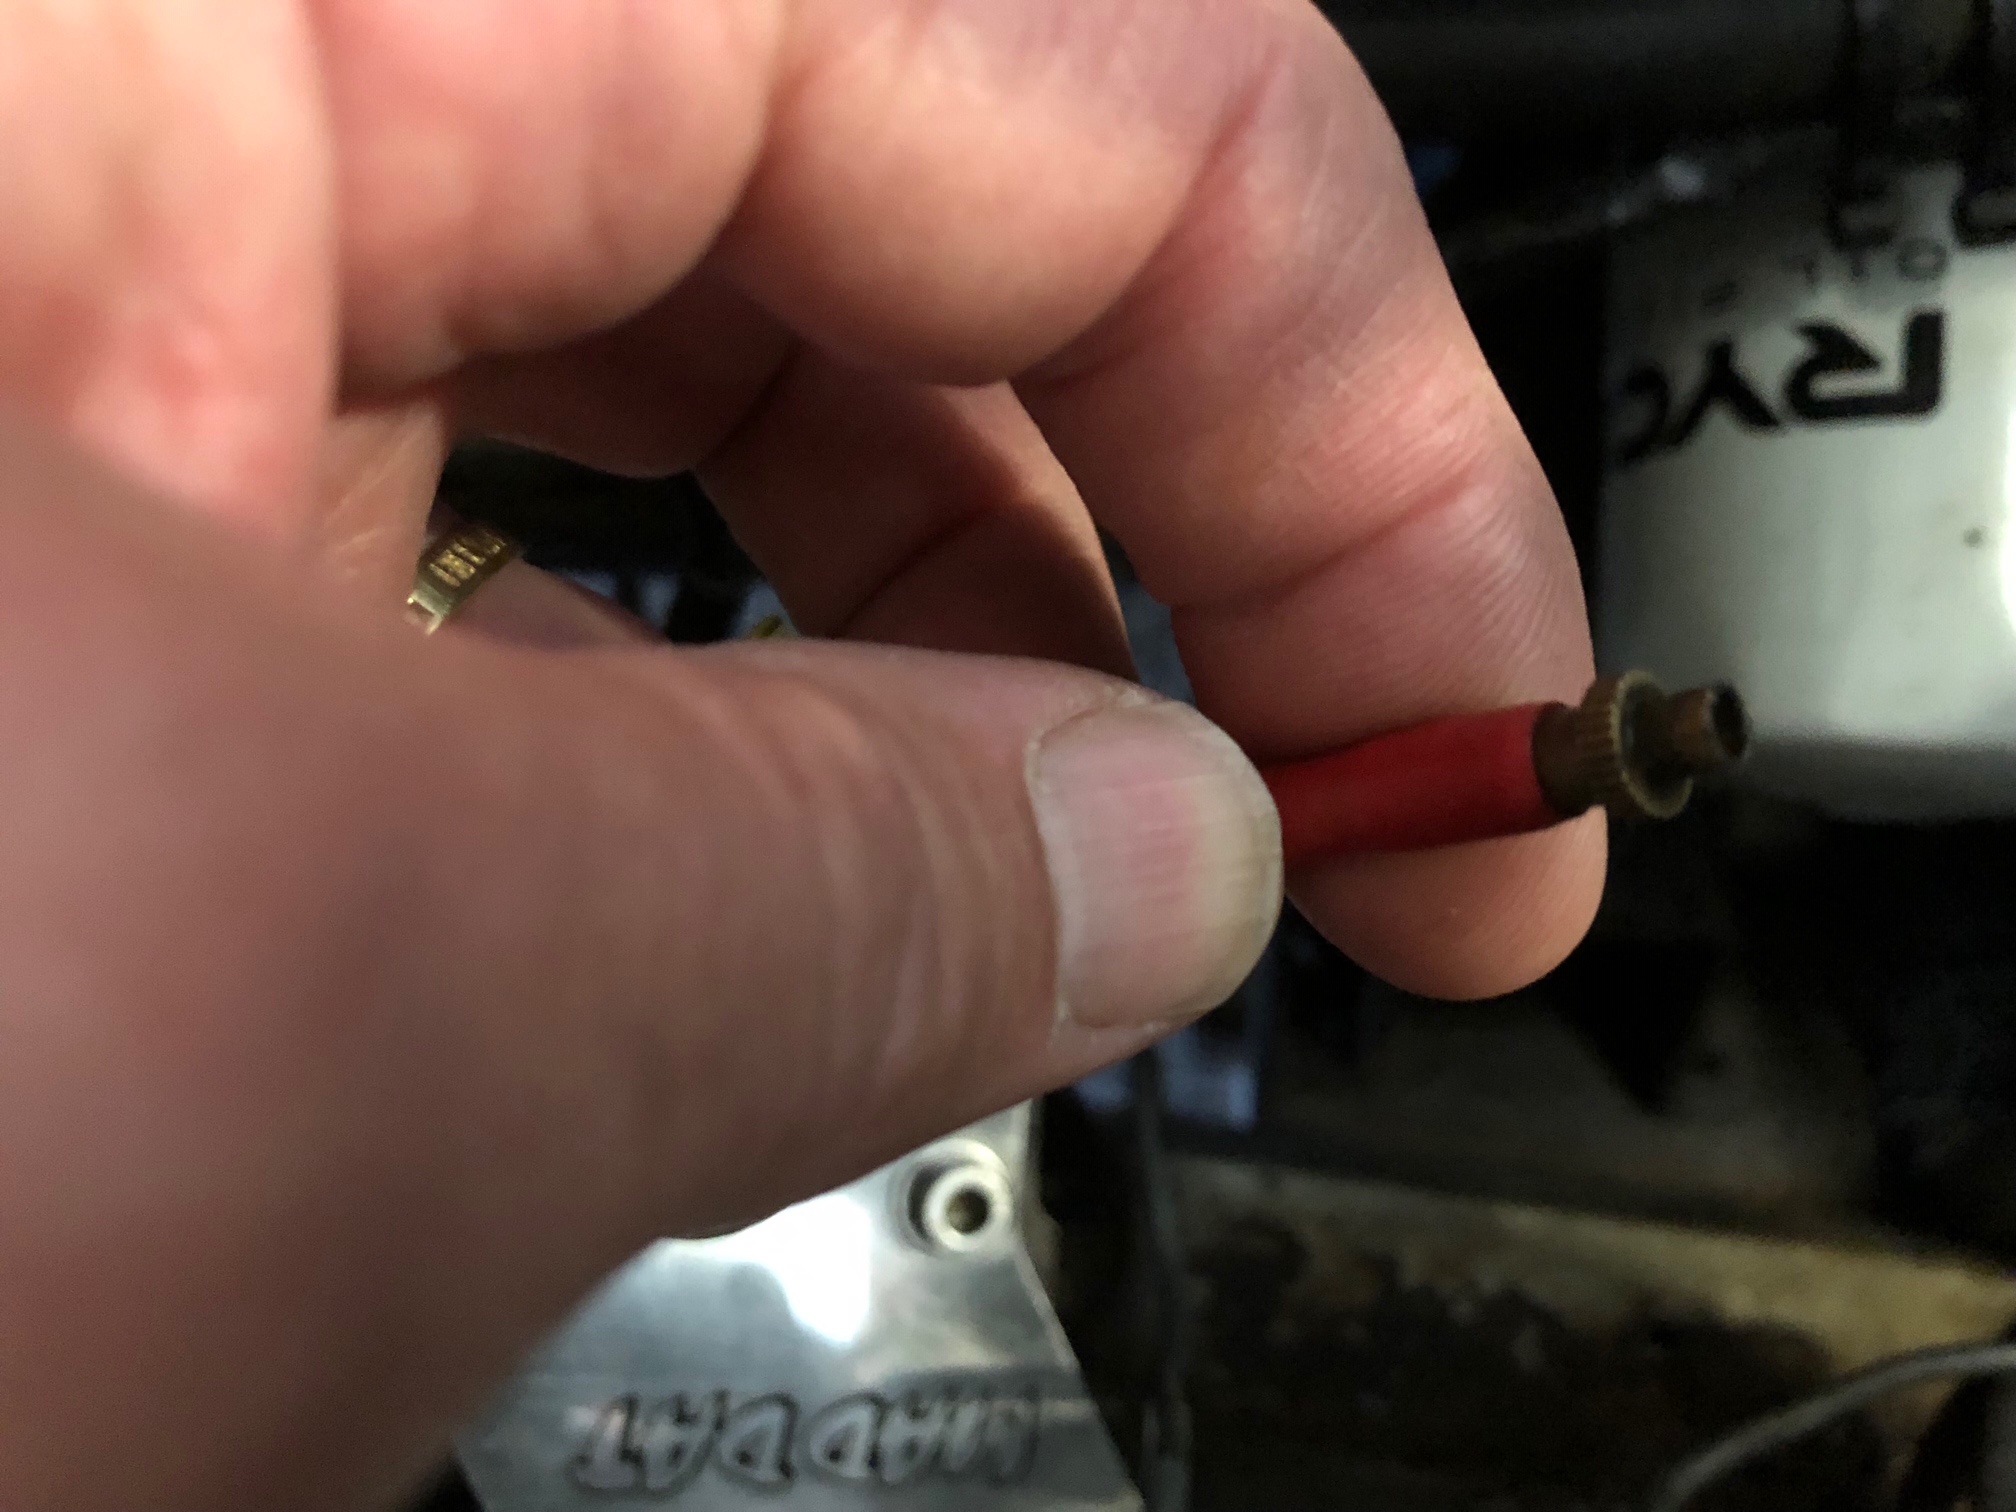
Here’s the nib after being removed.
The new sender beside the old one.
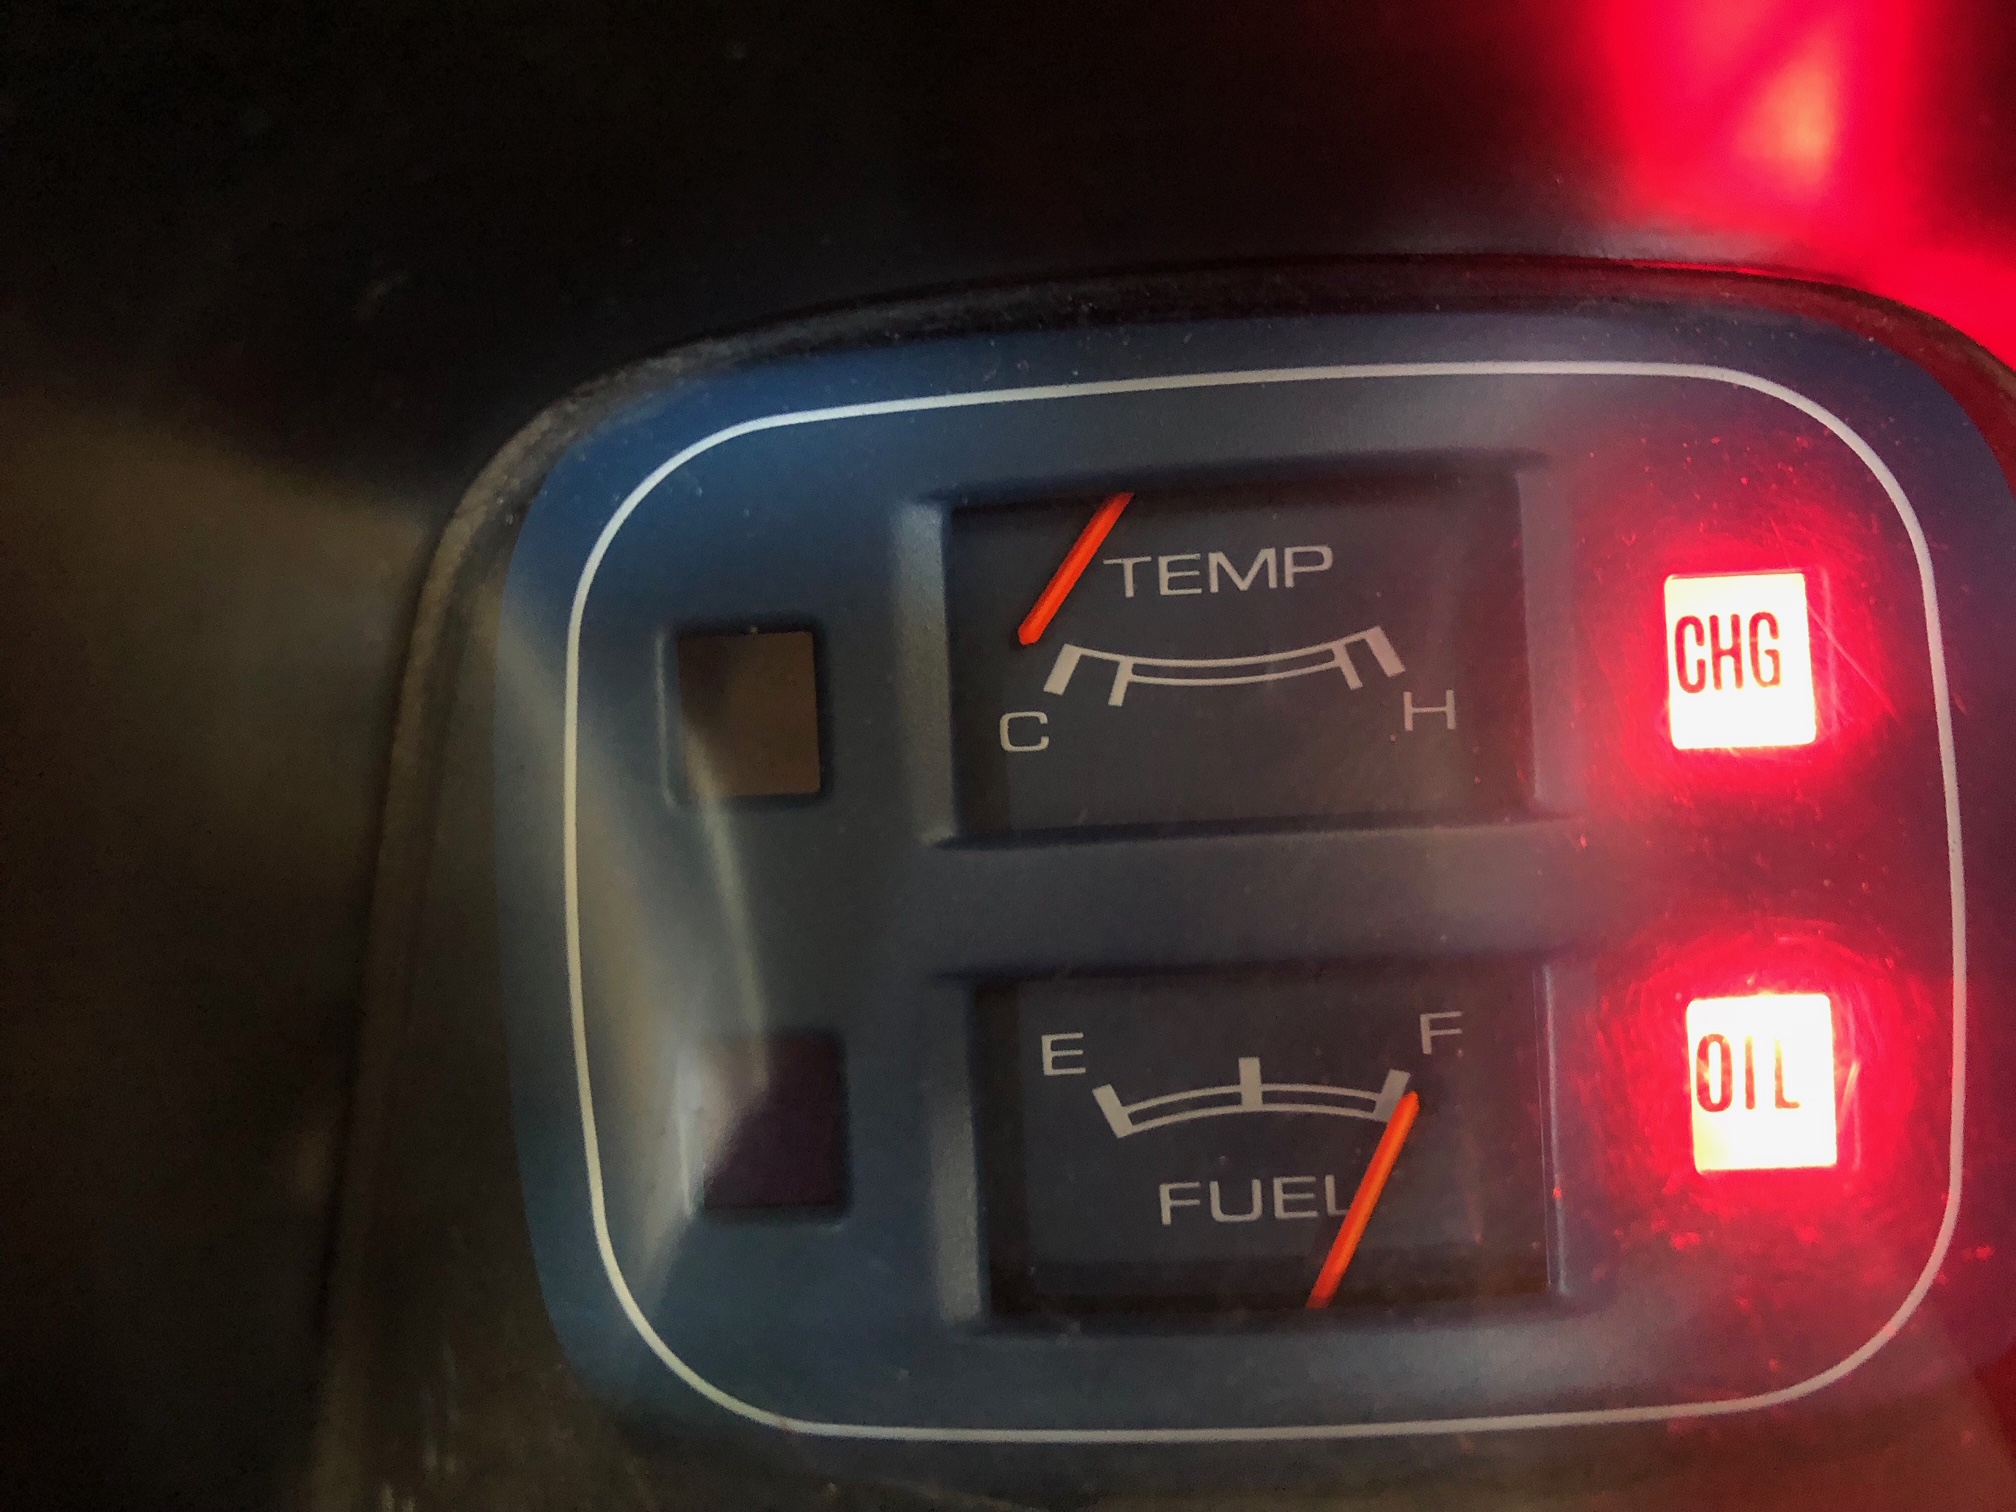
The oil pressure light is working again.
Today I picked up the Datsun from Ken. He spent a lot of time checking everything and making adjustments. The good news is he said the engine appears very clean and the electricals/spark are great.
However, there were three main things he found wrong.
Firstly, the tappets were adjusted far too tightly. Whilst there’s a noticeable increase in tappet noise now, they are adjusted correctly and the valves will be opening and closing at the right times.
Secondly, carb 1 was receiving far too much fuel – all the time – due to incorrect plumbing of the vacuum. To cater for this, the carb had been leaned out on the adjustment screw. Ken said after he got the fueling right to the carb, he turned the adjusting screw out two full turns to get it right. This would also explain why plugs 1 and 2 were fouling on me, along with the choke sticking.
Thirdly, the oil pressure sender needs replacing. I’ll do this another time myself.
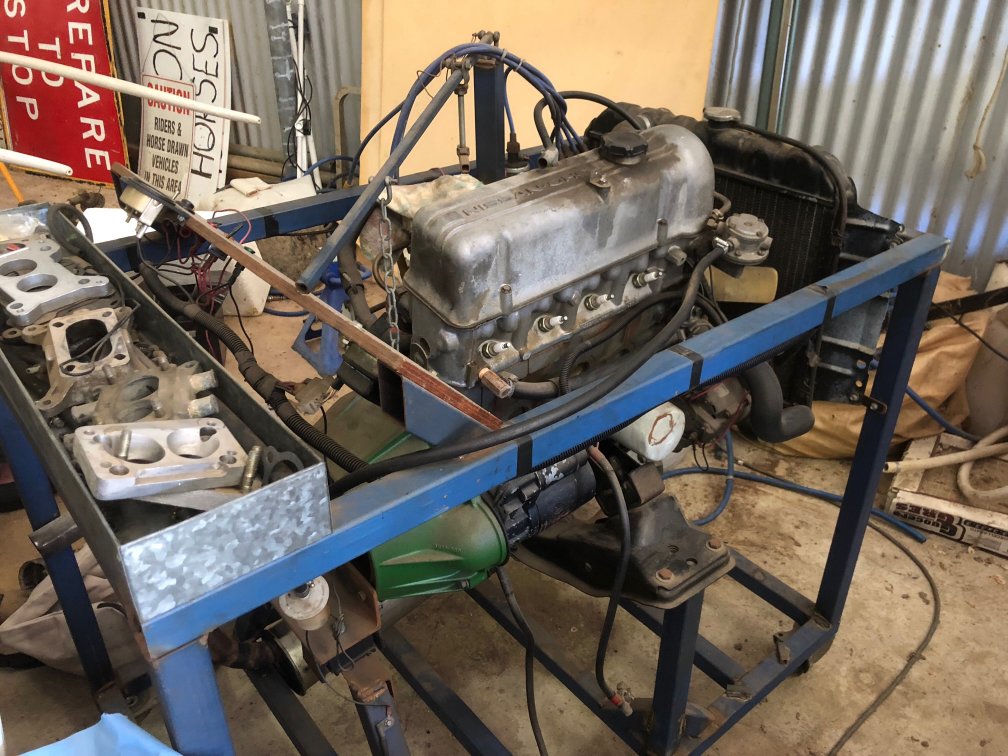
Above is Ken’s setup he used for testing carbs on an L18 engine.
The wagon is running like a dream now it’s setup and tuned correctly.
I’m not happy with the look of the air-cleaner assembly. It’s also quite fiddly to remove and put back on. There must be something better.
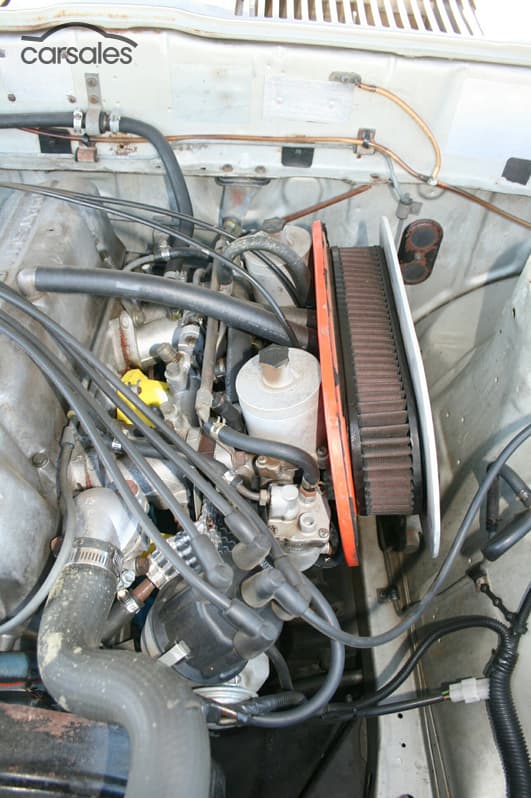
I was Googling different setups and I found one I really like the look of:
K&N Circular filters, part # 56-9096 to suit L18 twin carb engines.
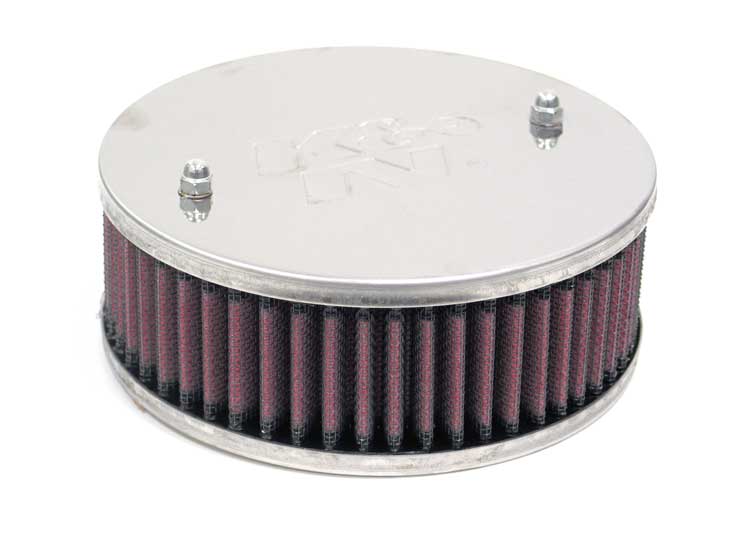
So I jumped on E-bay and ordered a set. Not particularly cheap at $231 for two, but should look awesome once installed.
I’ll do a write-up of the install once I receive them.
By chance, I found out that a work colleagues father, now retired, used to have his own mechanic workshop and was an expert at old vehicles and carbs.
I gave Ken a call and arranged to drop my car off later in the afternoon at his residence.
In his large shed he had all the equipment from his old workshop, including a hoist, gas analyser etc. He even had a Datsun 180B engine in a frame with starter etc, that he could fire up to test carbs on! Amazing!
We had a lengthy chat about the Datsun and it left me in no doubt that I was talking to someone who really knows their stuff. Ken seemed excited to work on the Datsun as he hadn’t done one for a while. It’s a pity that blokes like this are rare now and not too long into the future, people with his skill will likely be gone.
Ken promised to go over everything, checking all the electronics, advance, tuning and balancing the carbs etc. It should be running like a dream when I get it back at the end of the week. Can’t wait!
****************************
*** PICS TO FOLLOW
****************************
After doing some reading and research online, I decide to remove the dashpots from the carbs, clean them and replace the oil.
The recommended oil for the dashpots is 10W-30. As I didn’t have any of that spec on hand, a quick trip to the servo and I purchased a one litre bottle of 10W-30 engine oil.
It was quite a simple process, the steps being:
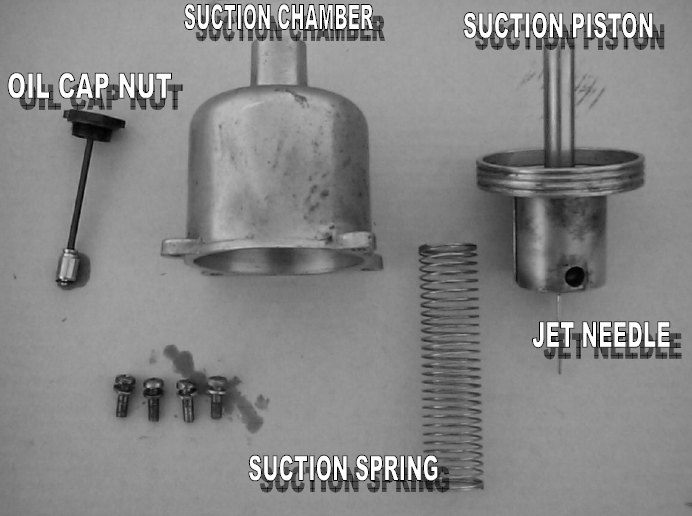
I tipped the piston upside down into a jar and let it drain for a few minutes to get all the old oil out. The oil level seemed to be low and what oil there was seemed quite thick. I gave everything a clean and then it was time to reassemble.
Note the dashpot piston has a ridge on the side that lines up with a notch on the side of the carb. This ensures it can only be installed one way. Be careful to place the jet needle in the hole at the top of the carb.
What I did at this point was fill the dashpot reservoir with oil. Then place the spring over the top of the reservoir.
Now place the dashpot cover back in place, ensuring the spring goes over the centre receptacle inside the cover, screw back in place.
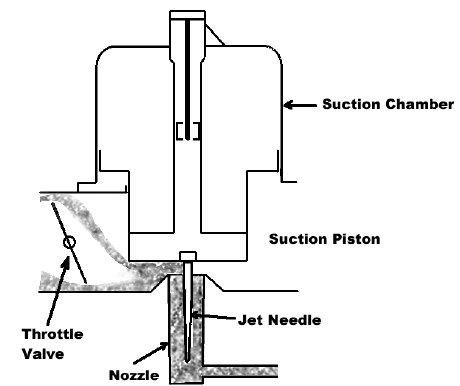
Before placing the plunger back in, we can check the dashpot piston is moving up and down freely inside the cover. The piston moves up and down in response to vacuum.
We do this by putting a finger inside the carb intake and gently lifting the dashpot. It should move smoothly and freely, but there should be some resistance, increasing as the piston rises. Remove your finger and it should slowly fall back down. Both carbs should feel about the same with an equal amount of resistance.
Place the plungers back in and test again. You should note that there is more resistance now that the plunger is in place, but it still should operate smoothly.
Whilst I was doing this I was looking at and touching the linkages. I touched the choke linkage on carb 1 and it jumped back into place – it had been locked open again! Sprayed it with WD40 and gave it a clean to hopefully stop it sticking in future.
I gave the spark plugs a clean and fired her up.
The wagon has always taken a good amount of time before it will idle without choke and it takes a long time to get up to operating temperature.
Now, after a very short time it was idling nicely. I took her for a 20km drive and it was beautiful, driving better than it had done previously since I’ve owned the car. I was ecstatic to say the least.
I pulled the plugs and they were all looking perfect.
I took her for another lengthy drive the next day and she was still running perfectly. Interestingly, now the engine was getting up to operating temperature much more quickly, but it was also idling a little high when warm. So it looks like it might need some fine tuning, but it’s perfectly driveable now.
The next time I went to take the wagon out for a cruise, it started running rough again. I had to abort the cruise and head home, only just making it as the wagon was barely drive-able.
Not being overly mechanically minded, I wasn’t sure what to do. I talked to some of the workshops in town, but they weren’t really interested as they lacked experience working on old carburetor style engines.
I assumed that it was a tuning issued related to the twin carbs. They can be difficult to balance and get right, and I assumed that the front carb had gone out of whack for some reason.
I thought, let’s do the simple stuff first. I went down to the local auto parts store and sourced the following:
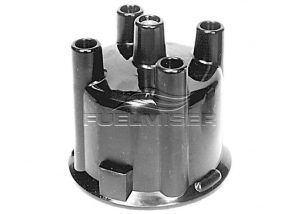
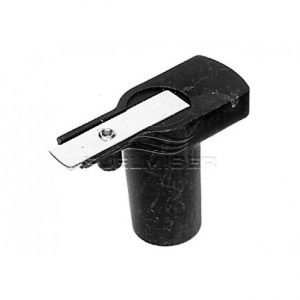

As the engine has been converted to pointless electronic ignition, the distributor and rotor are not stock items on the Datsun. Without having to replace points, changing these simple items (which by the looks of it hadn’t been replaced in a while) would help narrow down the problem and ensure all the ingredients were there to get it running right.
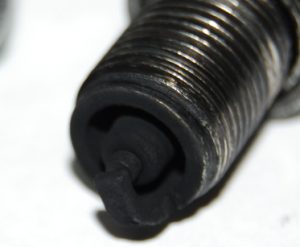
After replacing these items, I took the wagon for a spin. It didn’t take long for it to start to miss again, so I limped back home. I removed the plugs and 1 and 2 looked like the below picture, while 3 and 4 looked fine.
I was getting very frustrated and disappointed with the old girl, who up to this point had been running very reliably. I wasn’t sure what to do next. I couldn’t really take the wagon to Canberra to be looked at as it wouldn’t make it that far and I didn’t want to risk damaging the engine.
So I started scouring the Internet for possible solutions…
About a month ago, I went to go to a club event. The wagon seemed to be running rough and by the time I got to the meeting point only a few kms from home, it was running so rough that it wouldn’t idle. It had developed a bad miss.
One of the gentlemen from the club took a look and there appeared to be a miss on cylinders 1 and 2. I had to abandon the cruise and try and find someone to diagnose the miss.
As luck would have it, I dropped in at Yass Mechanical Services. They were very busy and couldn’t look at my wagon that day. However, a member of the Yass Antique Motor Club was visiting the workshop and he offered to look at it for me.
I left the wagon there for a few hours and got a call to come and collect it. Apparently the choke cable was sticking open on the front carb, hence it running rich on cylinders 1 and 2, causing the miss. All that was done was to fix the sticking cable and a new set of plugs. The wagon was driving very nicely again, however I had missed my club event for the day.
I take the wagon out once a week for a cruise around the town, which is about a 20km loop.
The first few times I drove it I noticed it gained a lot of attention, with stares and waves not being uncommon.
Driving a 41 year old car without power-steering is certainly different from driving my several year old modern car. The sounds and feel bring back memories from my youth. I remember the sounds of induction from the twin carbies and the noise the indicators make – it’s funny what you remember.
An old wagon like this doesn’t start and idle nicely like a modern car. It requires manual choke to start, then balancing the choke and accelerator for a few minutes until it will idle by itself without the choke. Certainly not a “hop in and just go” like modern vehicles are.
Do I like driving it? Hell yeah, it’s a great feeling to go cruising in my old girl.
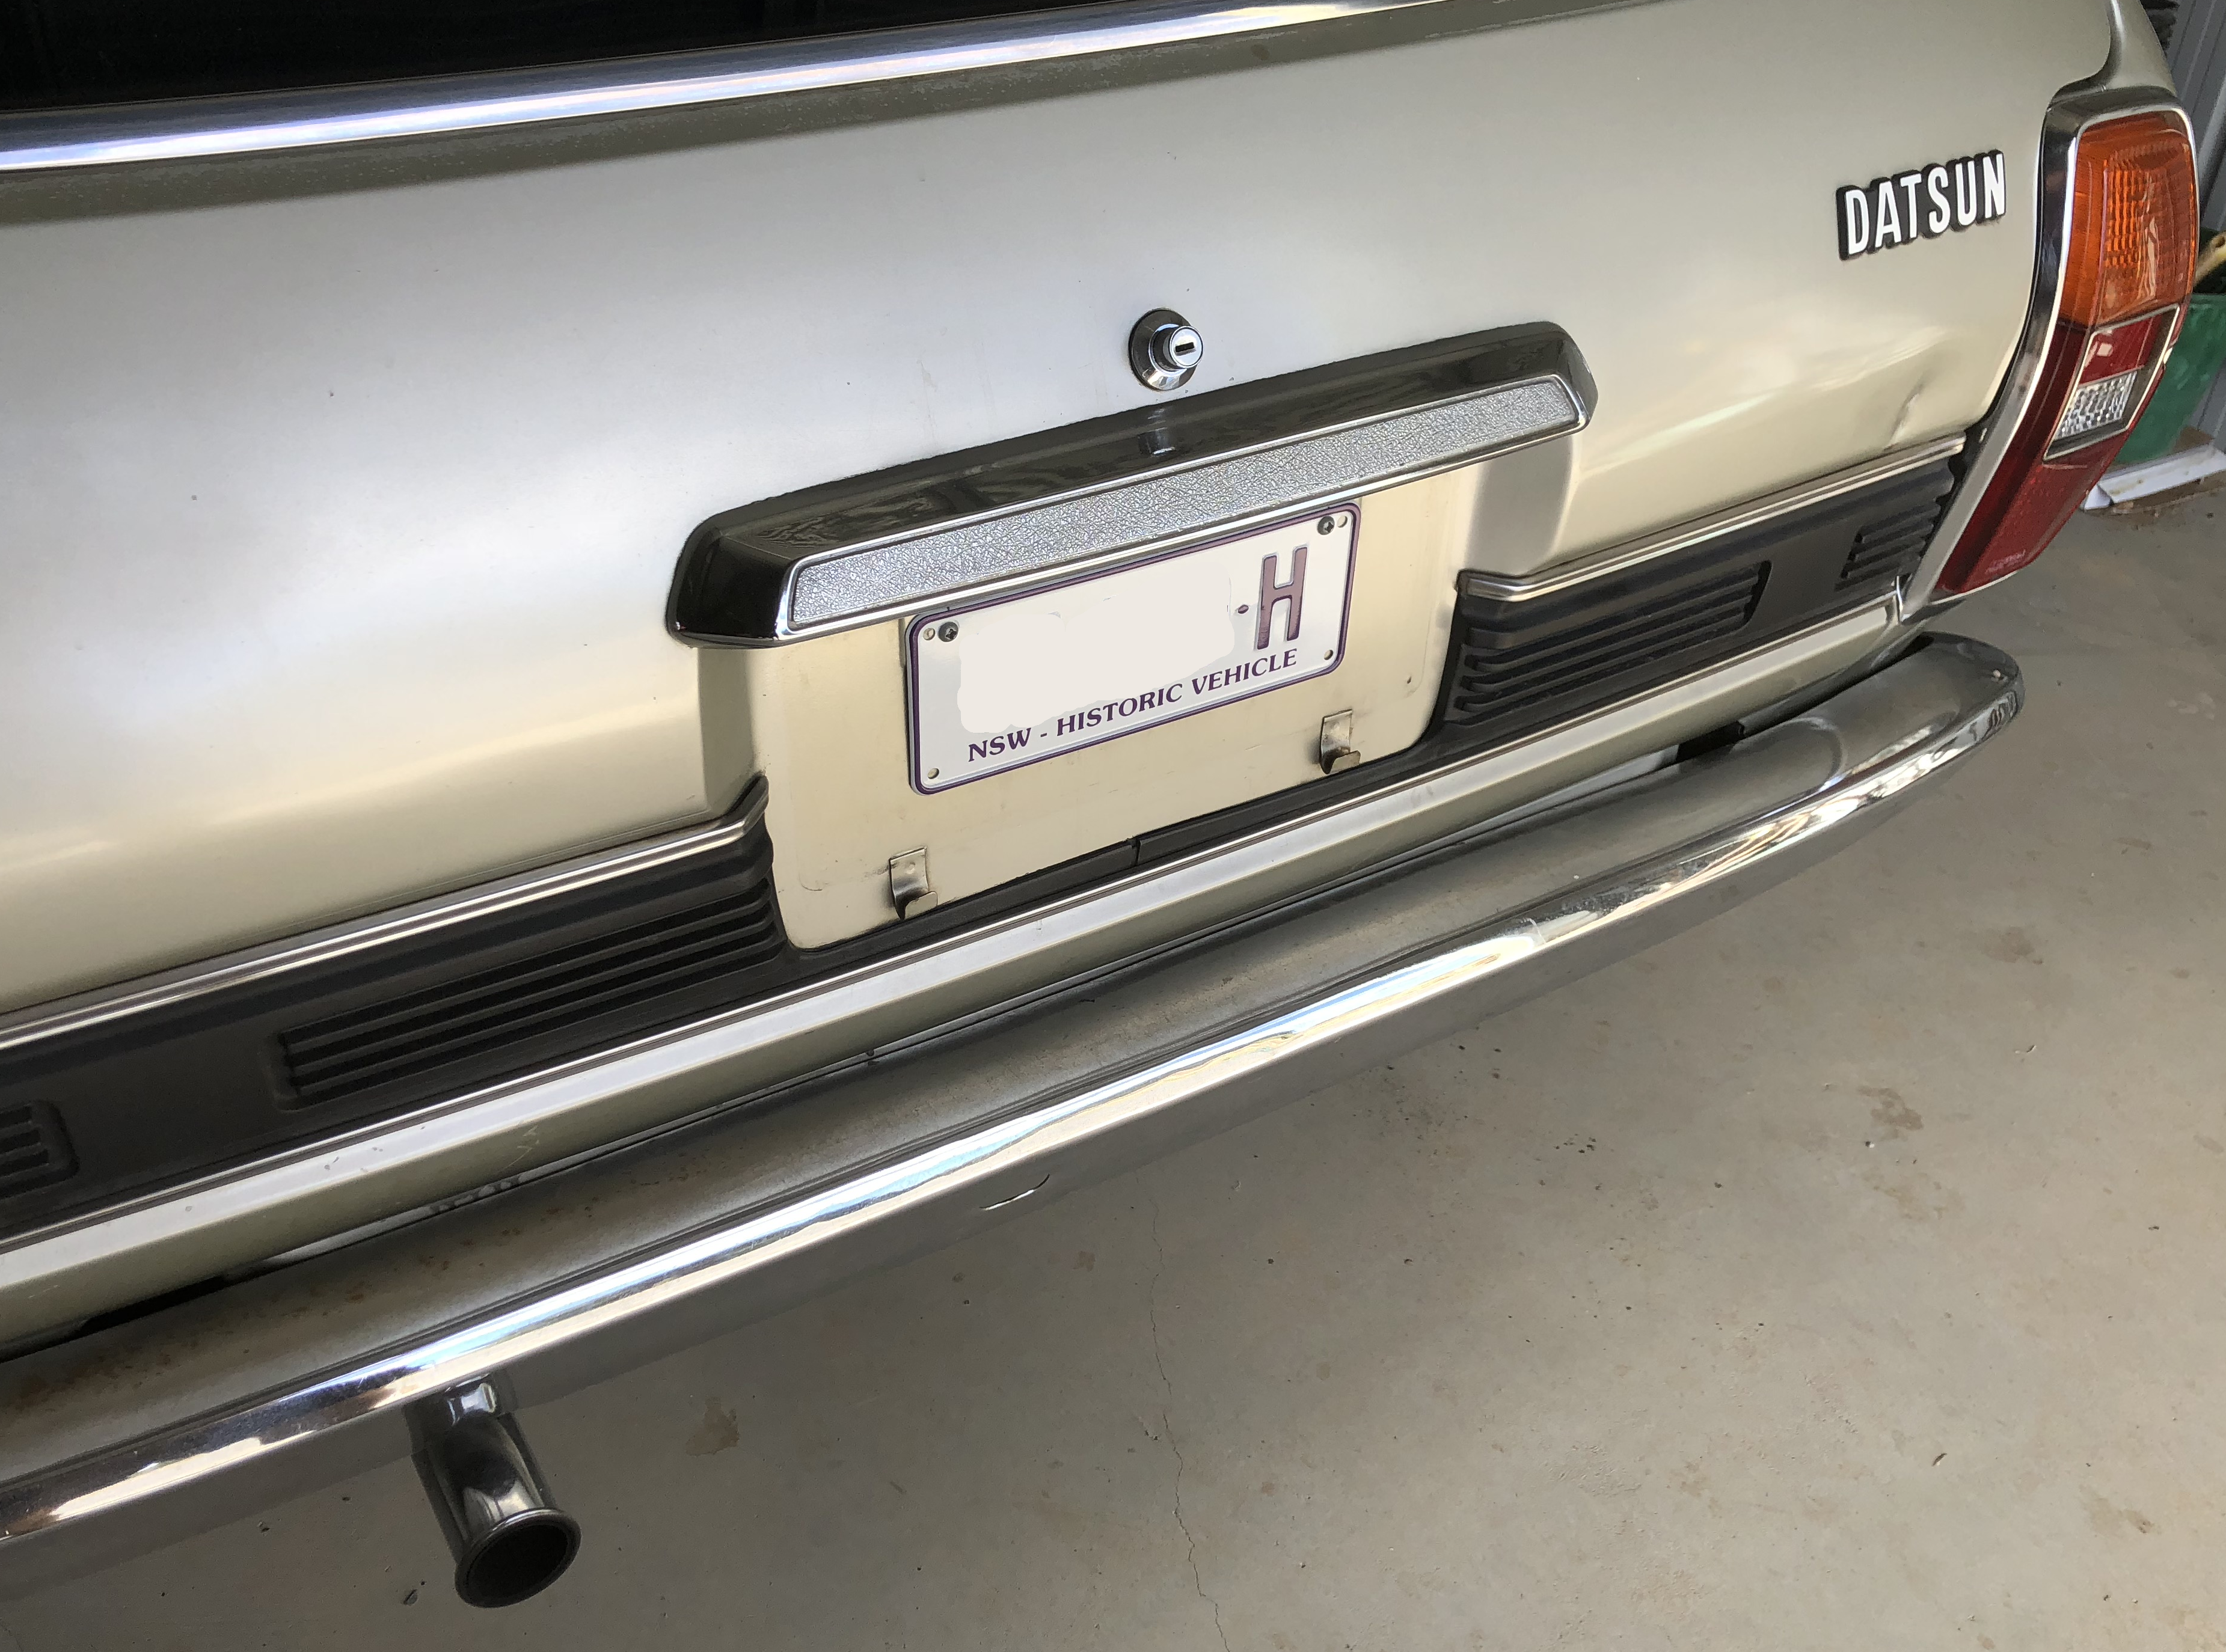
I’ve got the wagon, now I need to get it registered in NSW. As the wagon was always going to be a weekender, I researched what was required for historic registration. To meet historic registration requirements, the vehicle must be over 35 years old, close to standard and the owner must be a member of a recognised club.
In early March 2018, I went to the Yass Antique Motor Club registration day, paid my $20 and joined up. They inspected the car and gave me an inspection certificate to take to the NSW RMS.
The next day, I visited my local RMS and registered the car with historic registration. It was a simple process and for an annual cost of about $50, is great value for money compared to standard registration fees.
There are caveats however, the vehicle is part of a log book trial meaning it can only be used for club events and up to a maximum of 60 times a year. Each time the vehicle is driven, a log book entry must be completed first. 60 days a year will be plenty for me as I only intend to drive it once per week.